
L’s window art.
We put some clear contact to a use other than covering books today. I cut some rectangles of clear contact and folded them in half, then peeled off the backing from one half, and placed it sticky side up on the table. L and A put little bits of tissue paper, felt scraps and cellophane onto the sticky contact. Once they had completed their collage picture, I carefully peeled the backing off the rest of the contact piece, folding it back onto the other half, enveloping the collage materials between the two halves of the contact. The collage items are held still between the layers of clear contact, and looks a bit like the picture has been laminated.
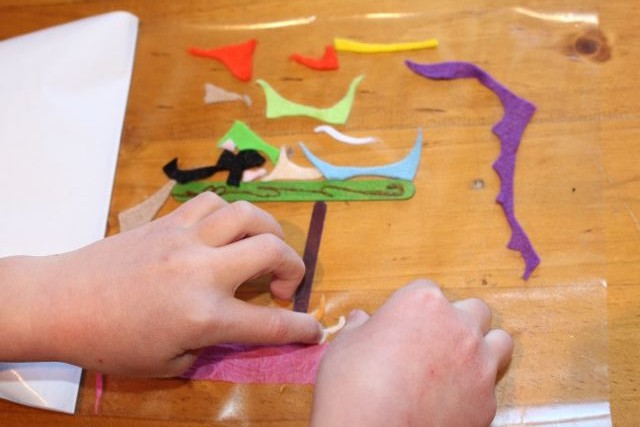
Placing different materials onto the contact.
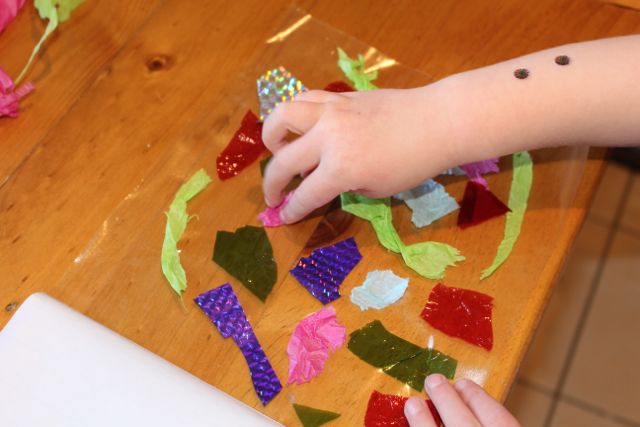
A adding more paper to her contact.
This was a sticky activity, and A kept getting stuck to the contact. L was much better at placing items on the contact without also getting her fingers stuck. It can be challenging to get the two sticky sides of the contact together smoothly and aligned, but it’s not essential for it to be perfect. I just trimmed the edges at the end so that there were no sticky bits left.
A used some blu-tack to stick the finished art to her window.
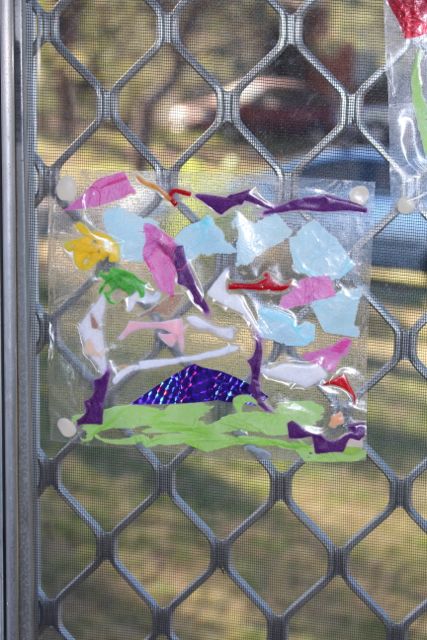
Art on the window.
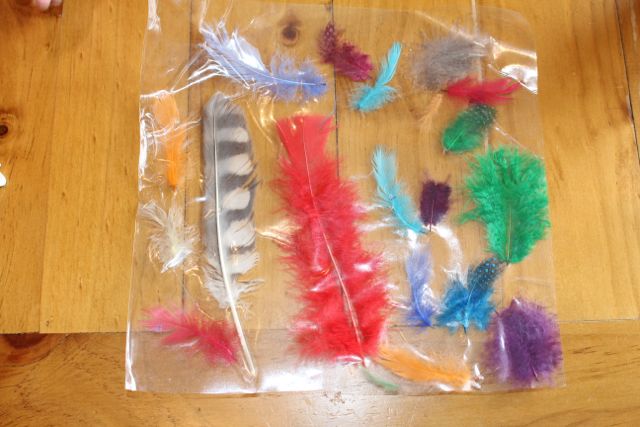
Some window art made with feathers.

Very clever!
Thanks 🙂 They look great up on the window too.