Sometimes we pick flowers from the garden and bring them in to brighten up the dining room, but I always feel a little sad when they wilt and die. So we decided to make some flowers that wouldn’t die, along with a brightly coloured vase to put them in.
We used a tall, narrow cardboard box for the vase, as I just happened to have a very thick and sturdy box that was perfect for it. A clean tin would have worked equally as well. We started by ripping up some coloured paper into smallish pieces. Our paper was starry and we had the same starry print in four different colours, but any mix of colours or patterns could work. We used glue to paste the ripped up paper pieces on to the outside of the box, so that the surface was completely covered by overlapping the pieces in random order. We did this on each side of the box. L particularly liked ripping up the paper, and A was thrilled to use the glue.

Gluing paper pieces to the box.
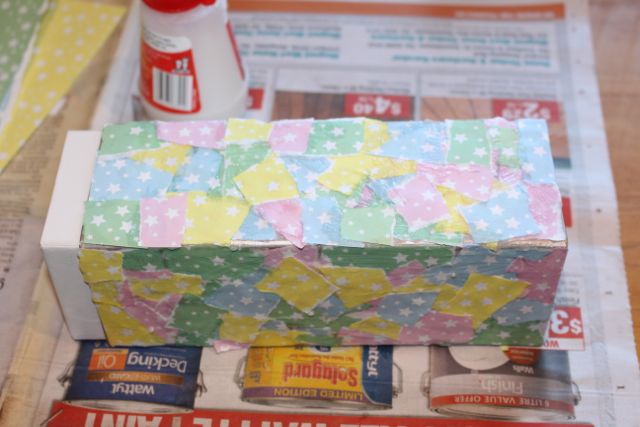
Half-way through covering the box in paper, letting it dry.
I gave the kids two disposable plastic cups each and a pack of coloured permanent markers to make our flowers. I asked them to colour the cups in with whatever design they would like. Once they had finished their colouring, I cut the tops of the cups into strips, and bent them out to form the petals on our flowers. The edges of the cuts can be a bit sharp, so we had to be careful when handling the cups once I’d cut them. A coloured each of her petals in using all of the different coloured markers. Even though I put down newspaper to protect the paper, somehow L still managed to get blue permanent marker on the table… Big L poked a hole in the base of each cup, and I placed a green pipe cleaner through this hole, bending it down to form the flower stem, and then secured it with some tape on the base of the cup. This gave us four lovely flowers.

A colouring in her cups.

The cup cut to form petals.
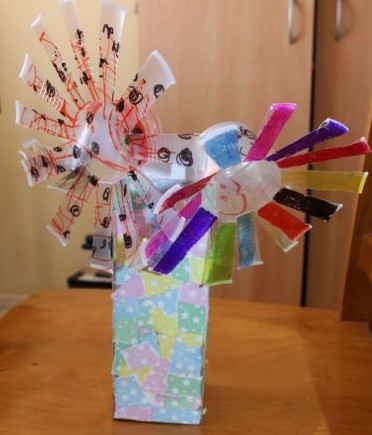
Finished vase with some of our flowers.
Our finished vase will live on our dining room table, and the kids are already planning to make some more flowers so we can change them over every now and again.
