Category Archives: Painting

Candlestick Painting

Standard
Writing with the candle.

Writing with the candle.

We don’t let the kids play with fire, but we do let them use unlit candles to draw with! Just the plain old white ones that I keep in the drawer for electrical outages are like using a fat crayon to draw with. They can draw their picture or write a message on white paper with the candle, and it’s difficult to see, but when they paint over the wax with water-colours, the picture comes to life. It’s fun to watch the picture or words emerge, and then when the paint dries, we have a great picture. IMG_1869IMG_1871


L also used this method to practice her spelling words last week.

Spelling words.

Spelling words.

Yarn Painting

Standard

Once we’d finished doing our rubberband splat paintings we had some leftover paint on our tray. I didn’t want to waste it, so we decided to try doing some painting with lengths of yarn.

Using one colour at a time.

Using one colour at a time.

Adding colour.

Adding colour.

More colour.

More colour.


We put each piece of yarn into a single colour and covered the yarn with paint. Then one at a time, the kids dropped the yarn onto the paper in random patterns. They used all the different colours we had out to make some lovely rainbow paintings. It worked much better if there was more paint on the yarn so that it left thicker marks. The different colours were overlaid as the kids added more paint to their paintings. Once we’d done a couple of practice ones on paper, we used more of the mini canvases to make a final painting.

Finished mini-canvases.

Finished mini-canvases.

These canvases will be added to the father’s day presents the kids have made for their Dad.

Rubberband Splat Painting

Standard

We are trying out some new ways to paint. I remembered seeing this technique at L’s playschool once, and wanted to try it at home.

IMG_1659We took a little box of thick cardboard and placed some thin rubber bands around the box. We practiced with paper first, and then used some mini canvases I’d picked up from the dollar shop for the final painting. IMG_1660

We put the paper/canvas in the box underneath the rubber bands, then painted the rubber bands one at a time and flicked them so that the paint splattered onto the paper/canvas. It was great fun, though we did get paint all over our hands, and some even splattered up onto A’s face and hair. I’m very happy with the results. IMG_1666

The kids are adding these to their parcels to give their father for father’s day this weekend. Hopefully he likes them!

Shaving Foam Painting

Standard
Coloured shaving foam paint tray.

Coloured shaving foam paint tray.

The kids love playing with shaving foam. It’s slippery and squishy, but it’s also easy to clean up. We’ve used shaving foam in its plain white form straight from the can plenty of times. A quite likes the noise it makes as it comes out of the can. Last week I added some yellow food colouring to the shaving foam in a tray for A to play with. She got it all over herself, and ended up actually hopping into the tray to squish it between her toes. Watching her play with the coloured foam gave me the idea to paint with it. So today I used a muffin tray as a makeshift paint tray, and put shaving foam into each hole. I added food colouring and mixed it thoroughly.

Sharing the shaving foam paint tray.

Sharing the shaving foam paint tray.

A brush for each colour and we were set. L painted a rainbow with grass, a sun, and a stream. Predictably, A just smeared the paint around on her piece of paper, and then started mixing all the colours together. We have so many brown paintings done by A.

L painting a pink love heart.

L painting a pink love heart.

The coloured foam went on the paper nicely with a sort of puffy texture. The colours lightened a little as it dried, and the large clumps of foam became crumbly, but we’re still very happy with the result. The food colouring stained the kids’ fingers (and hands, legs, faces, hair…) a little, but most of it washed off in the tub. And the rest will fade. Since we did this activity outside on the tarp, I just rinsed the brushes at the end, and washed out the tray and clean up was done.

A hard at work on her painting.

A hard at work on her painting.

Stain-glass Window Canvas

Standard
IMG_0999

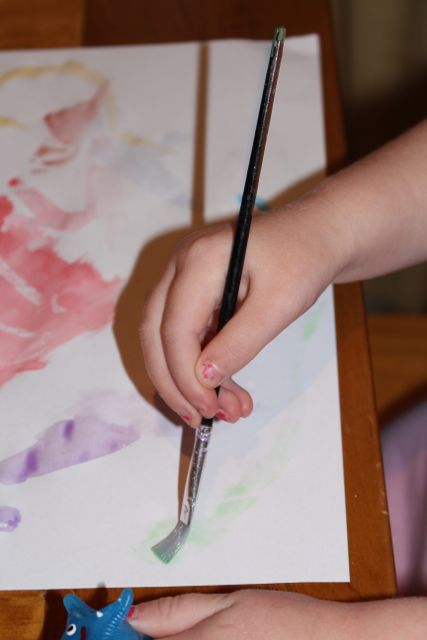
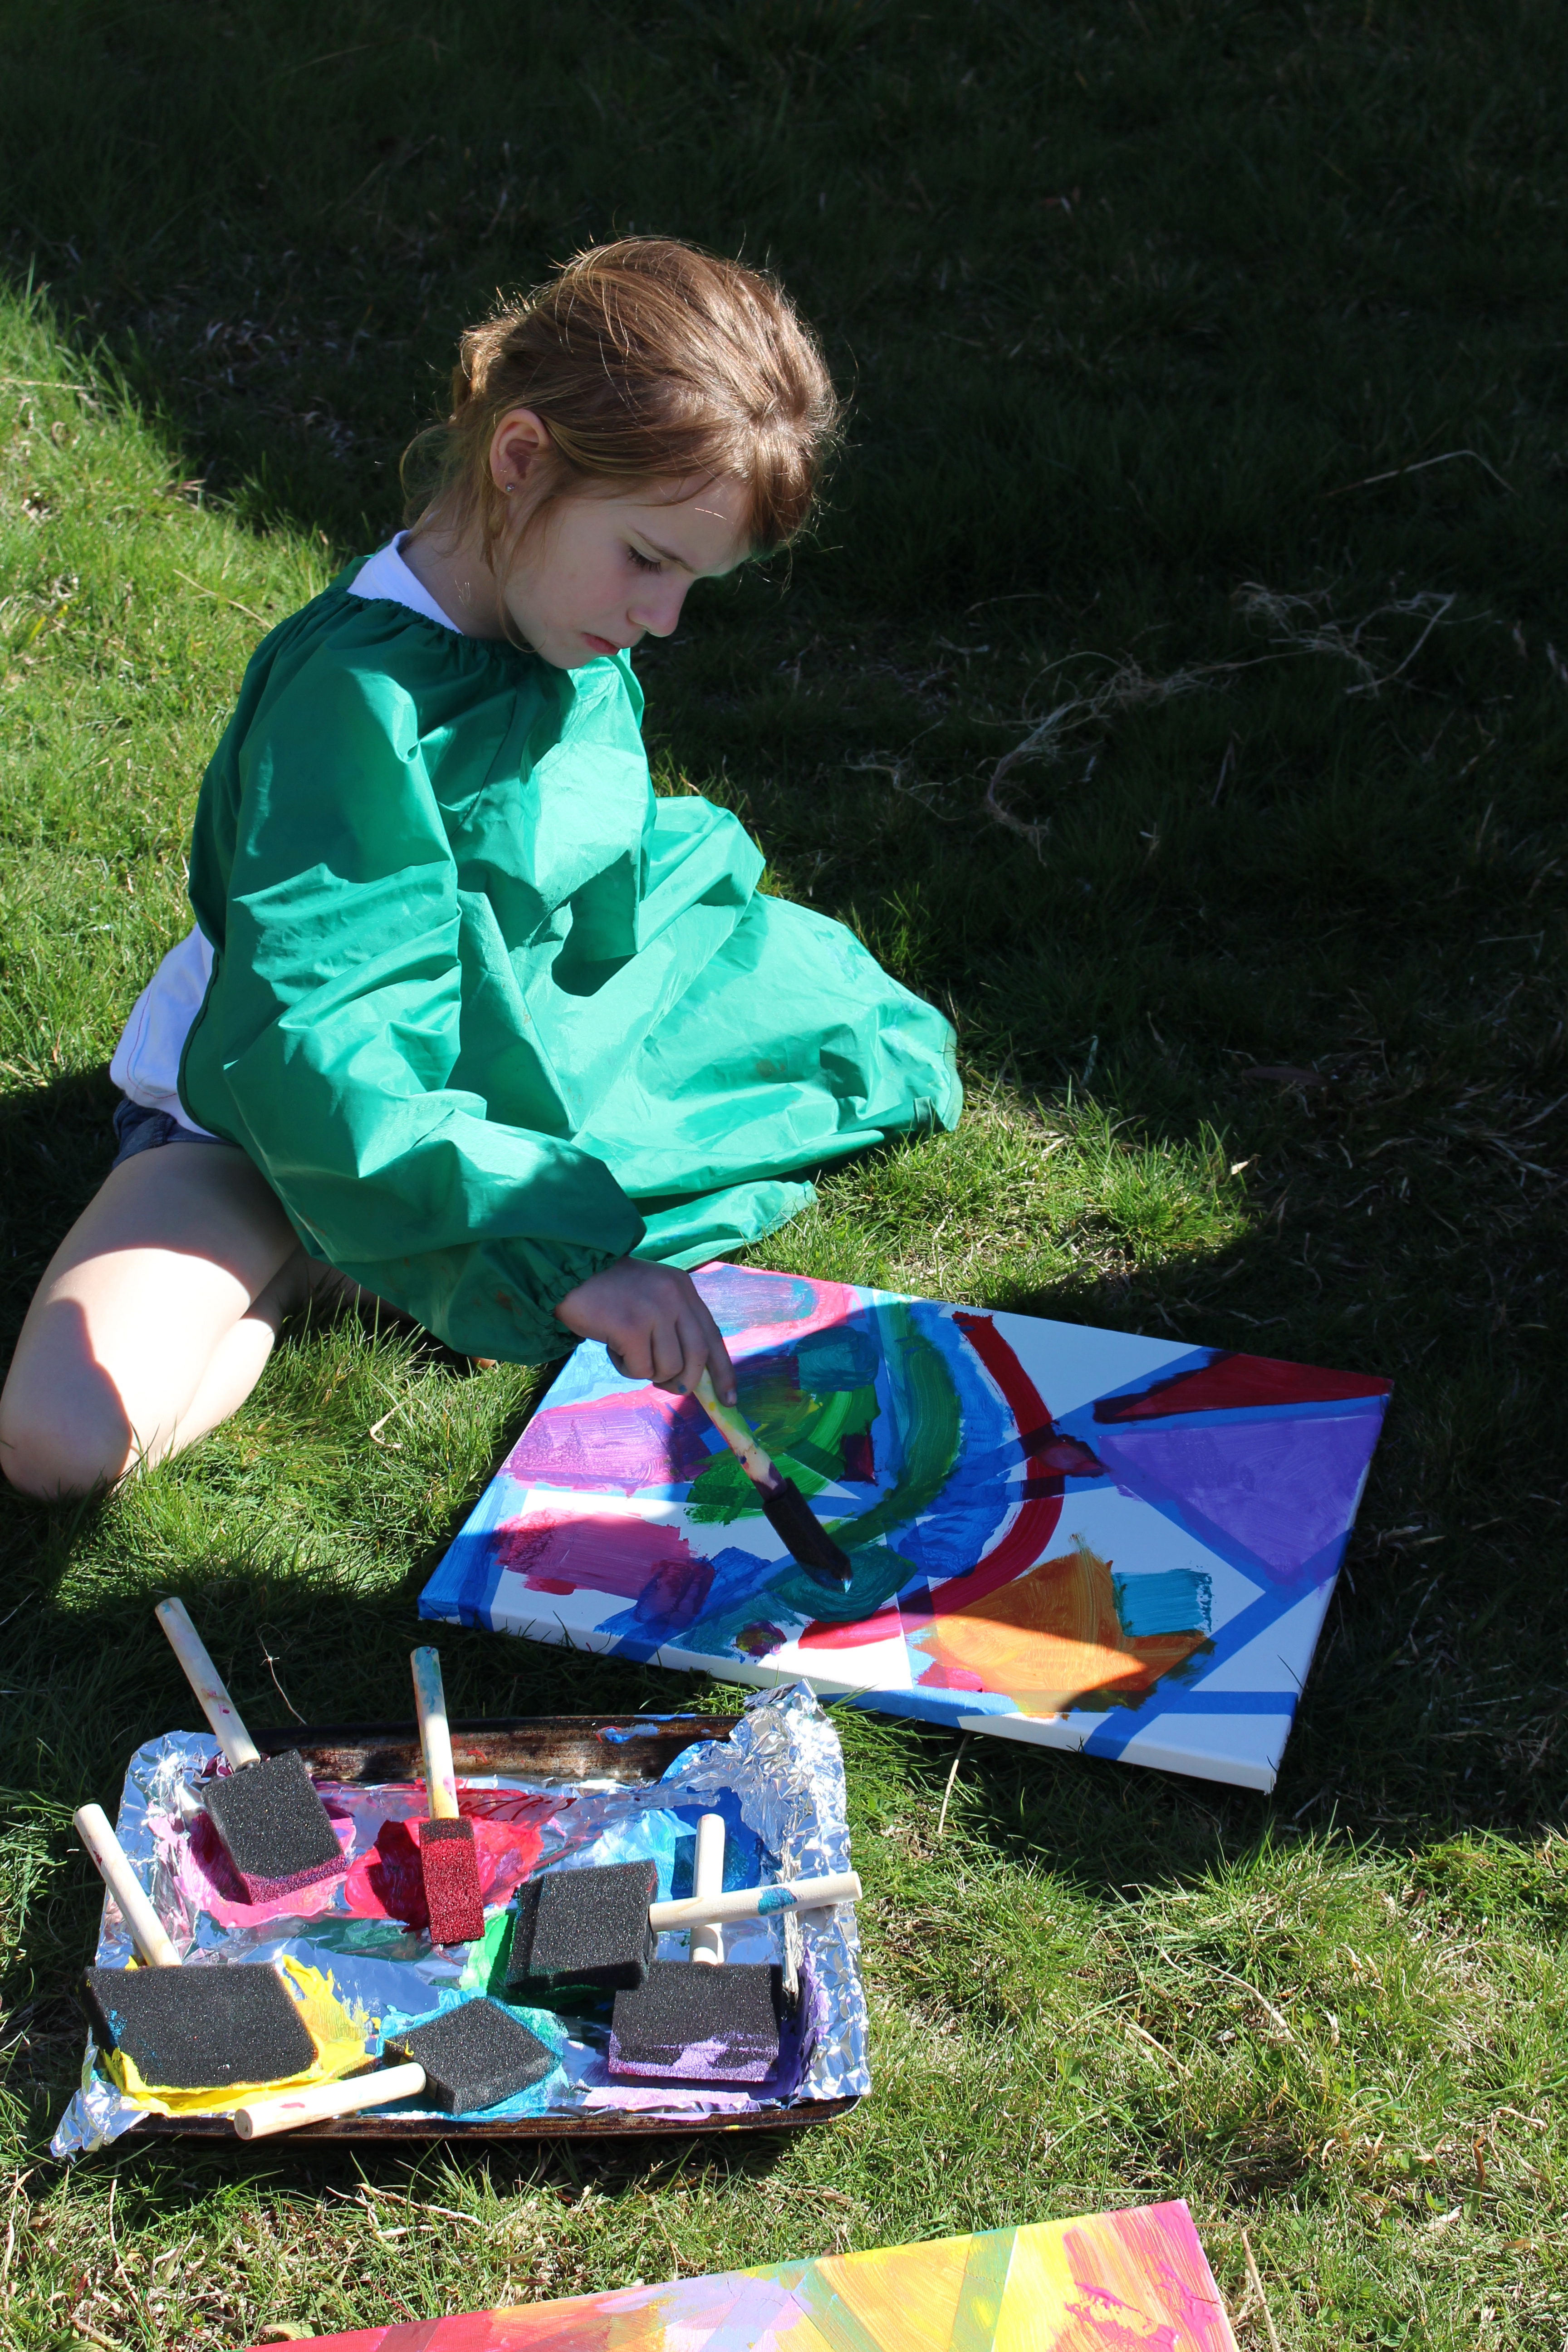
L painting her canvas.

We took our painting outside today to create some lovely canvases with a stained-glass look. We made a couple of these earlier in the year, and they worked wonderfully. They are hanging up on the wall above our TV.

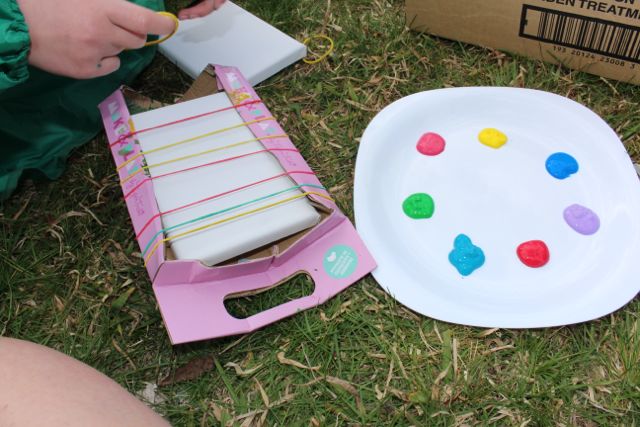
I bought the canvases, paint, sponge brushes and painters’ tape at Bunnings before our first canvas painting effort. A loves putting things into the little kid trolleys they have at Bunnings, and it makes for an interesting outing all in itself.
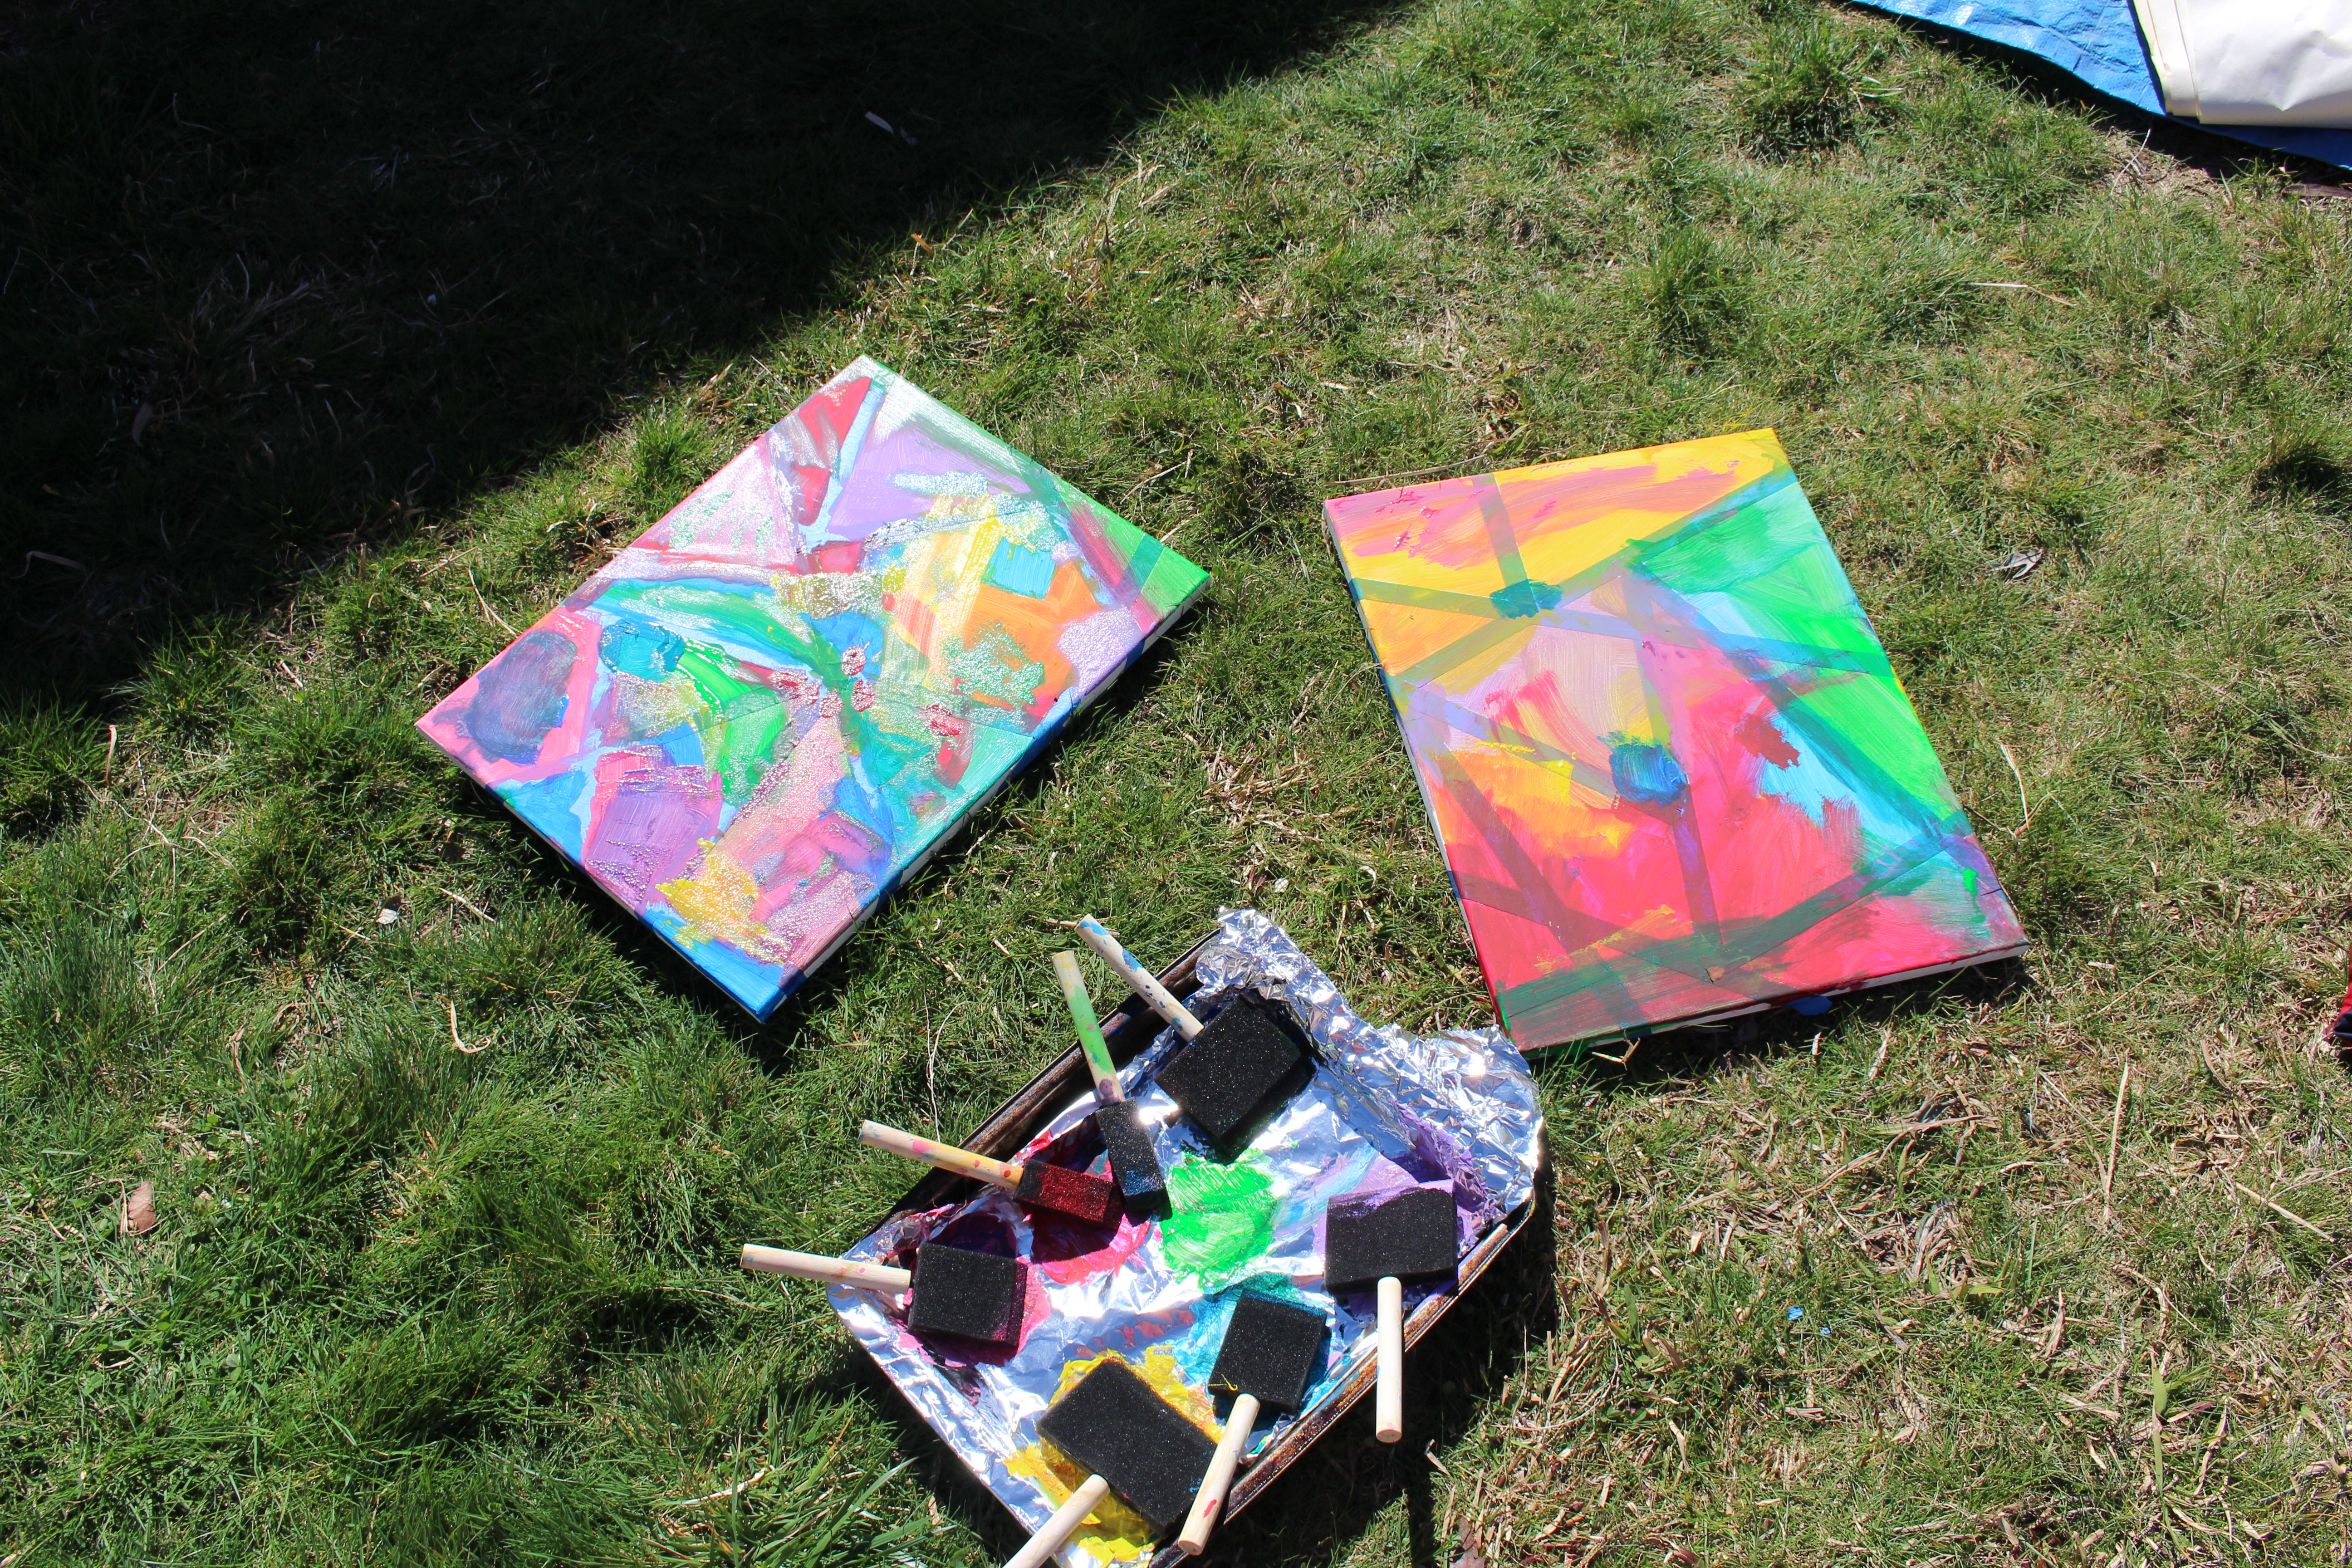
Finished canvases.

Finished canvases.

I placed the canvases side by side, and then placed the painters’ tape across the canvases in a random pattern. One canvas for each child. the paint went into a baking tray lined with aluminium foil, with a sponge brush for each colour, though the colours always end up getting mixed. Then I let the kids loose with the paint.
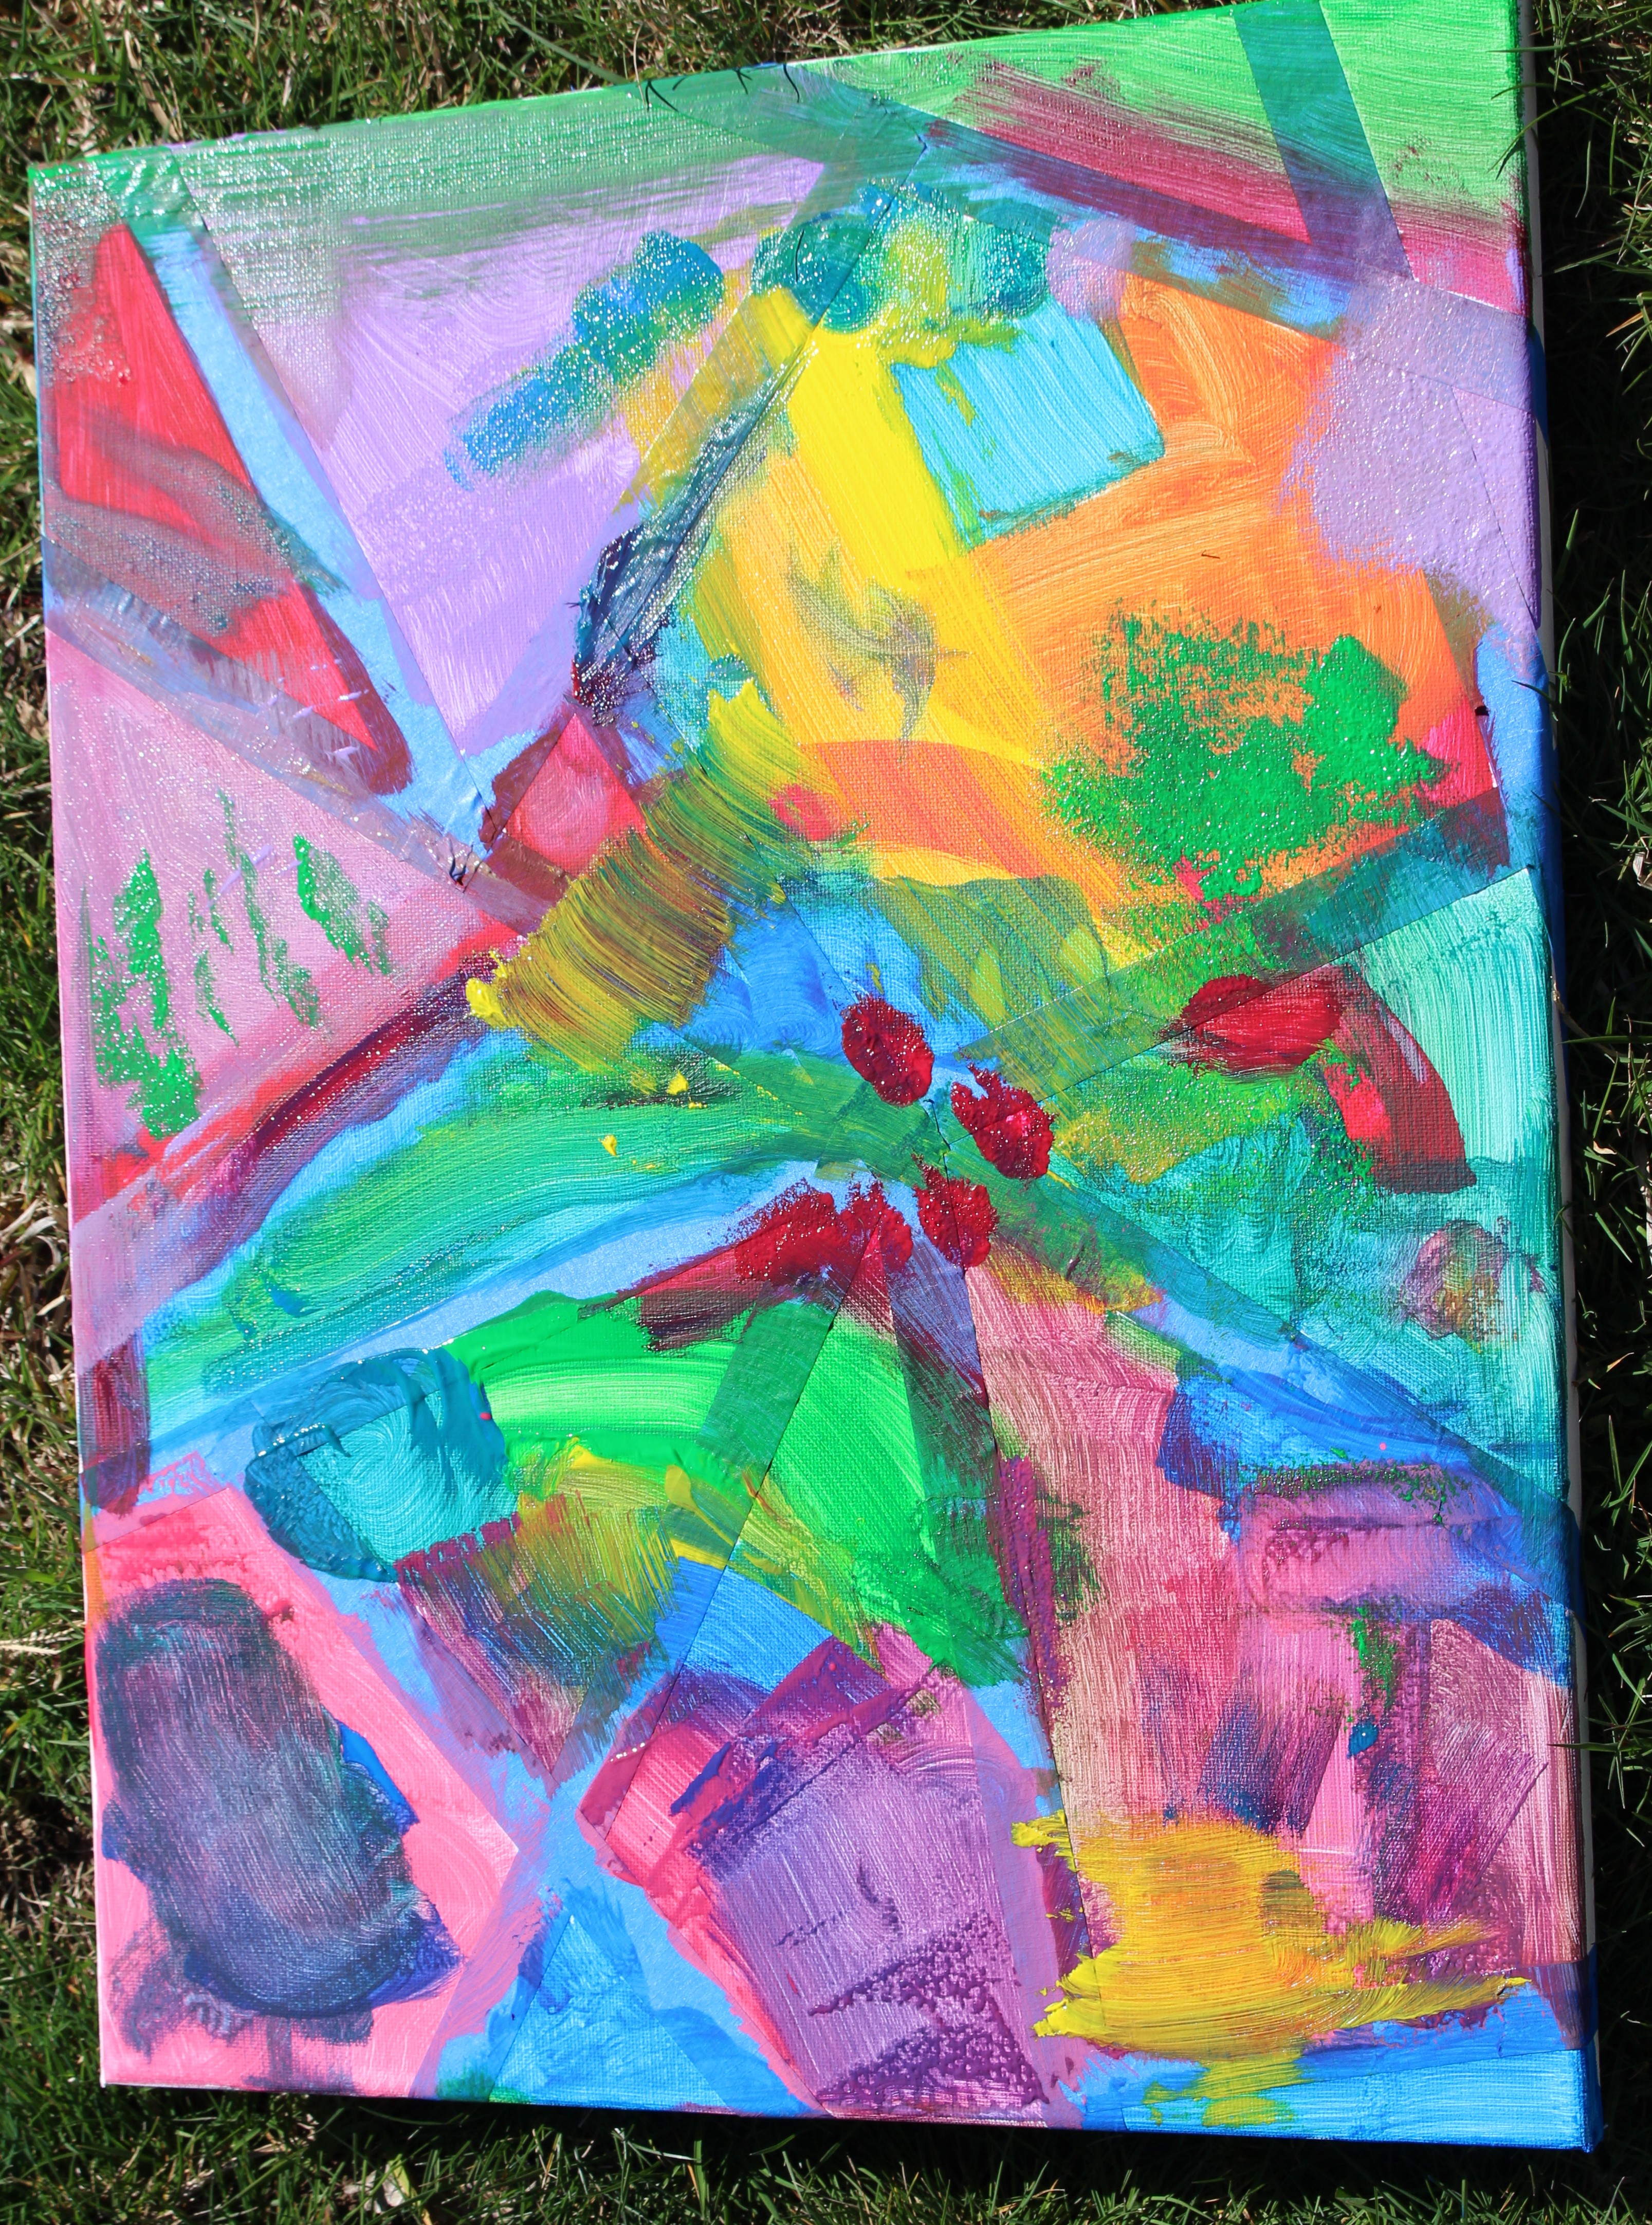
L's canvas.

L’s canvas.

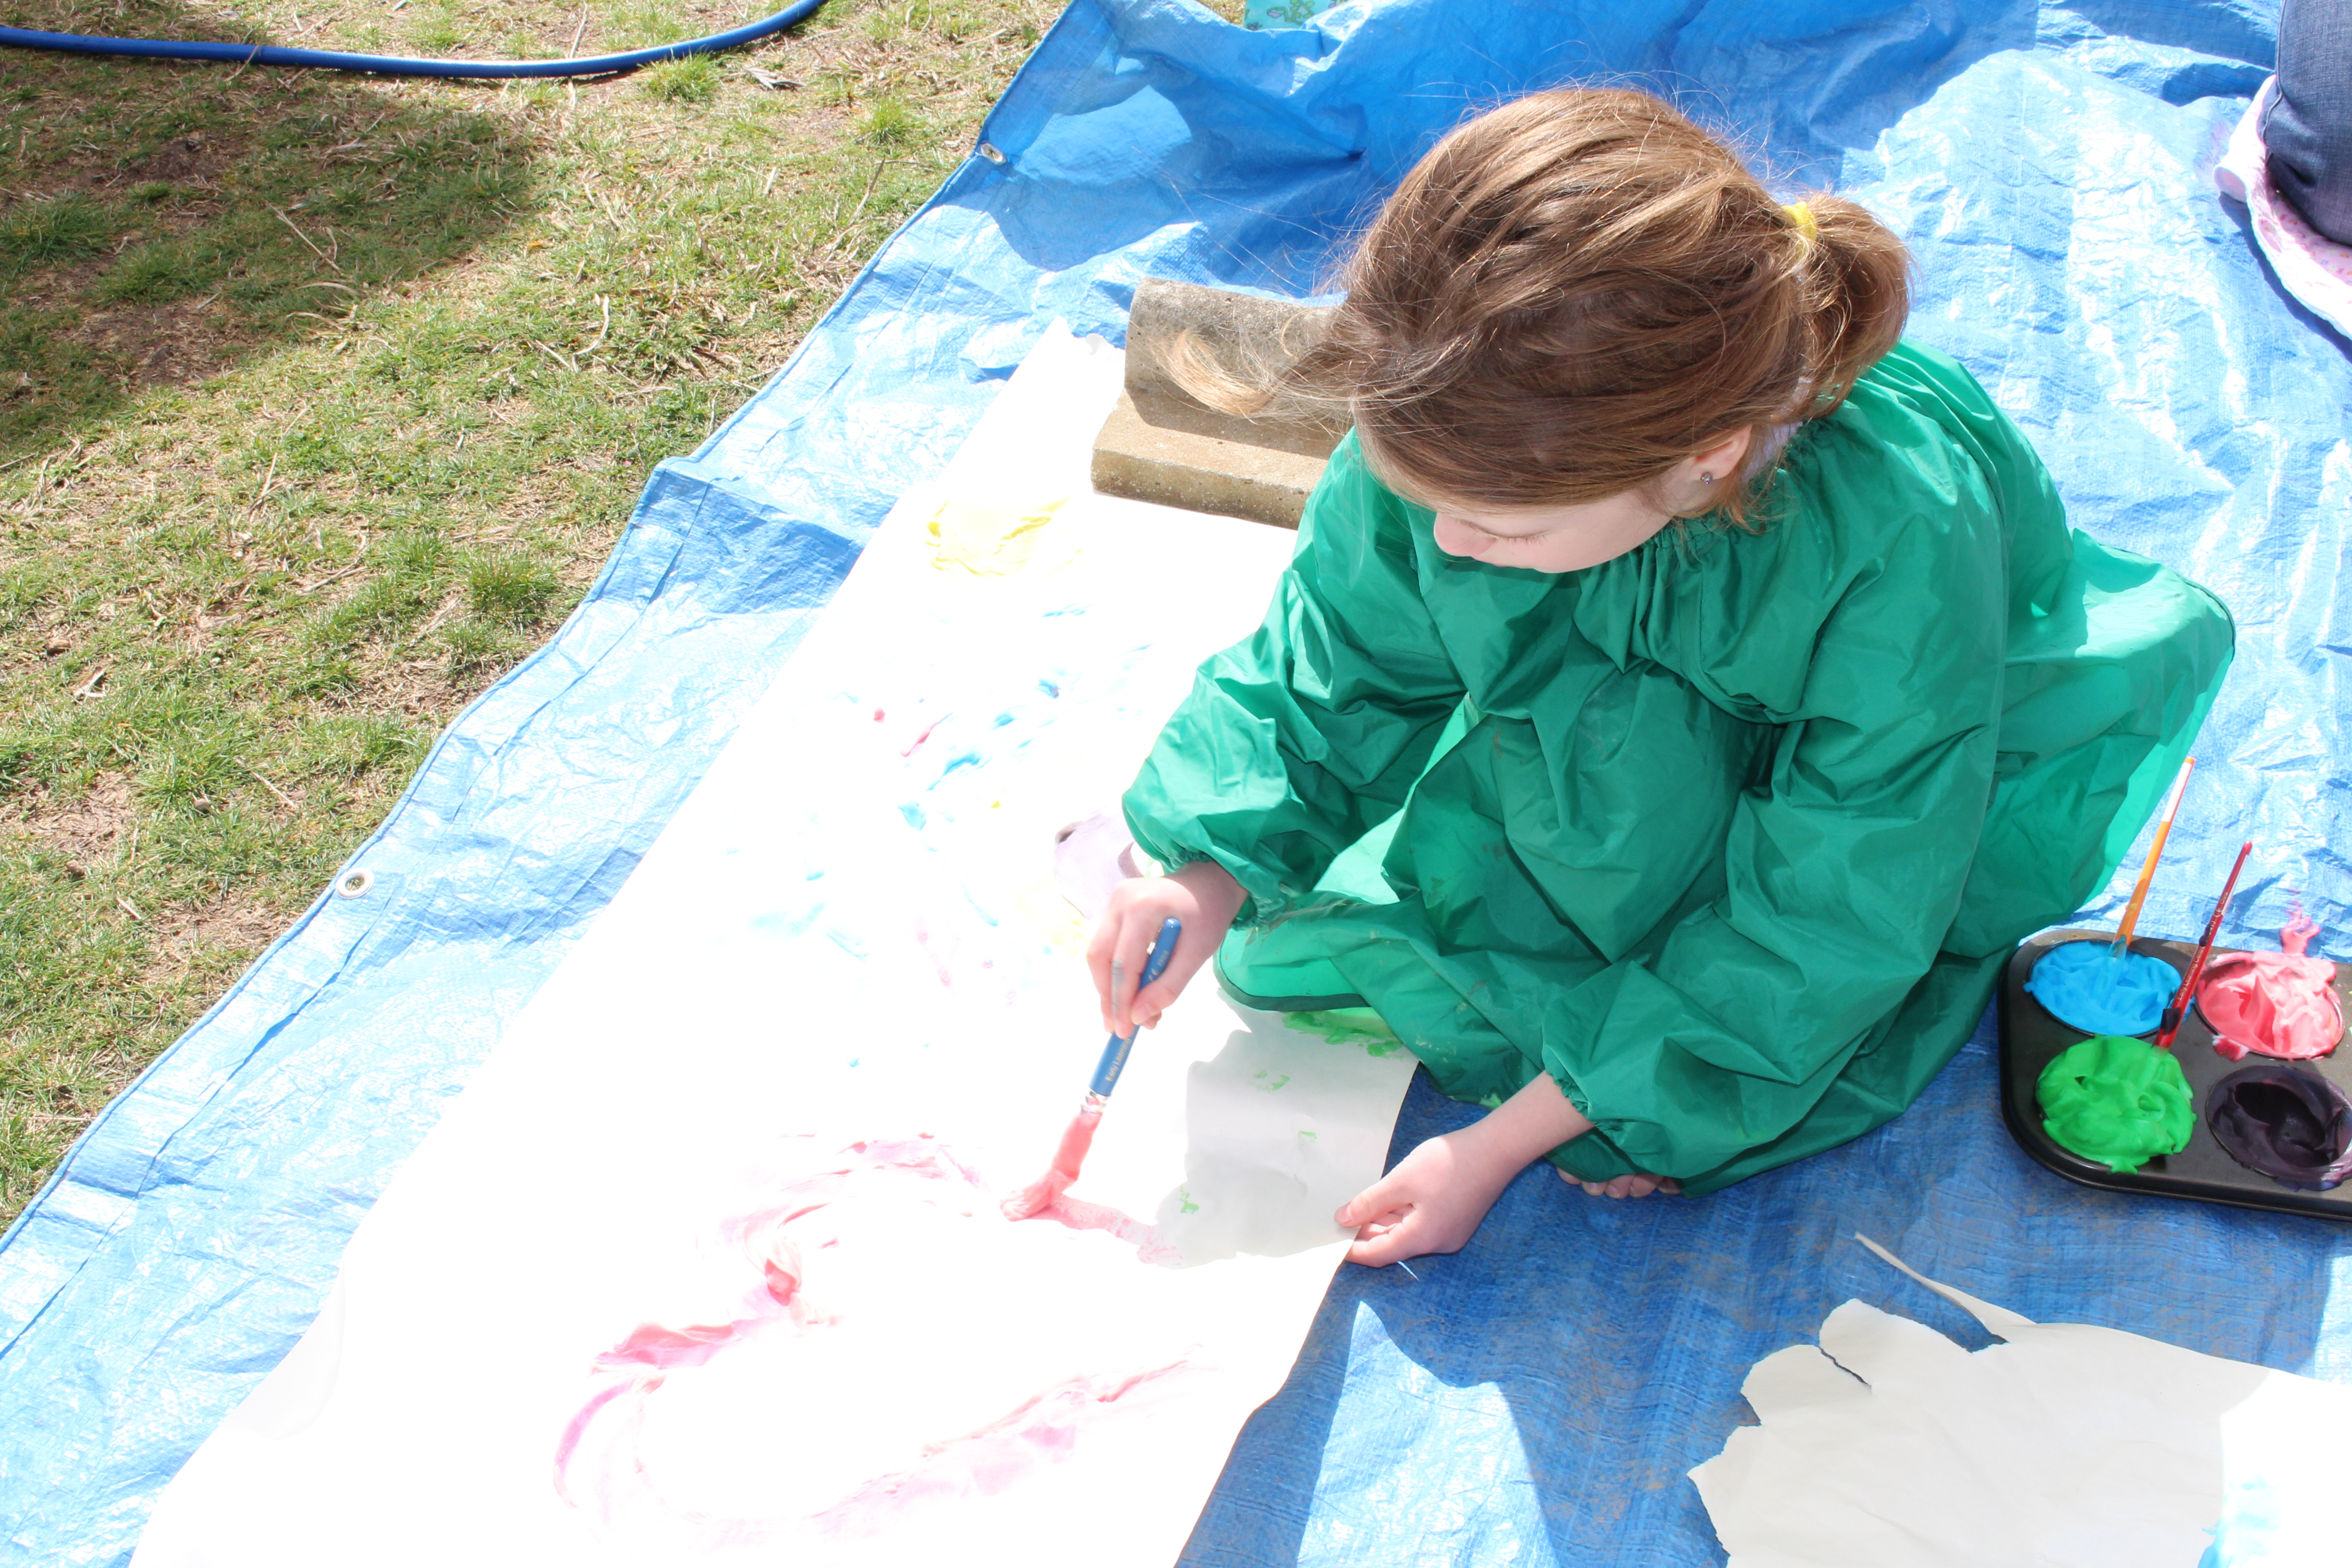
A completed hers fairly quickly. We had to take the red paint brush away from her or the whole canvas would have been red. L took her time painting hers, choosing which colour would go where, and blending colours to make new colours. They covered the entire canvas with paint, and then we left them to dry.

A's canvas.

A’s canvas.

Despite the art smocks they were wearing, they both needed a bath afterwards. There was plenty of paint on the smocks, but they also had paint on their legs, and L even stepped in the paint at one point. Luckily the paint comes off easily with water and soap!

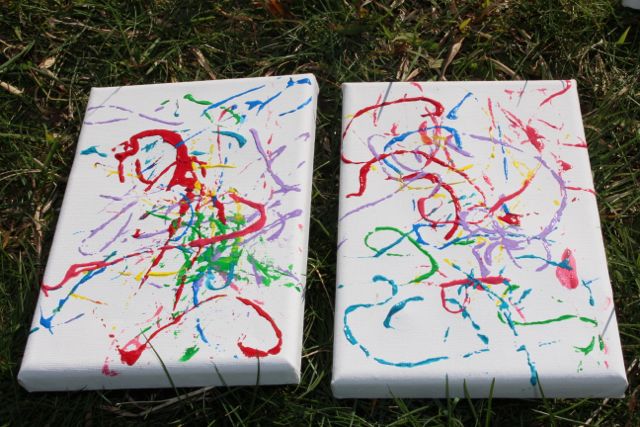
After they were dry, I carefully peeled the painters’ tape off the canvas to reveal the white canvas beneath. The finished product looks great, and the kids had fun making them.

The finished canvases.

The finished canvases.