Category Archives: Art

Sand Art Spelling

Standard

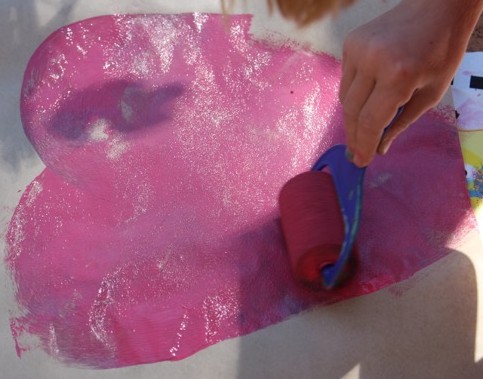
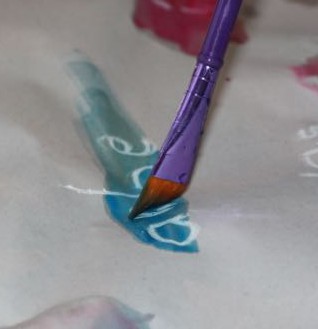
Painting on the glue

I’ve been trying to get T1 excited about spelling, but he’d much rather be off playing video games or jumping on the trampoline.


We have actually done a lot of spelling on the trampoline; he says one letter of the word for every jump he does. And we have done lots using other activities, but when I found some tubs of coloured sand, I knew we needed to try making some sand art!
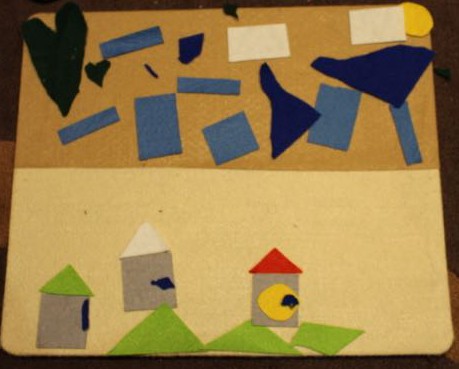
 

Sprinkling on sand


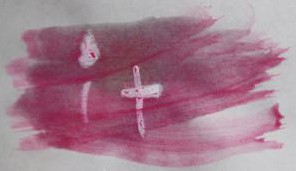
We used everyday white glue to paint each word onto a page of paper. T1 chose to do all of his words in red sand. After painting all of the letters in each word, he carefully sprinkled the sand onto the glue. Once there was enough sand to cover all of the glue, T1 tipped the excess sand off into the baking tray we were using underneath the paper (useful for reducing mess)


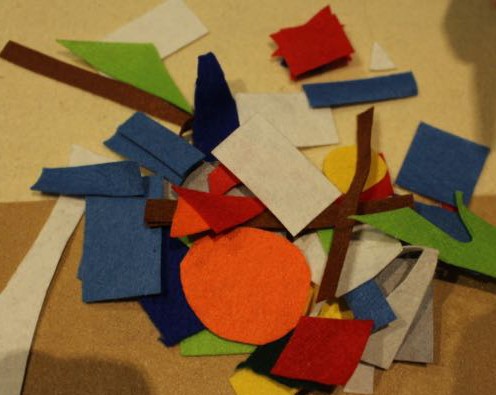
Shaking off excess sand

Each word or even letter could be done in different colours if desired. I think it would look good on black paper too. T1 is keen to make his next spelling list into sand art as well!


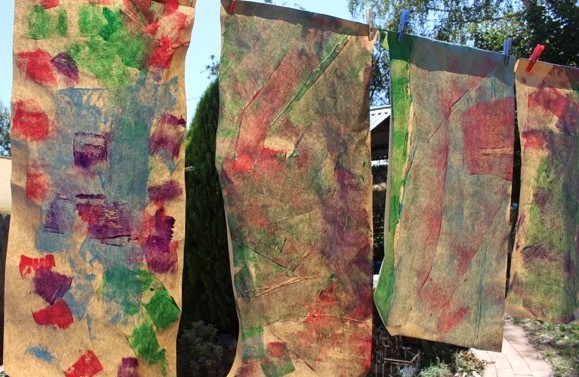
Sand art spelling words

Advertisement

Christmas Stamping

Standard

xmasstamping

We cracked out the Christmas glitter paint and foam Christmas stamps to make some festive art.

stamps

Foam stamps.

Usually I would put the paint onto sponges so that the stamps don’t get overloaded with paint. Unfortunately we were out of sponges, so some of the pictures were a bit gloopy, but they still look nice. And importantly the kids had fun!

stampinggreenstampingred

Roller Painting

Standard
Paintings hanging up to dry.

Paintings hanging up to dry.

We ran out of wrapping paper, so we broke out our little foam rollers, paint and a roll of plain brown paper and got down to having some fun.

Rolling paint onto the paper.

Rolling paint onto the paper.

We used blue, purple, green and pink paint. I tried for one roller per colour, but the kids quickly put the rollers in all the colours…

A used the pink paint to make a heart, while L made long green and blue stripes. The boys dabbed the paint here and there, rolling all the colours together, and rolling paint onto themselves. Luckily I had stripped them down to just their undies in preparation for such an event!


Making a heart.

Making a heart.

Painting stripes.

Painting stripes.


Fun with rollers.

Fun with rollers.

Painting with Cotton Buds

Standard

During a morning at playgroup the boys did some cute little paintings using cotton buds (also called q-tips or cotton tips). Later, we tried it at home.

Painting with a cotton bud.

Painting with a cotton bud.

IMG_5801

Paint on the tray.

I had cotton buds in the bathroom, so we got out enough to have one cotton bud for each paint colour. We put a blob of paint on a plastic take-away container lid, and the boys got started painting.

They had lots of fun spreading the paint with the cotton buds. After a while T1 also used his fingers to add some paint to his page, but mostly they stuck with the cotton buds.

Once they had finished, I threw the used cotton buds out, and washed off the paint trays. This was a cheap, simple and fun activity to do with my toddlers.

T2's painting.

T2’s painting.

T1's painting.

T1’s painting.

Pin the Tentacle on the Octopus

Standard

IMG_5640

We made our own version of Pin the Tail on the Donkey for our beach themed party; Pin the Tentacle on the Octopus!

Using a piece of scrap cardboard, I painted an octopus with only seven tentacles. I gave her a lovely big smile, and A thought she should have a little crown too. We used some glittery paint for extra effect.

IMG_5641

Streamer tentacles.

While the octopus was drying we cut some lengths of crepe paper streamers up in various colours to use as the missing tentacle. Each child could choose one, and using a piece of blu-tack on the back of the streamer, stick it to the octopus picture during the game.

I’m sure most of you have played a version of this game at some point, but if not, it is played like this; each child stands in front of the picture, is then blind-folded and spun around gently three times before trying to stick or pin the tail/tentacle onto the picture. The child that gets their tentacle closest to where it’s meant to be is the winner. A scarf tied around the child’s eyes can suffice for a blindfold.

Example of where to place the tentacle.

Example of where to place the tentacle.

This is a fun game for younger children and can be done with as many players as there are available tentacles (or tails).


Punch Lines “Humerus” Art by George D. Wachob

Standard

IMG_5450Punch Lines “Humerus” Art by George D. Wachob, paperback collection of artworks, 64 pages, published in 2015.

This is a collection of individual drawings. Each piece of art represents a pun, phrase or name. They are fairly simple coloured drawings, one to each page. The actual names of the artworks are located at the back of the book to give the reader a chance to work out the pun for themselves.

I looked at this book with my husband, as he is a big fan of puns. We went from page to page trying to work out what each picture represented. It was obvious what some of the art was, while others had us stumped. Even after reading the name of the artwork, there were a couple that I still didn’t get. I think it’s possible that some of the puns just don’t translate well across the seas. We laughed at some, and groaned at others, but there were only a few that I really really liked, such as brain waves and false teeth. My husband liked the pigeon ‘toad’ and the airplane hanger. I reckon some of these pictures would be awesome as printed t-shirts.

Punch Lines “Humerus” Art is good for some light entertainment with a bit of brain stretching too. Whilst there isn’t anything expressly unsuitable for children in the book, I thought that the artwork would be too complicated for many children, and would be better suited to teenagers and adults.

*I received this book from the author, who asked me for an honest review. I did not receive any other remuneration, and the review is composed entirely of my own opinions and those of my husband.

Felt Pictures

Standard

IMG_4533

Felt shapes.

Felt shapes.

I found a felt board among the puzzles, but couldn’t locate the bag of felt pieces that went with it, so we made our own. I used several different colours of felt, and cut them into basic shapes, such as squares, circles and triangles. A took the felt board to make her pictures, while L used a plain piece of black felt as her background. Felt sticks to felt, so the shapes will stick to any piece of felt, L just laid her piece of the floor so that it was flat.

A adding grass to her house picture.

A adding grass to her house picture.

Adding a sunset.

Adding a sunset.

A made some pictures of houses and a city, with blue sky and green grass, and of course a wonderful yellow sun. L used her black background to create a lovely night picture and a volcano picture. She cut up some more felt to suit her design, as she wanted little pieces of white to create the ash for her volcano.

We had a lot of fun making our felt piece pictures, and it was simple and fairly cheap to set up. We have stored the felt pieces in a zip-lock bag to use next time we feel like making felt pictures.

L's volcano.

L’s volcano.

Hand-print Bookmarks

Standard

IMG_4472For Mother’s Day this year we made bookmarks using the hand-prints of the kids. I found some old scrapbooking papers that had pink or blue heart patterns on them to use as our base for the hand-prints.

Using the paint pad.

Using the paint pad.

A's hand-prints.

A’s hand-prints.

Each child chose the background paper to use, and the colour of paint for their hand-print. Predictably A chose pink on pink for her bookmarks. L used the rainbow paint pad for her hand-prints on the back on the blue paper.  Unfortunately the rainbow paint didn’t come out as clearly as the other paint, but L liked it as it was. The boys used blue paint on blue paper. Using paint pads for hand-prints makes it easy to get a good amount of paint on the hand, and is much less messy than using conventional paint.

Hand-prints.

Hand-prints.

After the hand-prints were dry, I carefully cut around each hand. The kids wrote some lovely messages on the back of one of their hands using a marker. A pushed down her marker quite hard, and the ink is visible through the hand-print. She also drew a lot of love hearts! I love it because it is so unique.

Writing a message on the back of the hand-print.

Writing a message on the back of the hand-print.

To finish the bookmarks I laminated the hand-prints. I arranged the hand-prints so that A’s hands and Baby T’s hands were together to make a bigger bookmark each, while L’s hand-print was big enough as one. I also did a single print of my hand to make a bookmark for my mum. Once laminated, I carefully cut around the hand-prints so that there was a small amount of plastic laminate around each one. The kids were happy with their bookmarks.

One of the boy's bookmarks.

One of the boy’s bookmarks.

A hand-print bookmark in my latest read.

A hand-print bookmark in my latest read.

Secret Messages

Standard

Crayons, wax and oil pastels are great at repelling water coulour paint. This property makes them a good choice for writing secret messages. White is the best colour to use on white paper as it is hard to see the writing before adding the paint! Unfortunately A chose to use a white oil pastel and our paper was more of a beige colour (blank newspaper print), so the messages weren’t quite as secret as they might have been 🙂

My message for L and A.

My message for L and A.

A wrote out all of the sight words that she is currently working on in white oil pastel. L drew a picture and wrote messages. Then the kids used their water colour paints to bring the messages to life.

Writing her sight words.

Writing her sight words.

Painting on the water colours.

Painting on the water colours.

We had fun writing messages to eachother, which were then ‘discovered’ by adding paint. This is also a great activity for practicing spelling words as well as sight words.

A word 'discovered'.

A word ‘discovered’.

Words appearing through the paint.

Words appearing through the paint.


Sight Words Finger Painting

Standard

IMG_3893Finger painting last week was so much fun, A asked if we could practice her sight words with finger paint. This time we used ordinary poster paint (Baby T was sleeping), and we squirted some into one of our play tubs. The tub was yellow, so we used green paint as it gave us a good contrast.

Squirts of paint.

Squirts of paint.

Smoothing the paint around the tray.

Smoothing the paint around the tray.

A had a great time spreading the paint around the bottom of the tray, squishing and sliding in it. When she was ready, she smoothed the paint across the bottom of the tray, and then proceeded to use the tip of her index finger to write her words. When she had filled the tray with words, she smoothed the paint over, and wrote some more words.

Writing a word.

Writing a word.

Writing more words.

Writing more words.