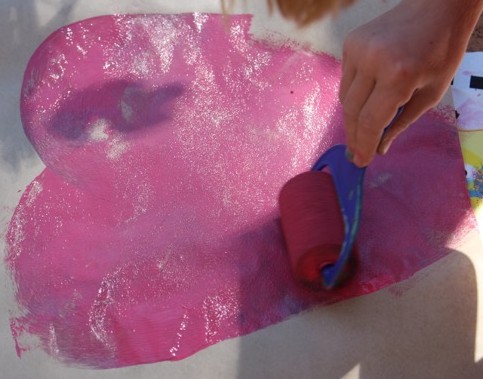
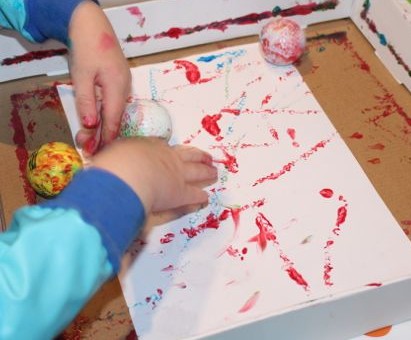
A few cheap spray bottles and some watered down paint made for a wonderful evening of painting in our yard.
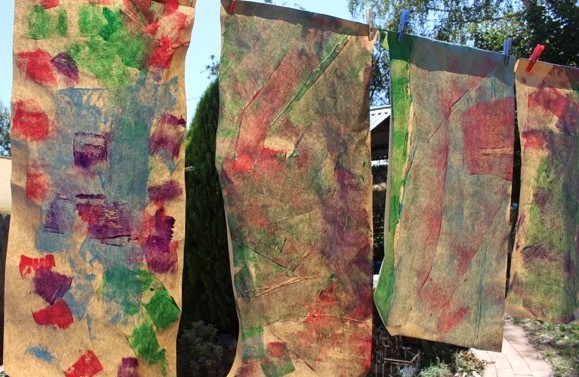
I hung paper from the clothesline for this activity. It took the kids a little while to learn not to spray when the wind was blowing towards them, but eventually they got more paint on the paper than on themselves! They were wearing their art smocks, but they definitely required a bath after this.

A spraying her paper.
I had a little trouble getting the right consistency for the paint, at first some of it was too watery, and we could barely see the colour on the paper, then one of them was so thick, it wouldn’t suck up the tube. After a bit of trial and error, we got three spray bottles working just right. We also found that the darker paint colours, such as blue and green worked much better than when we tried lighter colours like yellow and orange.

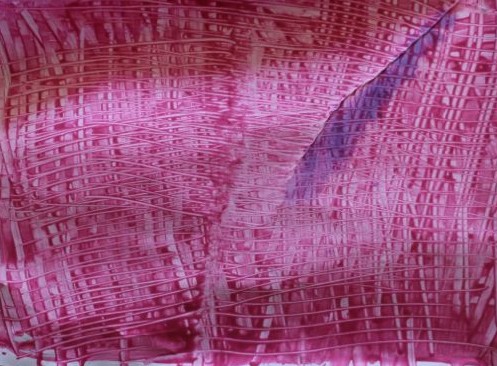
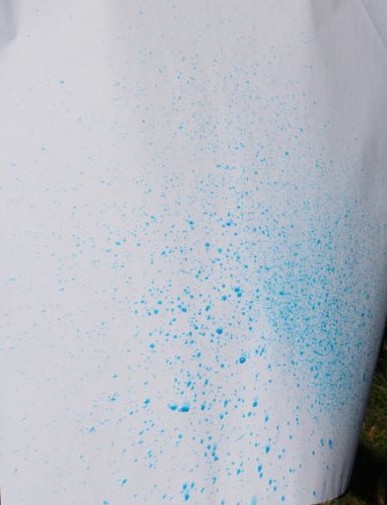
Using the mist setting.
A stood on a chair to be more level with the paper hanging from the line. L was at a good height, and got started right away. First they tried using their spray bottles on the mist setting. It created some great spray patterns, though L and A both wanted to add so much paint that it began just rolling down off the paper. Squeezing the spray bottle handle to spray the paint gave their hand muscles a little workout, but them didn’t seem to mind. A sometimes used both hands to spray and steady the bottle. Accurate aiming took some practice for both of them too.

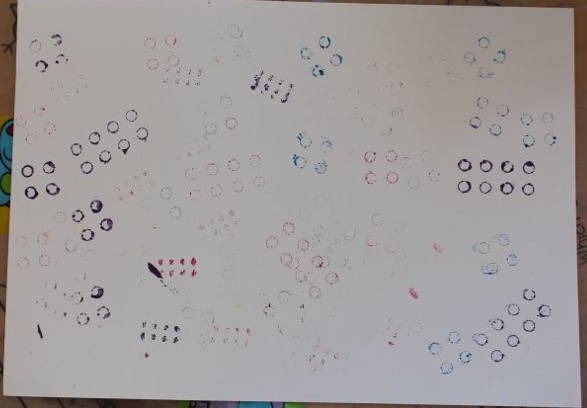
Using the jet setting on the spray bottle.
They also tried using the jet setting on the spray bottles, which sprayed the paint quite a long way. They loved the noise it made when the paint hit the paper, but they also missed the paper a number of times. Once they hit Big L in the back while he was across the yard tending the garden, but most of the missed paint sprayed onto the clothesline. After the paintings were dry and I’d removed them from the line, I hosed as much of the paint off as I could. Most of the paint came off that way, the rest just adds character to our clothesline 🙂

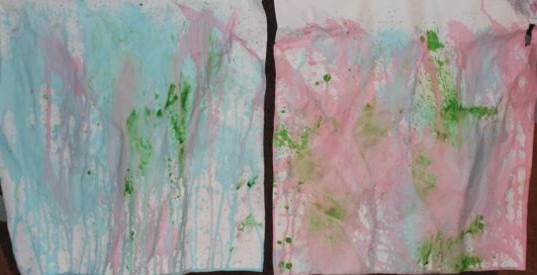
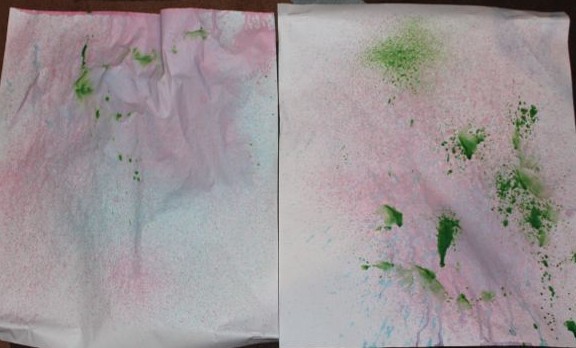
Jet setting spray bottle paintings.

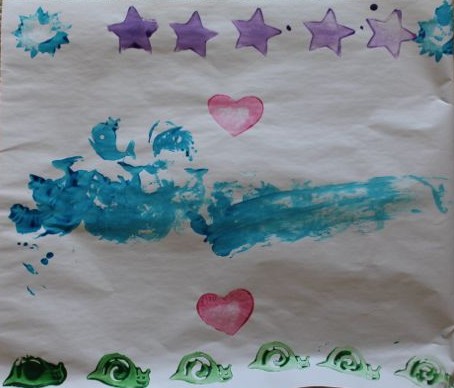
Mist setting spray bottle paintings.