
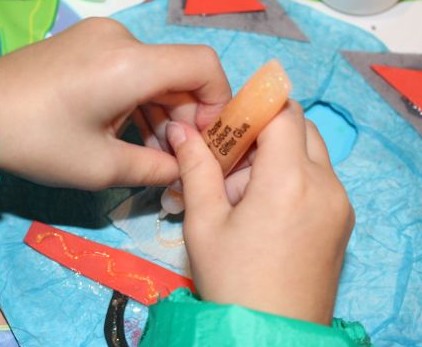
Gluing down some tissue paper.
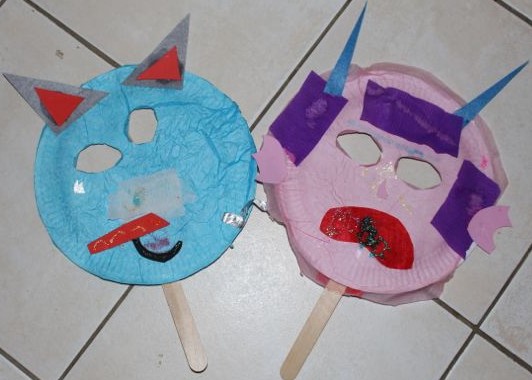
The kids created their own monster masks using paper plates as a base. I cut some eye holes, and then they got started decorating their masks. We started by placing tissue paper over the plate to create the monster’s skin. Once we’d glued the tissue paper down, A chose to leave her tissue paper loose around the edge as a bit of a frill. L chose to push the edges of her tissue paper around to the back of the plate and glue it down.

Gluing the edges down.
The kids used some crepe paper to add fur, felt and foam for horns, mouth and ears. L added a silver tail to her mask too. And then it was glitter glue and more glitter glue. A used lots of glitter glue to create some pretty sparkly teeth that haven taken a couple of days to dry in our damp weather.
Adding a glitter glue nose.
I added a large pop-stick to the back of the plate to help support the mask, and then another large pop-stick at the bottom of the mask for the kids to hold it.

A adding purple fur.

Glitter glue teeth.
When I took photos of the kids using their masks, they growled and roared for me. They also ran out wearing their masks to scare Big L when he got home from work.

L modelling her monster mask.

A modelling her monster mask.