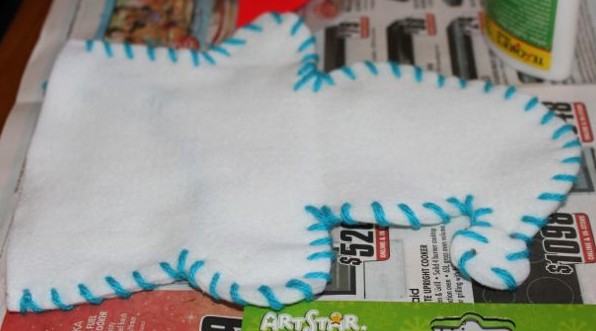
Brown paper lunch bags have many uses, and just one of these is making puppets. The most important thing to do before decorating the bag, is to make sure that the opening of the bag is at the bottom, so one’s hand can be placed inside the bag, and the puppet is up the right way!
A’s monster puppet.

L’s monster puppet.
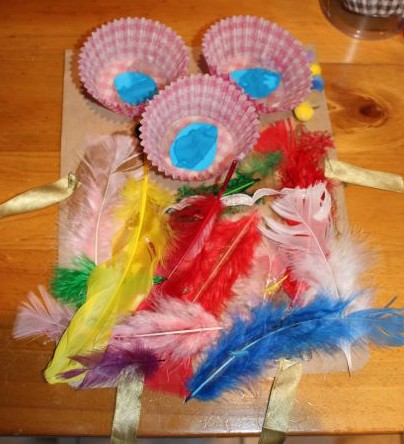
I brought out a range of collage materials for the kids to use in making their puppets, and let them decide what to use and how their puppets would look.
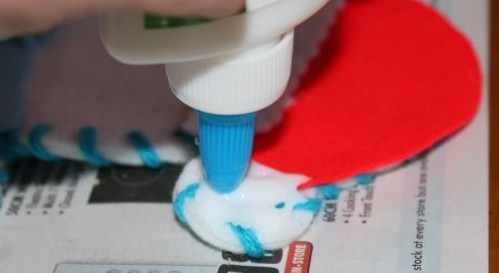
Gluing on eyes and nostrils.
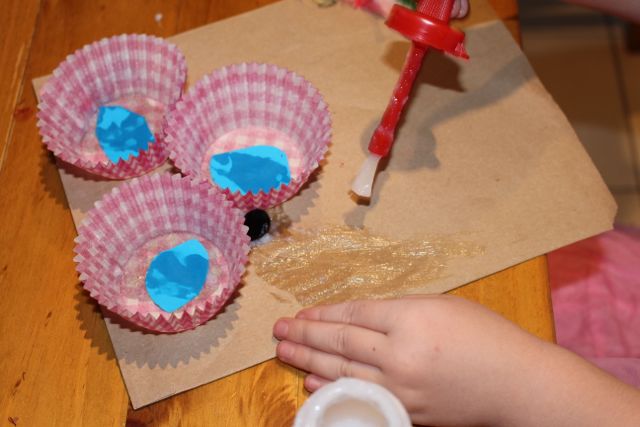
A glued on some muffin cases with blue paper circles in them for eyes, and then she covered most of the bag with feathers. Her’s is a feathery monster, and the little pompoms around the eyes are actually nostrils. Somewhere, buried in the feathers, is a white ribbon mouth too, and some gold ribbon for legs and arms.

Adding feathers.
L also used some muffin cases for eyes, but she used her’s upside down with a pipe cleaner through them, and attached the piper cleaner to the bag using staples. Another piper cleaner was turned into teeth in a paper mouth, and her monster had some feathers for arms.
These monster puppets were fun to create, and now they are fun to play with!

Upside down muffin cases as eyes.