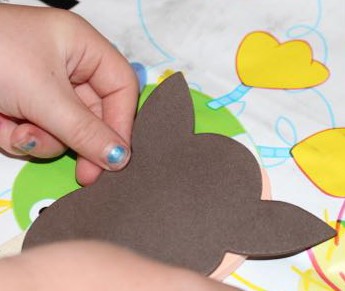
Tucked away in the craft drawers I found a packet of cardboard Christmas garland shapes. It consisted of ten pieces of alternating bauble and snowflake shapes that could be decorated and then combined to string across the wall or the top of a door or window.

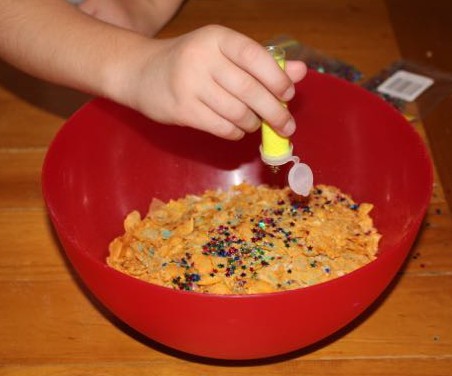
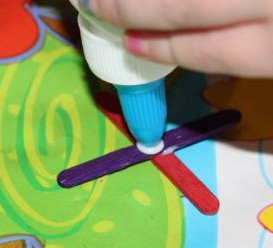
Shaking on glitter.
Glitter was the only decorating material we considered, so we took the glitter tub and the cardboard garlands outside. The kids painted on glue with paintbrushes and then shook glitter onto the glue.

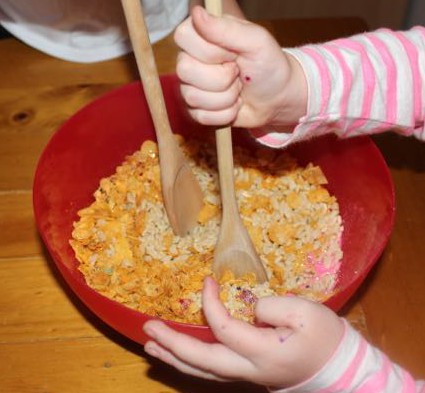
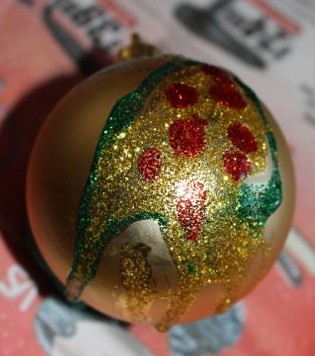
Creating patterns with the glitter.
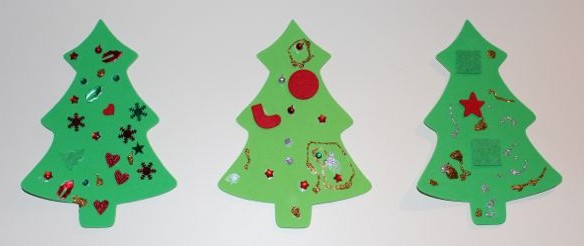
L made some interesting patterns on her baubles and snowflakes. She added glue in a swirl shape and covered it with one colour of glitter, and then blew the excess off. Then, she placed glue in the plain section and added a different colour of glitter to this glue. She also did some stripes using the same method. These look great.
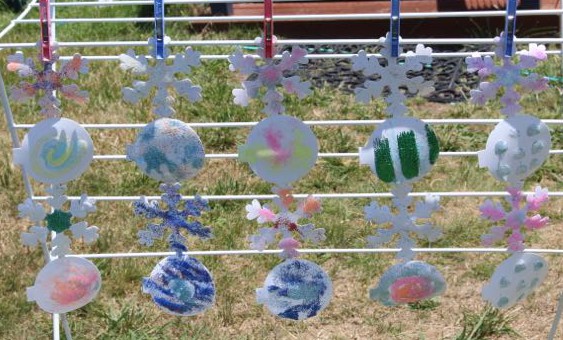
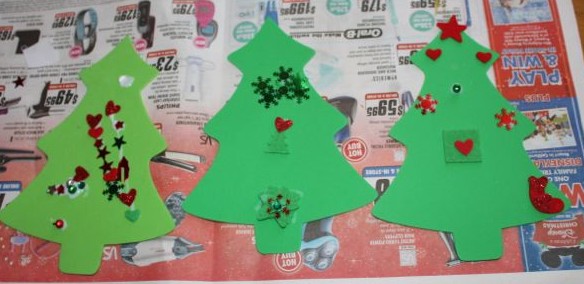
Some of the garlands hanging up to dry.

Glitter patterns.
A liked to use lots of different colours all over hers, which also look great. At least twice, the lid of one of the glitter tubes came off, dumping a heap of glitter onto the shapes. As there was a lot of glitter left on the muck mat, I painted glue all over the last two pieces of garland, and then pressed them glue side down into the excess glitter. The glitter colours were very mixed up, but I liked the way they came up, and we didn’t waste too much glitter!

Ready to be combined to make a lovely glittery garland string.
Once the garland pieces were completely dry, I stapled them together, end to end. We tied the finished garland from the curtain rod on our large lounge room windows. It is quite festive!
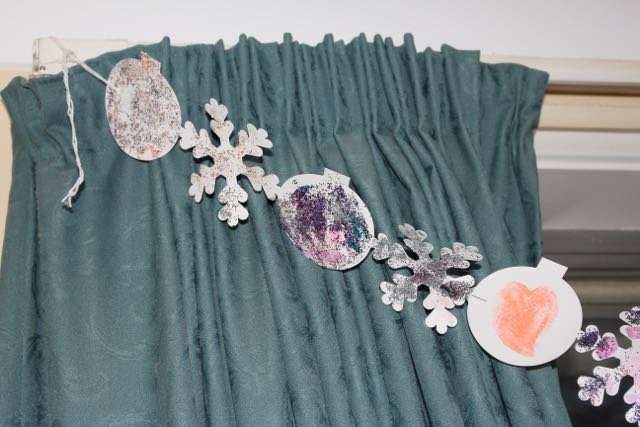
Hanging from the curtain rod.