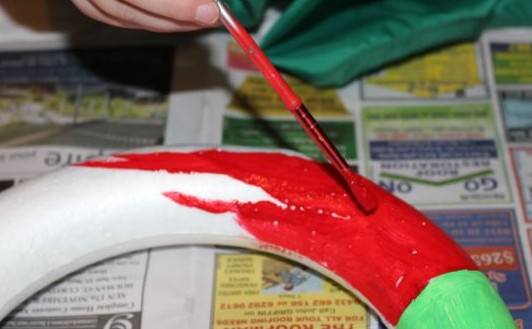
While A was painting her Christmas wreath I decided to use a foam cone and foam ball to make a Santa Claus figure.

I wanted to use the cone for the body, so I painted it red. I later added a black belt with silver buckle about midway up the cone. For the head, I used the foam ball, first painting it white. His hat was made from a red felt triangle, and the fluffy edge and pom pom on top are both made from cotton balls, as is the beard. Once all that was dry, I started to add facial features, but I didn’t get any further than placing two blue dots for eyes. I found I really liked the way it looked without a nose or mouth.


Attaching the head to the body was a bit of a challenge, I tried using a long pin inserted into the apex of the cone, and the bottom of the ball, but it wasn’t strong enough. I fiddled with this for ages, using glue and pins, but still the head fell off. I really didn’t want a spontaneously decapitating Santa, so I used plenty of craft glue and attached a pop-stick as a support rod from the body to the head at the back. I had it lined up so the head was in a good position, and I left it to dry, which took ages, but it worked.
With the head finally attached, I cut two red pipe cleaners in half, and used one piece for each limb. I just stuck the sharp point of the pipe cleaner straight into the foam, and then bent them to give my Santa knees and elbows. I thought my Santa was perfect, but Big L said it looked like something out of Tim Burton’s The Night Before Christmas, anyway, I still like it! And the kids liked him too. He sat up on top of our TV throughout the Christmas period, watching to make sure we were all being good 🙂