Mirrored fold.
 We just had to try tie dyeing, it is so much fun, and it produces some beautifully unique and bright clothes. We used basic white cotton t-shirts and singlets for our tie dyeing, but it suits lots of other garments and cloth items too. I bought the tie dye kit from Educational Experience, as I wanted an all inclusive starter pack to help us get this fabulous activity right. This kit even came with a very handy DVD showing how to make some of the popular folds for tie dying.

L creating a swirl fold.

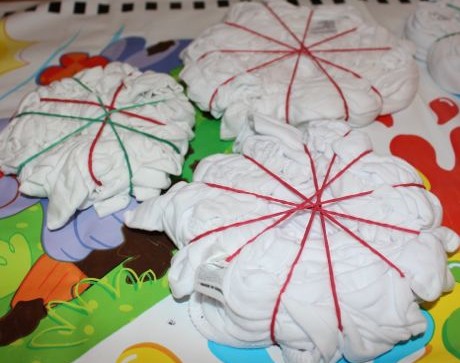
All tied up.
We washed our shirts, and then folded and tied them up in various ways while they were still damp. L was quite good at getting her shirts folded, A needed a little help, especially when placing the rubber bands around the fabric. They tried swirls, scrunches and concertina folds. I also helped A place one of her singlets into lots of little puffs of fabric each secured tightly by a rubber band. I also tied up some shirts. My favourite to do was making the swirl.

Soaking in the soda ash solution.
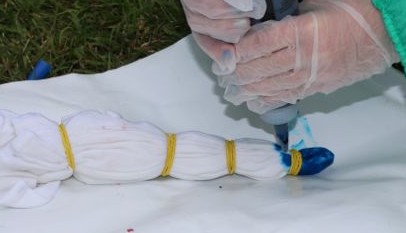
The shirts had to soak in soda ash solution for at least twenty minutes. We did this in one of our large nappy buckets (a clean one!). While they were soaking we got our dyeing area set up. We did it outside to minimise the potential for getting dye on anything that it wouldn’t come out of, like the carpet. I laid down a muck mat on the grass, and the kids wore old clothes and art smocks, as well as gloves to protect their hands. The kit came with dye applicator bottles that required the addition of water and vigourous shaking to make the dye usable, so I did this, and then we could start. There were three dyes, red, blue and yellow, but these were easy to mix to make sections of purple, green or orange.

L dyeing the end of her bull’s eye shirt blue.
Excess soda ash solution was squeezed out of each shirt as we removed it from the soaking bucket. Then it was ready for the dye to be applied. The kids enjoyed putting the dye onto their shirts in various colour combinations. It was very messy though, and even with the protective clothing, both kids had splashes of dye on their skin. A kept touching her face, resulting in numerous dye splotches on her forehead and cheeks, and L splattered some blue dye onto her legs. It didn’t wash off our skin with the first wash, but it was mostly gone by the following day.

Dyeing a swirly shirt.
Some dye ran off onto the plastic muck mat, so we opted to place our shirts onto cake cooling racks to help reduce the run-off dye from getting on the fabric where we didn’t want it. We also wiped down the mat with paper towel and washed dye off our hands in between shirts. When each shirt was finished receiving dye, it was placed into a plastic zip-lock bag to rest for about 24 hours.
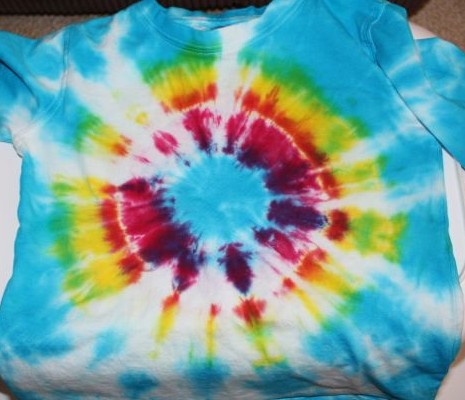
After waiting a whole day, I rinsed the shirts out, removing excess dye. I removed all the rubber bands, and rinsed them some more, and then washed all of them in a regular wash. The first round of rinse water from the machine was still pretty blue, but it ran clear after that. I hung all the shirts up to dry. It was a spectacular row of colour hanging on my line. All the patterns came out wonderfully and the kids are so happy with them.

Spirals.

Scrunch pattern shirts.

L’s bull’s eye.

This is A’s singlet that had all the little tufts of fabric caught in rubber bands. The whitish circles are where the rubber bands were.

The left singlet was folded in quarters and the right was vertically concertina folded.
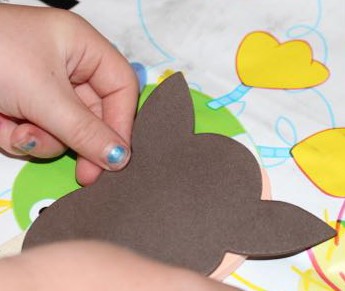
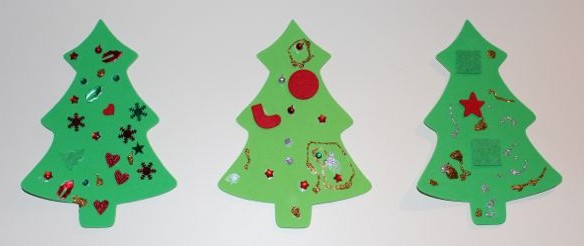
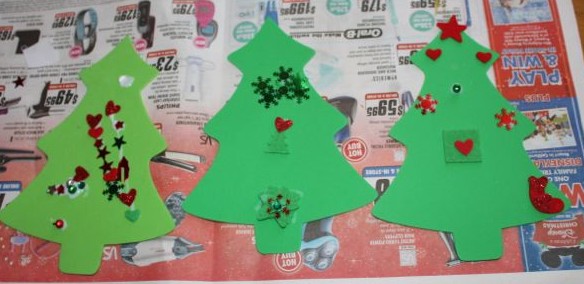
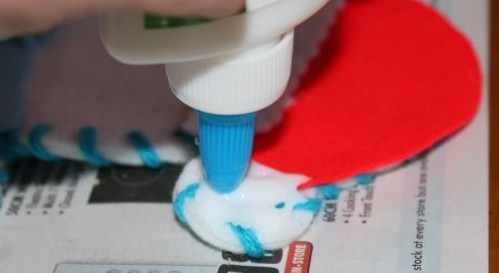
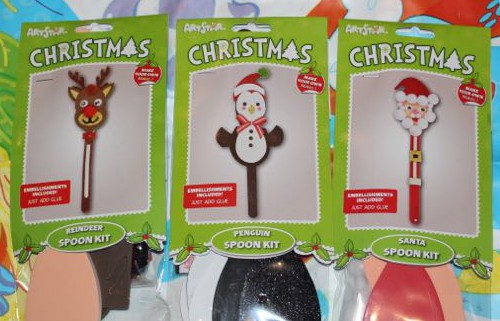 A found these foam spoon kits in Riot Art & Craft last week. She picked out two for her and two for L (who was not with us at the time). They were only a couple of dollars each, and they gave us an hour or so of Christmas crafting fun.