L’s beach scene singlet.

A’s colourful singlet.
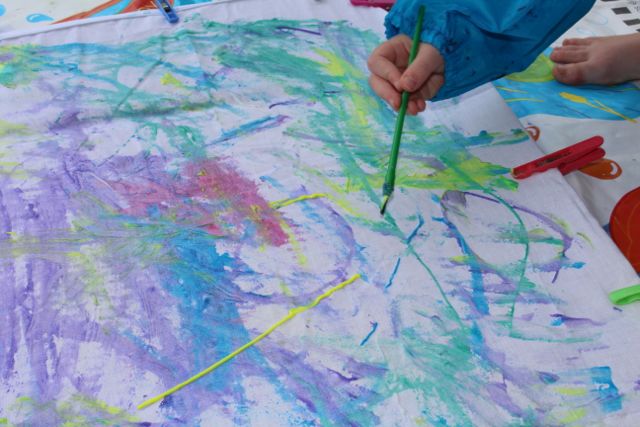
 The kids love to draw, so using fabric markers gave them the opportunity to create an artwork on a piece of clothing and wear it. Before they started, I placed a thick piece of cardboard inside the shirt to prevent the colour from going through to the other side of the shirt. Then I pegged the shirts to the cardboard to keep them still, making it easier to draw on.

Singlets stretched out on cardboard ready for drawing on.
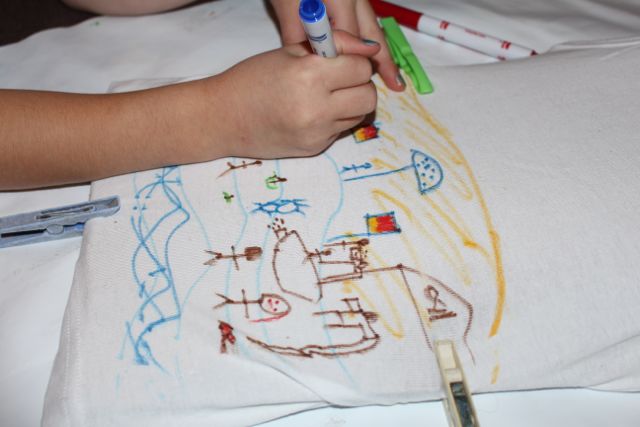
A drawing on her singlet.
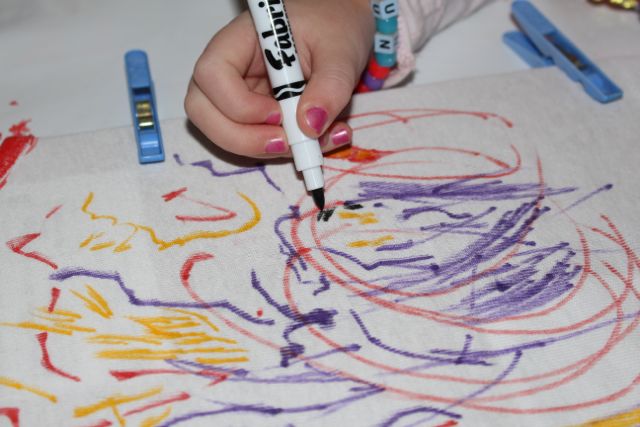
L drawing on her singlet.
Each of the kids had a singlet to draw on, and I told them to draw anything they would like. L drew a lovely picture of the beach, with people swimming, and some boats. There were also lots of seagulls, and people playing on the beach. A chose not to draw a picture, but rather used all the colours to make lines and squiggles all over her singlet. Both of the kids enjoyed making a drawing to wear.
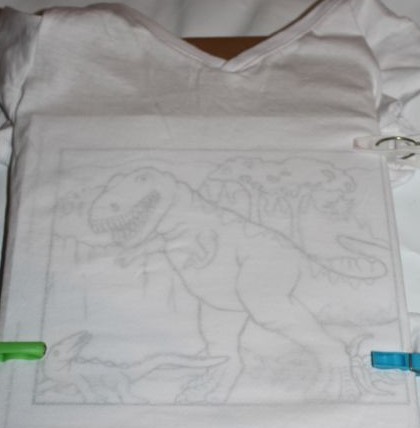
The colouring page under the shirt.
After completing their own freestyle drawings, we tried another type of drawing. This time I printed off some colouring sheets from the Crayola site, as suggested on the back of the markers pack. L chose a picture of a dinosaur, and A chose a picture of a unicorn. I placed the colouring sheet under the shirt and traced the outline of the picture, and then let the kids colour them in. L did a very nice job colouring in her dinosaur, even adding some red blood to its teeth.
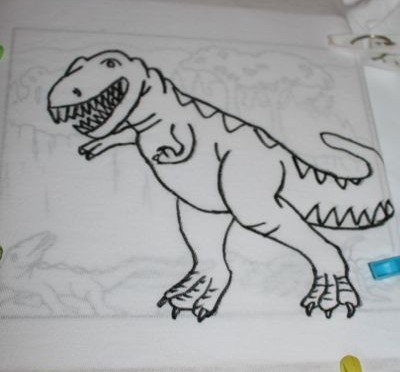
The traced dinosaur.

L colouring her dinosaur.

The outline of A’s unicorn.
Once the drawings were complete, we left them to dry thoroughly before heat setting them with the iron. This involved running the hot iron over the design from the opposite side for a few minutes. After which I washed and dried the shirts and singlets, and the kids could then wear their creations.
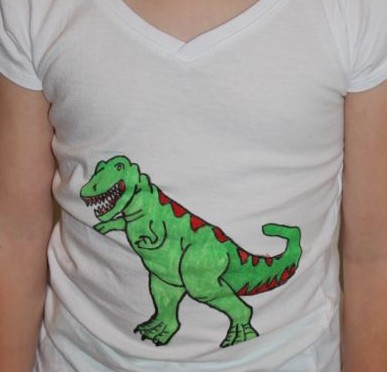
L wearing her dino shirt.