L blowing out an egg.

A blowing out an egg.
Before we started this activity, I washed the eggs to remove any dirt or chicken poop from the shells. We had to blow the egg out of its shell before we could dye them, which meant making a small hole in the top of the egg, and a slightly larger hole in the other end. I was going to use a metal skewer to puncture the eggs, but I couldn’t find one, so an old-fashioned can opener did the trick. To break up the egg to make it easier to blow out, I inserted a meat thermometer and swirled it around inside for a few moments. A toothpick or wooden skewer would have also worked. Each of the kids had a go at blowing out the eggs by placing their mouth over the small opening and blowing through the egg so that the egg white and yolk was forced out the other hole into a bowl. Once all the egg came out, we ran some water into the shell and swished it about to remove any remaining traces of egg, and then blew that out too.

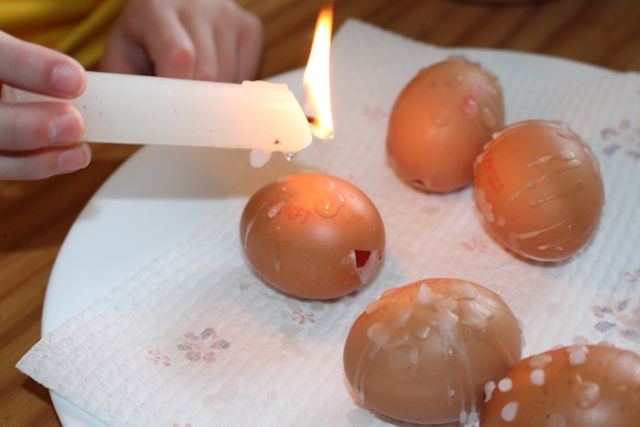
L dripping wax onto the eggshells.
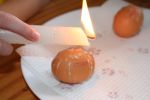
Adding wax to the shells.
The eggshells needed to be dry before we added wax to them, so we dried them in a tea towel, being careful not to break them. I lit a candle with a match and let some of the wax melt. Then we dropped the wax onto each shell, making spots and lines. Melted wax is hot and can burn, so it was particularly important to do this part carefully and with adult supervision. L had a go at placing wax on the shells, but A did not, as I felt she was a bit young to do this without incidence.
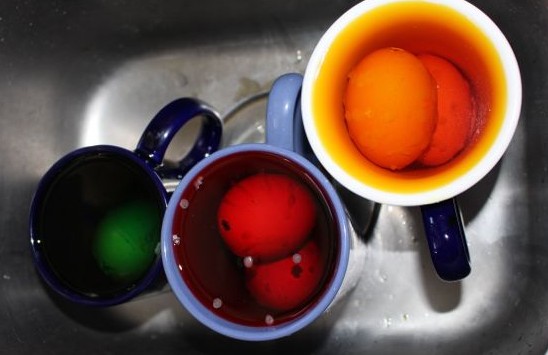
The wax dried quickly on the shells, and then they were ready for dyeing. We used food colouring in cold water for this part. We placed blue colouring into a saucepan to do multiple eggshells, while other shells were placed in cups each containing red, yellow and green coloured water. Egg shells float, so to keep them down, I filled them with the water, making them sink. We left the shells to colour for about an hour.

Dyeing eggshells in cups.

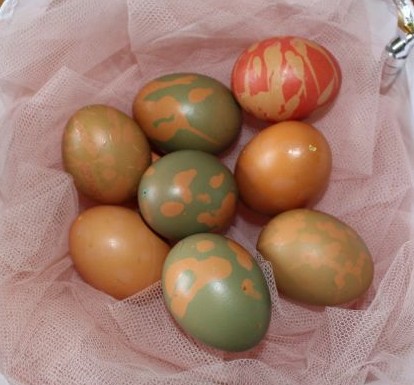
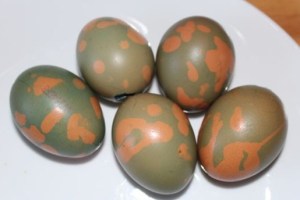
After dyeing.

Prior to removing the wax.
When I removed the shells from the coloured water, we shook out as much water as we could, blew out the rest, and placed them on paper towel to help absorb any excess water. Most of the wax scraped off easily with my fingernails, and the loose wax wiped off with a tea towel. The wax protected the shell from the food colouring, creating patterns of colour and natural egg shell. Blue and red were the strongest colours, and green was light, but still good. The yellow was hardly visible at all, though looking closely, it was possible to see the pattern. The colours may have been more vivid if I had had lighter coloured eggs to work with.
The blue eggs after the wax is removed.

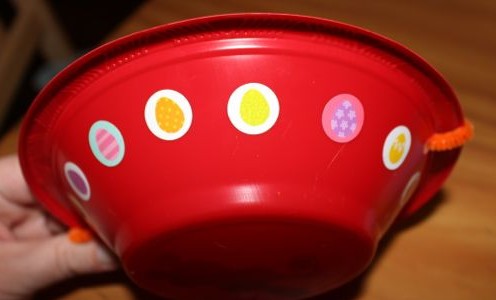
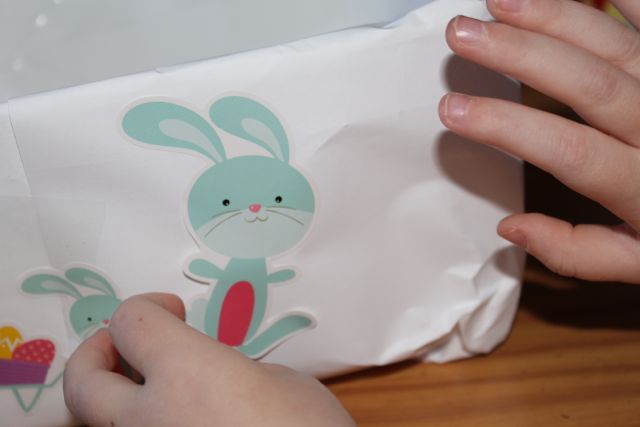
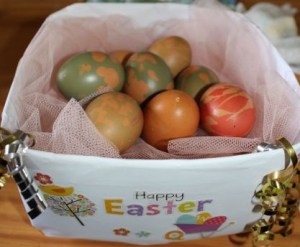
A adding stickers to the egg basket.
The kids decorated a plastic ice cream container that I had covered in white paper. They added Easter stickers and some curly ribbon to make it pretty on the outside. Inside, we placed some bunched up pink tulle to make a cushion for the egg shells to lay in. This has been placed on the table as a centre-piece.
A did drop a couple of the eggshells on the floor after we were finished, and they broke open, so she learnt to be more careful handling the shells as they are only fragile.
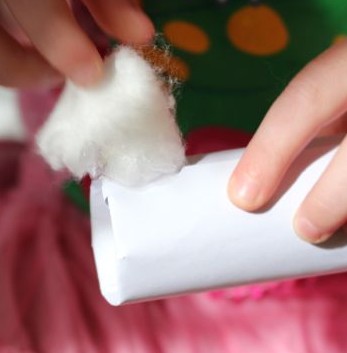
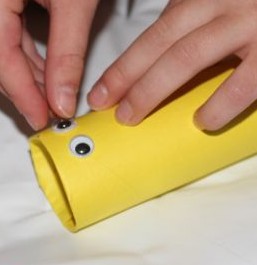
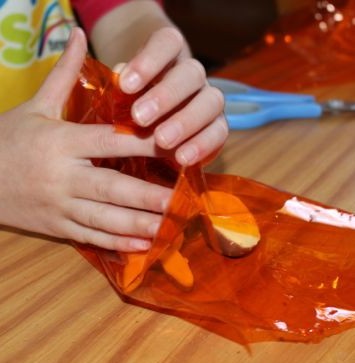
 These cute little bunnies are made from toilet rolls, but any cardboard tubes could be used. We covered the rolls with white paper first. We glued the paper to the tubes, and folded the ends inside the tube for neatness.