The hardest part of making this cake was the figure on the beach. I made the girl, her towel and the tree from fondant the day before I needed them. The rest of the cake was decorated on the morning I needed it.

Fondant snakes before rolling out.

Finished beach towel.
To make the girl’s towel, I started with two lumps of white fondant, one I coloured red, the other blue. I made little snakes in each colour, and carefully lined them up side by side, alternating colours. I sprinkled some icing sugar over the top and then carefully used my rolling pin to flatten the snakes. The two colour stripes joined together as they were rolled out. I then cut off the uneven ends, forming a rectangle to use as the beach towel.

Girl on towel.
I used a very small amount of pink food colouring added to the white fondant to make the girl. I shaped this into a basic body shape, with the arms folded under the head. I added some green coloured fondant to the body for her swimmers, and for her hat. Where required, I used a little bit of jam to stick the separate fondant pieces together.

Palm leaves.

Palm trunk.
The one palm tree was fairly easy to make, though I needed to use skewers and toothpicks to prevent it from drooping or falling over. First I coloured some fondant green, rolled it out flat and cut out some leaf shapes using a sharp knife. I used the side of a toothpick to make the marks on the leaves. For the trunk, I used Nutella to create a nice brown colour, which I then shaped into a trunk shape. I stuck a skewer longitudinally through the trunk to keep it upright on the cake, and two toothpicks perpendicularly through the top to support the leaves. I draped the leaves over the toothpicks, using a little bit of jam at the top of the trunk to stick them together.

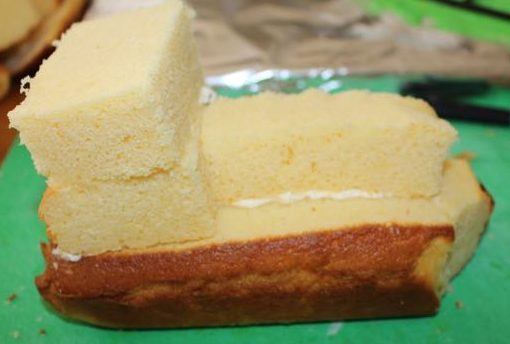
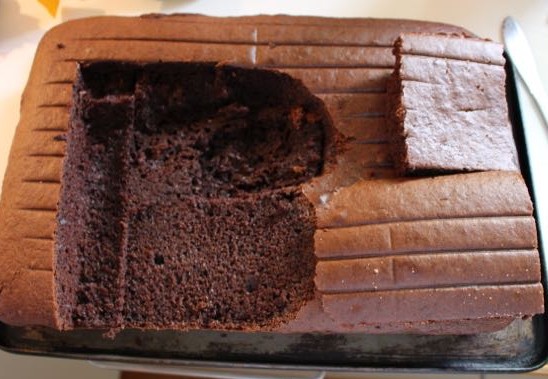
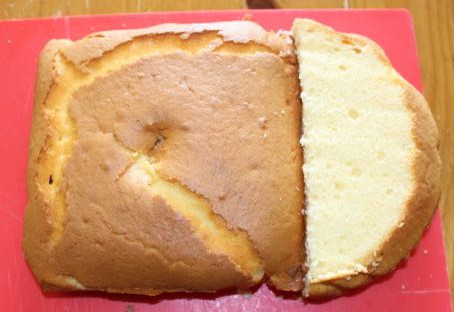
Cake cut and ready for icing.
The actual cake was two large rectangular cakes made in my baking pans (each takes a double cake mix). I placed the cakes side by side then used a sharp knife to cut out the ocean section. I left part of the cake for an island, and the edges prevent the jelly from falling off the cake. I skimmed some of the cake off from the island to create a sloping beach area.

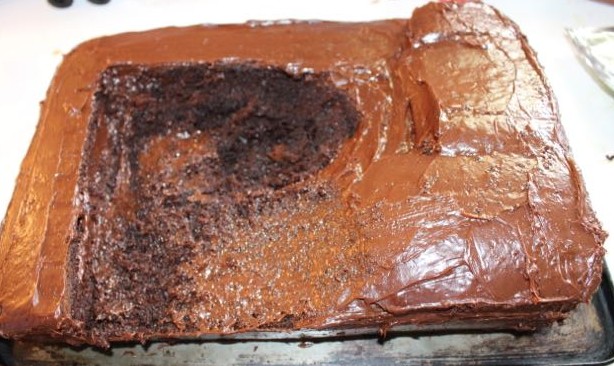
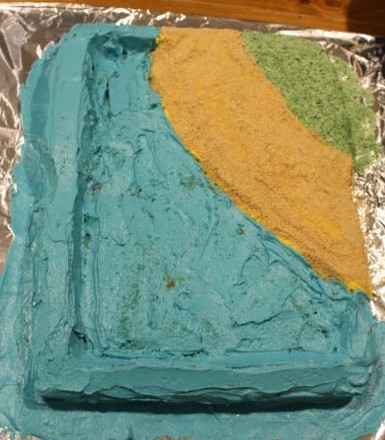
Island and beach iced.

Waiting for the jelly ocean.
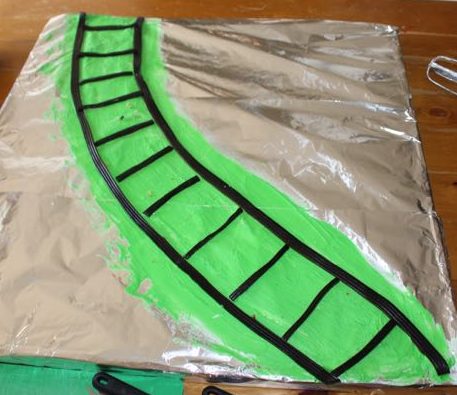
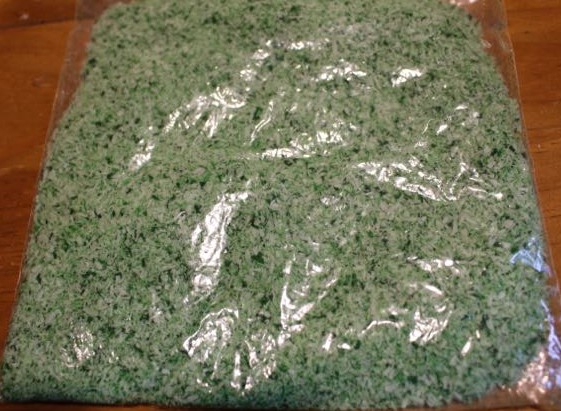
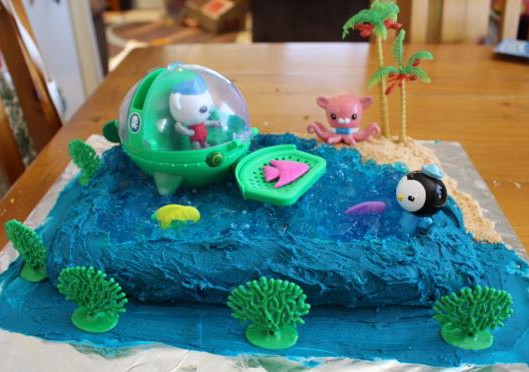
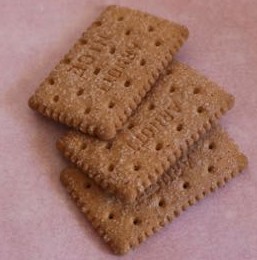
I used a basic butter cream mixture colouring a portion of it green, and a portion of it yellow. I covered the island area with the green butter cream, and the beach area with the yellow butter cream. I made up another lot of butter cream and coloured it blue, which I used over the rest of the cake, down the sides and onto the cake board for the ocean. On top of the green butter cream I added green coloured desiccated coconut for grass. The beach was made using finely crushed plain sweet biscuits (I used Arnotts Nice), and the ocean was filled with blue jelly (berry flavoured, yum yum!). I added a little bit of blue butter cream to the top of the jelly for the waves.

Island grassed, beach sanded, ocean jellied.
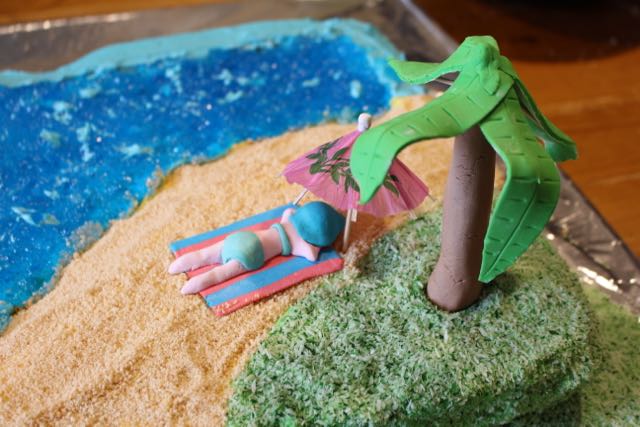
Once all the icing was done and the jelly added, A helped me place the towel and girl onto the beach, and then the tree up on the grass. The skewer through the tree went right through to the base of the cake. As a final touch, A added a cocktail umbrella to shade the girl.
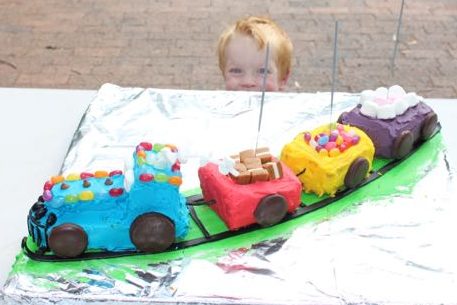
This is quite a large cake, but it could be made to a smaller scale. It went down very well with all the kids!

Girl lying on the beach.