I don’t normally wait until the day of the party to make a birthday cake, but due to a number of circumstances, both in and out of my control, that is what happened. Big L helped out by making up the cake mix ready to cook. Usually this works well, in that he cooks the cake(s) and leaves it to me to decorate, which, depending on what the kids have asked for, can sometimes take hours.

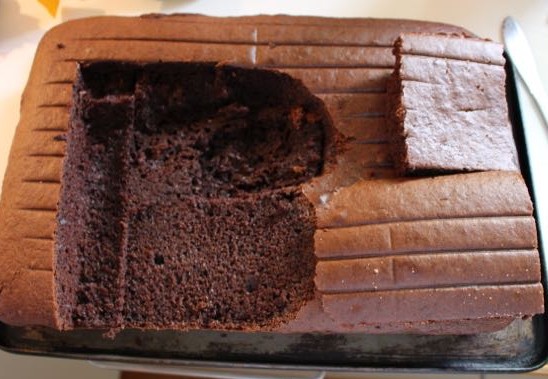
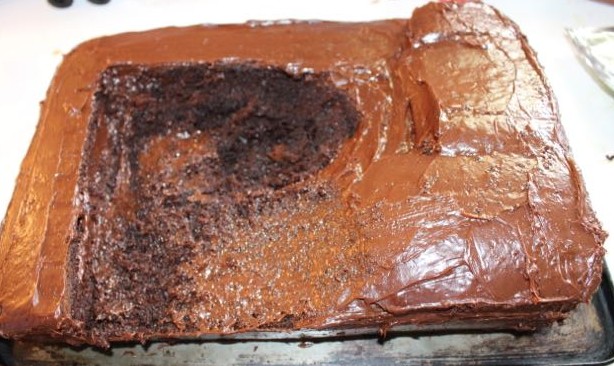
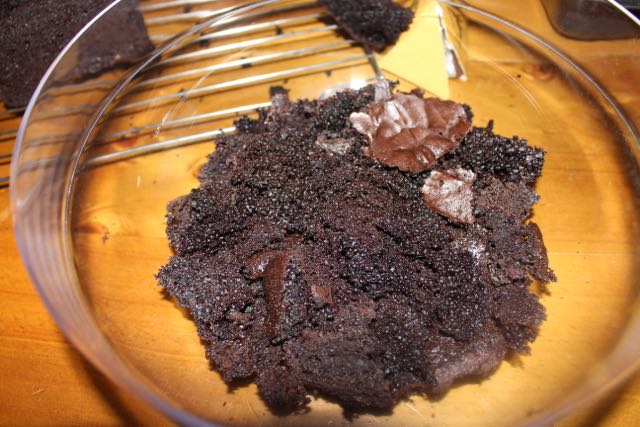
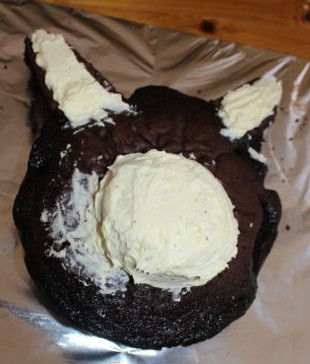
The crumbled mess of chocolate cake.
Except this time, the cooking of the cakes didn’t exactly go to plan. When I went to tip them onto the cooling racks, the cakes didn’t come out easily. With a bit of a shake, I got the square cake out, except that the base and the middle of the cake were still stuck in the bottom of the tin! Big L had a go at removing the second cake, which was in a loaf pan. After a bit of effort, this cake slid out of the tin, also leaving behind its bottom half, and broke in two. I sat at the table and stared at the crumbled pieces of rich chocolate cake. With only hours until our guests arrived, I had to think of a solution fast!
Big L told me to go out and buy a cake from somewhere, anywhere! But I couldn’t just waste all this chocolate cake. Luckily inspiration struck and I rushed to the store to obtain some extra ingredients, to create a dessert which I was thinking of as a chocolate trifle, but I think really deserves the name ‘chocolate heaven’! I might even make this again on purpose next time 🙂

‘Chocolate Heaven’ – a bowl of chocolatey, creamy yumminess.

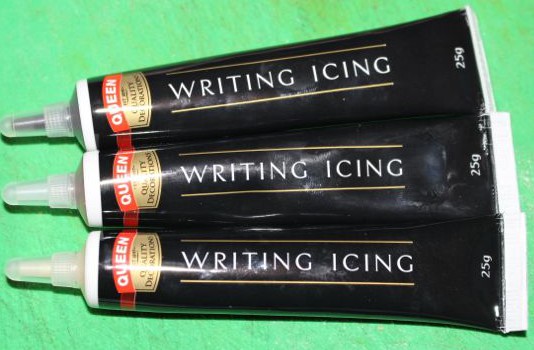
Hastily gathered ingredients.
First I placed further crumbled pieces of the cake into the bottom of a clear bowl. Then I layered thick chocolate custard over the cake. This was followed by another layer of crumbled cake, and a second layer of chocolate custard. This filled the bowl I was using about three quarters of the way up. If I’d been using a deeper bowl, I would have made more layers. Over the last layer of custard I spread a thick layer of freshly whipped cream, smoothing it out with a spoon. To finish, I carefully grated some Toblerone chocolate (which I happened to have in the fridge) over the top of the cream. I refrigerated the dessert until we were ready to serve it.

Crumbled cake in the bottom of the bowl.

Covered in chocolate custard.
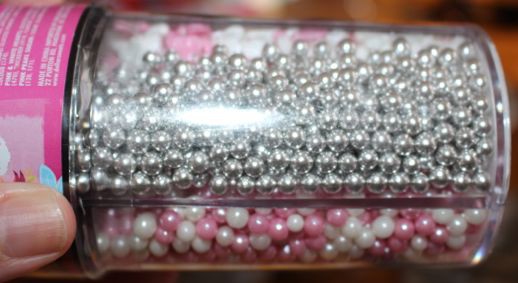
As to the birthday cake, while I was out collecting the chocolate custard and thickened cream, I also grabbed some slabs of plain sponge cake. We placed these side by side and iced them in green butter cream, with silver cachous sprinkled all over the top. It was a very simple, practical and plain cake, but it held the candles for L to blow out, and the kids didn’t mind.
However, the real taste sensation was the ‘chocolate heaven’ dessert! It was soooo good!
So, if you’re like me and have the occasional cake disaster, don’t dismay, throw some custard, cream and chocolate at it and all will be fixed! Please share some of your cake or food disasters and fixes. It always makes me feel better to know I’m not the only one that sometimes has less than stellar moments in the kitchen 😉
(PS. Never, ever, lean over the open grill with a tea-towel slung over your shoulder, it just might catch alight!)
 The Day the Aunts Disappeared by Russell Hughes and KayeC Jones, picture e-book, published in 2016.