Eggs and soldiers made by L.
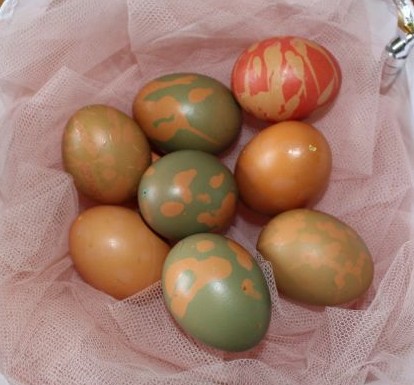
It’s been a busy year for us with a lot going on, including moving to a bigger house! When we purchased our new house, we inherited five lovely chickens who do a very good job of keeping us in an abundance of eggs. The kids love collecting the eggs, playing with the chooks, and feeding them, they are a wonderful addition to our family. The only problem is that my kids claim that they don’t like eggs (unless they are cooked in a cake, of course!). So I’ve been trying different methods of cooking with eggs in the hope of winning them over to the “eggs are yumtastic” camp. I have so far won over the younger three with scrambled eggs, hard-boiled eggs and quiche, but my eldest is still reluctant to even try eating eggs. In an attempt to remedy this, I got her involved in cooking eggs and soldiers this morning.

Placing the eggs into the water.
I helped her get out a saucepan and start heating the water on the stove-top. Our eggs had been sitting on the bench and were at room temperature, so we brought the water up to boiling before adding the eggs to it. L used a dessert spoon to carefully place each egg into the saucepan without cracking them or burning herself.
Since these eggs were homegrown, they varied in size (one of our chooks is smaller than the others and lays smaller eggs), so even though we only boiled the eggs for around five minutes, the smallest of the eggs had already hard-boiled. The larger eggs were nicely soft-boiled.
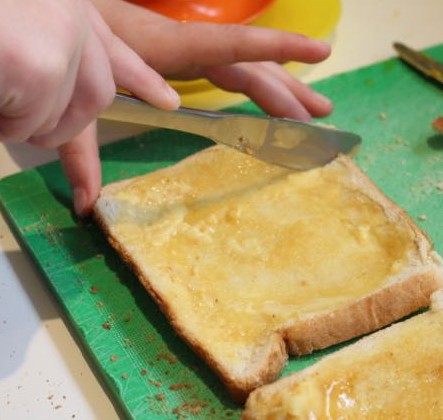
Making buttered soldiers to dip in the eggs.
L had a go at cracking the tops off the eggs using a spoon. As the eggs were very hot, she held the egg gently using a tea-towel to prevent burning her fingers while she removed the top. She also cooked the toast and cut it up into soldiers.
A took one look at the runny egg and refused to try it, while the toddlers hooked right in. L sort of gave the eggs a sniff then told me she didn’t want to try it after all. Oh well…. I had a lovely meal of eggs and soldiers prepared mostly by L, and now I’m back on my quest to convince her to eat eggs soon!