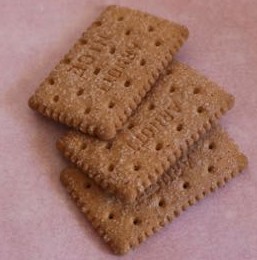
Digger! Digger! Digger! is all I hear as we drive past a building site in town. Both boys are completely obsessed with diggers at the moment, with trucks running a close second. T2 is having trouble with the ‘d’ sound, so he actually says Gigger! Gigger! which is super cute.
To make our toddler boys extra happy on the weekend, we made an excavation cake with little plastic digger toys on it. When I brought it to the table after dinner, they both started yelling excitedly and bouncing in their chairs!
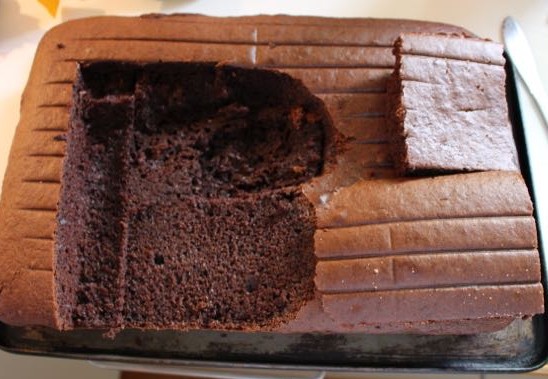
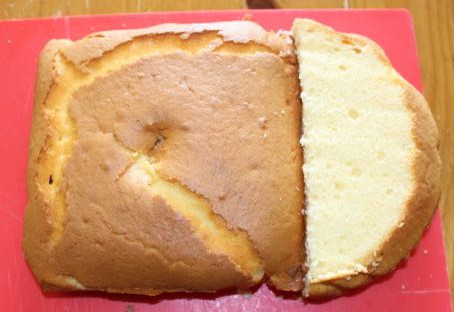
Cake cut and ready for decorating.
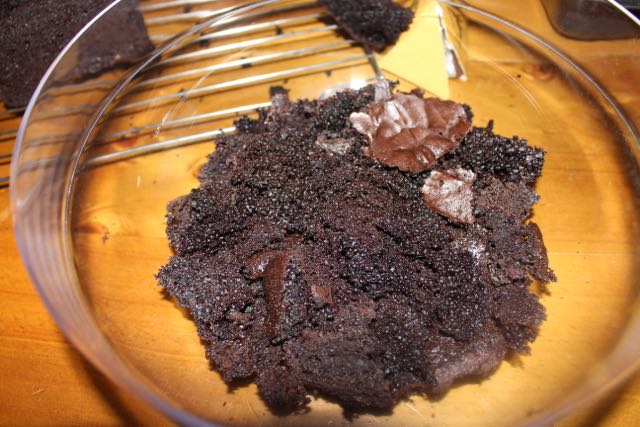
This is a super easy cake to make, and really doesn’t take very long to decorate at all. Cooking the cake is the most time consuming part of this cake. I used two Betty Crocker Devil’s Food cake mixes because this is the boys’ favourite type of cake. We cooked the two mixes together in one rectangular baking pan. Once it was cool, I cut part of the cake out to form the space for the excavation. I re-used some of the spare cake to create a ramp and road along one side of the cake.
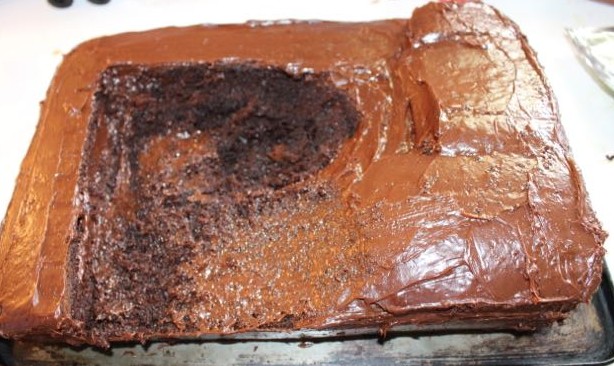
Frosting the cake.
The cake mixes came with ready to spread chocolate frosting, which made icing the cake even quicker. I covered the whole cake with the frosting. L helped me to crush up several bars of Flake chocolate to create the dust and rocks at the excavation. We mixed this with some Coco Pops and spread it around the hole in the cake. We also used some finely crushed Flake chocolate along the path and ramp under the vehicles.
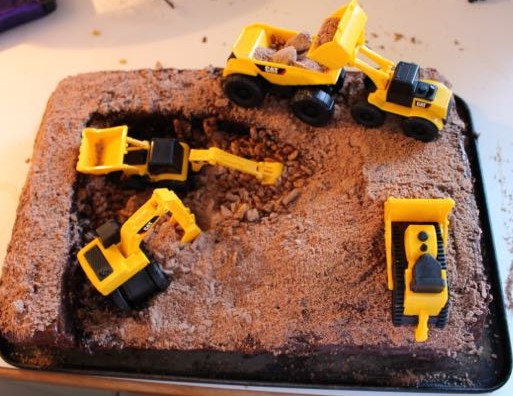
Cake from above.
Then it was time to place the vehicles on top of the cake. The excavation toys I bought as a pack from Toys’R’Us. There were five CAT vehicles, including some diggers, dump truck and bulldozer. We put the diggers into the hole, added the bulldozer to the path, and had the excavator dumping its load into the dump truck. We placed some of the Flake and Coco Pops into the scoops and the back of the truck as if they were actually moving the dirt around.
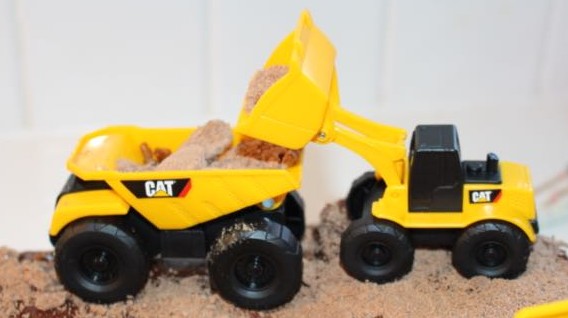
Excavator dumping ‘rocks’ and ‘dirt’ into the dump truck.
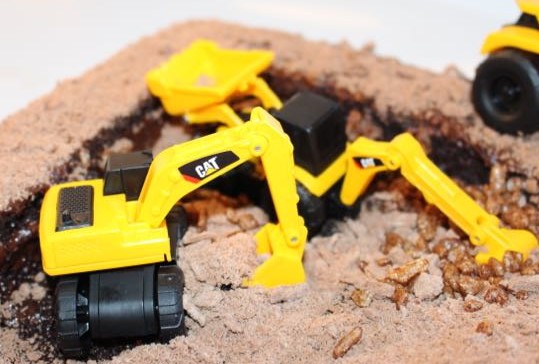
Diggers digging out the ground.