Recently we held a birthday party with a beach theme. As the centrepiece of the food table, I made cupcakes to place on my cupcake stand. My stand has three levels for holding cupcakes, plus a place for one right at the top. I used this design to make the cupcake stand into an island cupcake tower.

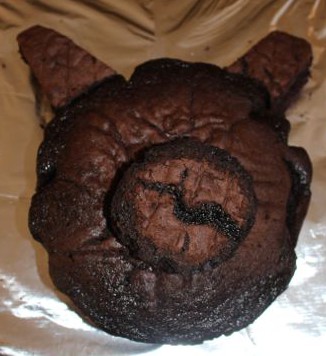
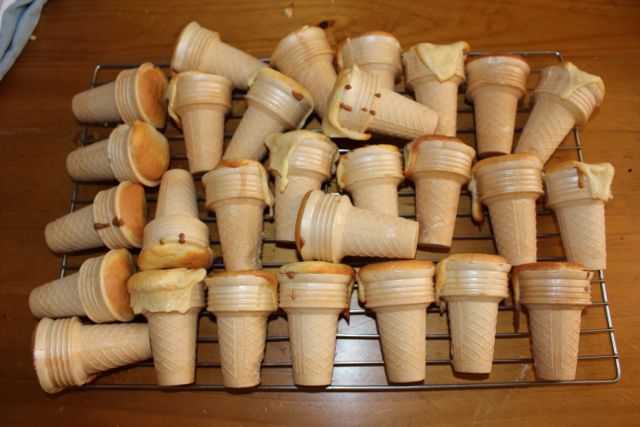
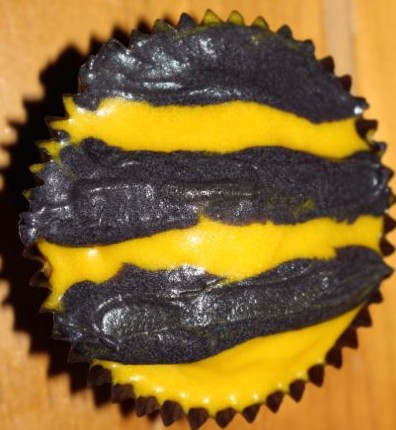
Freshly baked cupcakes.
First, we baked the cupcakes using a basic butter cake mix. A helped me set out the paper cases (she chose ones with Disney Fairies on them!), and spoon the mixture into the cases. We only filled each one about half way so that they didn’t rise too much.
Once the cupcakes were completely cool, A and I divided the cupcakes into piles for each level on the stand. The lowest level held the most cupcakes, and was to represent the water of our island. A helped me mix up the butter (vienna) cream to ice them. I like to use a simple recipe for butter cream that I found on Taste.com. We added some blue food colouring to the butter cream until it was the blue we wanted, and then we generously covered the cupcakes with it. We used the flat edge of a knife to create the “waves” by tapping the top of each iced cupcake, pulling some of the butter cream up in peaks.

A sea cupcake.

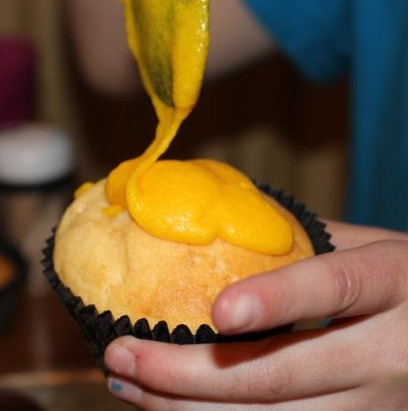
Adding coconut to the top of the cupcake.
We made a second batch of butter cream, this time colouring it yellow for our layer of sand cupcakes. We had previously coloured coconut to use as the sand on these cupcakes. We covered each cupcake with butter cream, and then dipped them into the yellow coconut until the tops were completely covered. I made the butter cream thick on these cupcakes to help hold the plastic toy palm trees we then placed on each one.

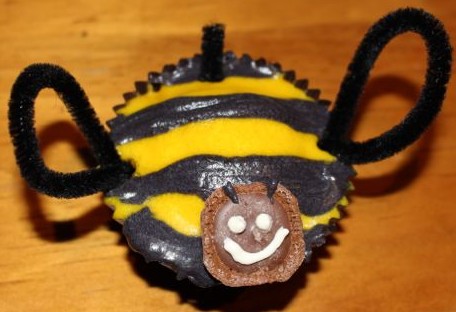
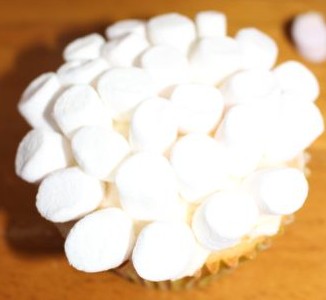
Beach cupcake.

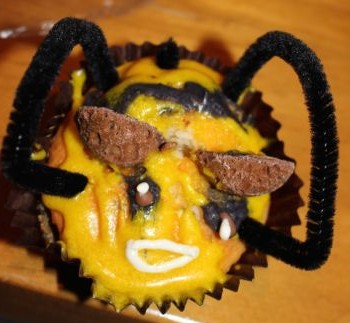
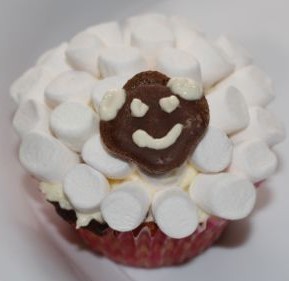
Grassy cupcake.
The final layer of cupcakes was to be the heart of the island, with green butter cream and green coconut for the grass. Again, we applied the butter cream generously to help secure the plastic ferns we added for foliage. These cupcakes were the pinnacle of the cupcake stand. The cupcake on the very top was the centre of the island, which sloped down to the sea at the bottom. I think it looked quite effective on the table!

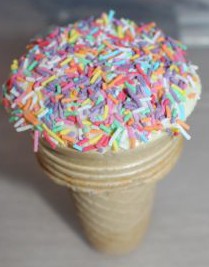
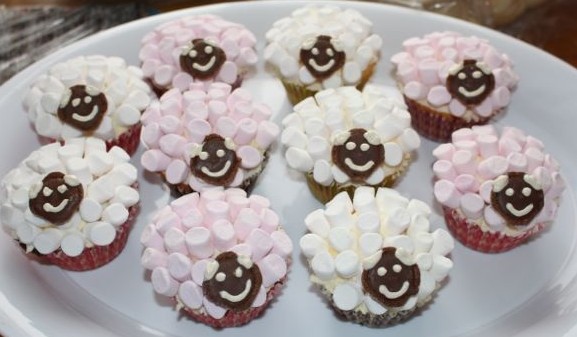
Island cupcakes.