 Most people with younger kids have probably heard of a little Disney flick called “Frozen”… At some point your child may have been invited to a “Frozen” themed birthday party, or insisted on having one themselves. For most young girls this is a small matter of putting on a store-bought Queen Elsa or Princess Anna dress and popping along to the party.
When our family was invited along to a recent “Frozen” party, A was set, as she already had costumes. L thought about going as Olaf the snowman (whom she loves) or perhaps as Sven the reindeer, but settled on me finding her an Anna or Elsa dress. Thus, on the morning of the party, I had two little girls going as Princess Anna. About an hour before the party was supposed to start, L suddenly decided she didn’t want to go as Anna, she would much prefer to be Olaf!
Couldn’t she have mentioned this the week before? Or even the night before? Of course not, and now with an hour to go, if she doesn’t go as Olaf, it will be the worst day ever…sigh… Can I just take a moment to curse the merchandisers for not producing Olaf (or Sven) costumes? A last minute dash to the store might have been manageable, but instead I was faced with a likely meltdown from a child suffering from generalised anxiety, which could lead to a late arrival or complete failure to attend the party, as well as many tears and screams, and much patient coaching of relaxation and calming techniques masking irritation for the tantrum, and a deep sadness for my child. Averting the crisis is always easier than settling her, so I quickly put on my creative solutions hat and dashed off to the craft drawers for supplies.

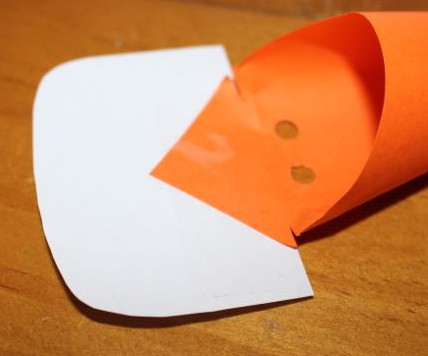
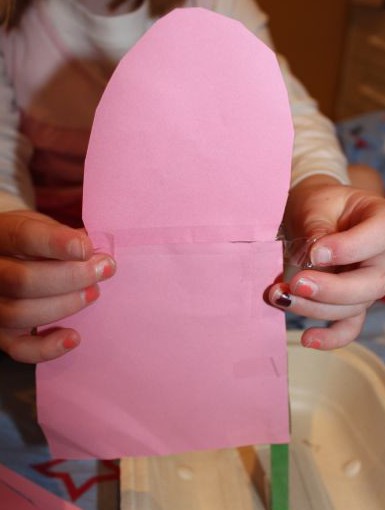
A carrot nose.
The easiest and most obvious place to start to turn my child into Olaf, was to give her a nice carrot nose. She wanted to strap a real carrot to her face, but quickly realised that it would be too heavy. Instead, I used a square of orange paper rolled around to form a cone, and tape to secure it. We added a piece of white paper to the carrot nose to simulate Olaf’s big front teeth.

A tooth and some air holes.
Elastic was used to keep the little mask on L’s face, and a couple of breathing holes were made on the underside of the nose for a more comfortable wear.

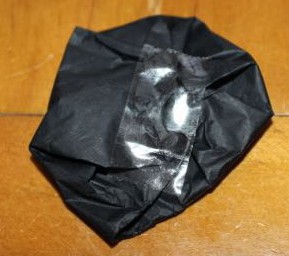
Black buttons.
While I formed some coal buttons out of black tissue paper circles, L went to her room to find some white clothes. She came back with some long white shorts and a plain white singlet. These clothes were perfect. I attached the buttons to the front of her singlet with double-sided tape.

Tissue paper folded back on itself and taped to form a button.
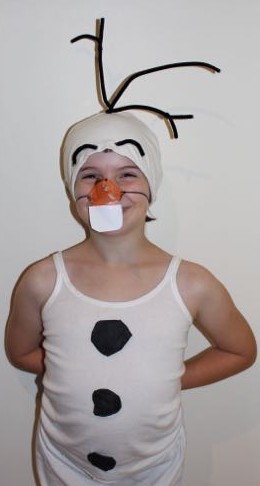
Olaf has big black eyebrows and twig hair. I thought I could do something with black pipe cleaners (chenille sticks), but wasn’t sure what to attach them to. L suggested using a swimming cap, which was a great idea, except that all our swimming caps are blue. After wracking my brain for several minutes I went to search through the drawers looking for inspiration. I found a soft knit belly band from when I was pregnant with Baby T. I fastened this around L’s head, scrunching the excess band into a hairband, and then smoothing the front back over her head. To this I attached two small pieces of pipe cleaners above her eyes as eyebrows with double-sided tape. We used several pieces of pipe cleaner to fashion his twiggy hair, as close to the picture of Olaf as we could get. Taping this to the top of L’s head in a way that stuck up was the hardest piece of the costume, and if I’d had more time, I would have liked to stitch it down, but we were plumb out. Luckily L really liked the costume and we got off to the party in time, and had plenty of fun.

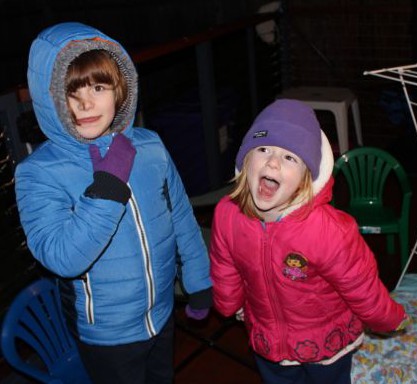
My little Olaf ready for the party.
 My Adventure Island by Timothy Knapman and Sarah Warburton, paperback picture book, published by Scholastic Chidlren’s Books in 2012.