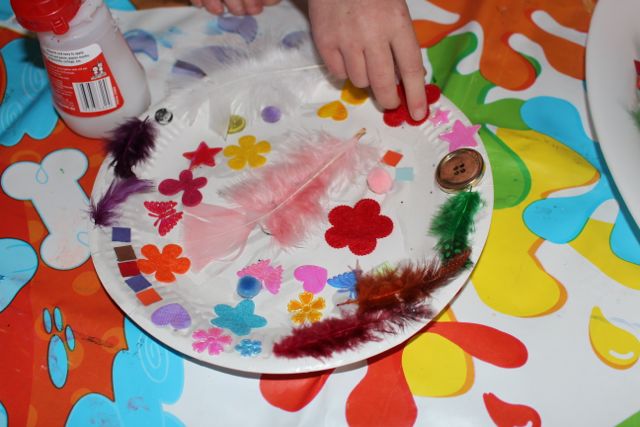
Colouring a rainbow.
Paper plates, again, so versatile! I cut some paper plates in half and I coloured one half in using markers to form a bright rainbow on one side. I coloured the other side with crayons, which made a pale rainbow. A liked the bright marker rainbow better, so she chose to use the markers for her rainbows. It was easy to make the arch of the rainbow by following the shape of the plate, though for some reason, A’s rainbows have more stripes than normal, and they are a bit jagged and spiky. She is no perfectionist!

Colouring the second rainbow.
Once she had finished colouring in two rainbows, she punched a hole into the top of each plate. She also punched a hole in the rainbow I coloured in, as she wanted to use it on her mobile. I helped her to tie some white string to the rainbows, and then attached them to a plastic hanger. I collected a handful of these hangers from some clothes I had bought the children a few weeks back. I knew they would come in handy, and they are perfect to use as the top of our mobile.

Very proud of her mobile.
She was very pleased with her mobile, and asked me to hang it up in our lounge room.