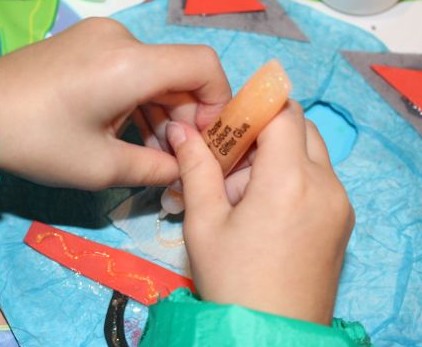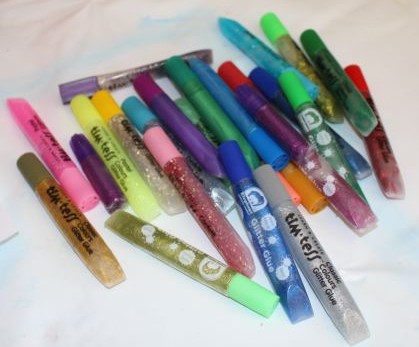
Our pile of glitter and metallic glues.
We have a tub of glitter glue and metallic glue tubes that the kids use on all sorts of projects. I like using glitter glue over glitter as it is generally less messy (unless A leans in it and then spreads it all over the place…or dangles her hair in it), and it’s easier to place exactly where we want it. The downside is that the kids (especially A) put it on so thick it takes ages to dry, and we often need to leave our projects at least overnight to dry.
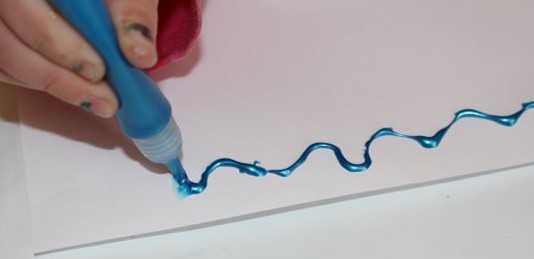
Drawing on her waves.
Today A used the glitter and metallic glues to draw a jellyfish picture. She started out painting fish, but they morphed into jellyfish. She also wanted to add an eel, but it grew tentacles and became a jellyfish too. She drew waves with some blue metallic glue, and sand with yellow glitter glue. There’s also some seaweed done in green metallic glue.
I like how glittery this picture is.

Drawing sand at the bottom of her picture.

Making a jellyfish.