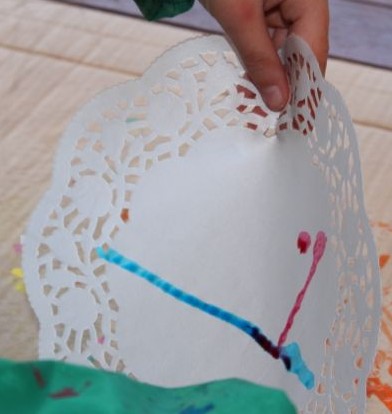

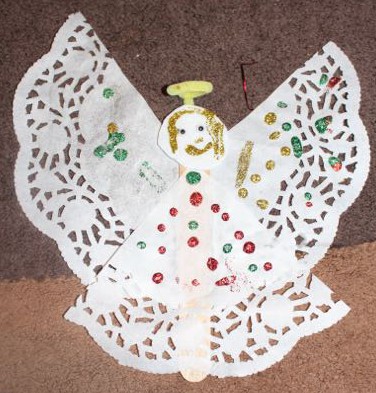
Laying out the wings.
Doilies make pretty angel wings and skirts. We cut a triangular section from a doily, and used this piece as the angel’s skirt, while the rest of the doily was turned upside down and became the wings. We glued the pieces of doily to an oversized pop-stick (like the tongue depressors the doctor uses to look in your throat). This formed the body of the angel.
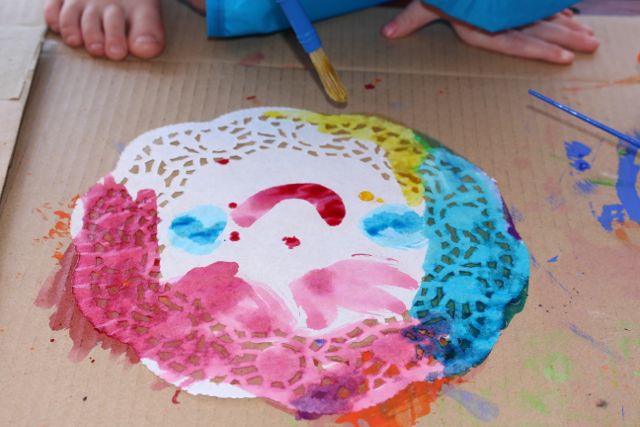
Attaching the skirt and face.
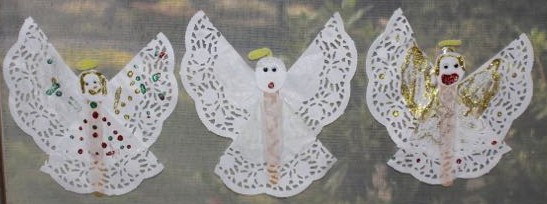
I cut out circles of white felt to use as the angel’s face, and a third of a pipe cleaner (chenille stick) was bent around to form a halo. The halo was glued to the back of the felt head piece. The kids decorated their angels with glitter glue and glitter paint, and added little googly eyes. The middle angel in the picture above is actually covered in glitter, but it can’t be seen in the photo.

Painting an angel.
We stuck the angels up on the window next to where our Christmas tree is.

A halo.
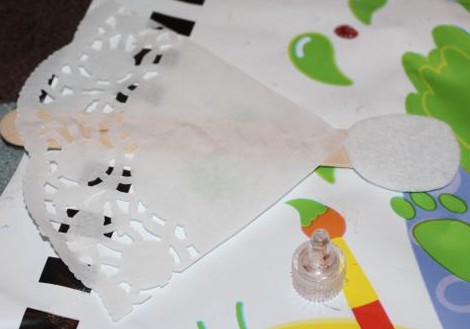
The doilies are quite light and will not stay up on their own, and will droop without further support. We used blu-tack to stick the wings to the window, but we could have added another pop-stick (or two) onto the back of the angel to support the wings independent of where the angel was being displayed.
A’s angel.