For Mother’s Day this year we made bookmarks using the hand-prints of the kids. I found some old scrapbooking papers that had pink or blue heart patterns on them to use as our base for the hand-prints.

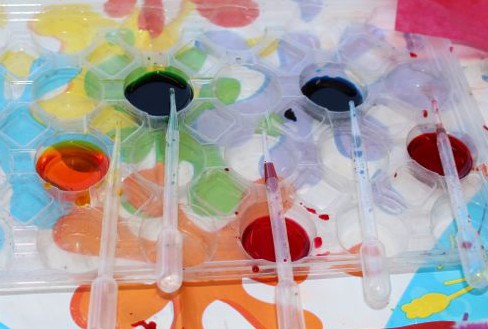
Using the paint pad.

A’s hand-prints.
Each child chose the background paper to use, and the colour of paint for their hand-print. Predictably A chose pink on pink for her bookmarks. L used the rainbow paint pad for her hand-prints on the back on the blue paper. Unfortunately the rainbow paint didn’t come out as clearly as the other paint, but L liked it as it was. The boys used blue paint on blue paper. Using paint pads for hand-prints makes it easy to get a good amount of paint on the hand, and is much less messy than using conventional paint.

Hand-prints.
After the hand-prints were dry, I carefully cut around each hand. The kids wrote some lovely messages on the back of one of their hands using a marker. A pushed down her marker quite hard, and the ink is visible through the hand-print. She also drew a lot of love hearts! I love it because it is so unique.
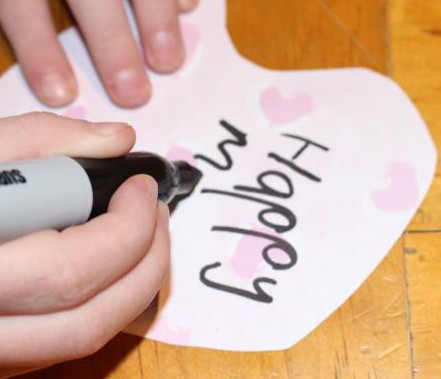
Writing a message on the back of the hand-print.
To finish the bookmarks I laminated the hand-prints. I arranged the hand-prints so that A’s hands and Baby T’s hands were together to make a bigger bookmark each, while L’s hand-print was big enough as one. I also did a single print of my hand to make a bookmark for my mum. Once laminated, I carefully cut around the hand-prints so that there was a small amount of plastic laminate around each one. The kids were happy with their bookmarks.
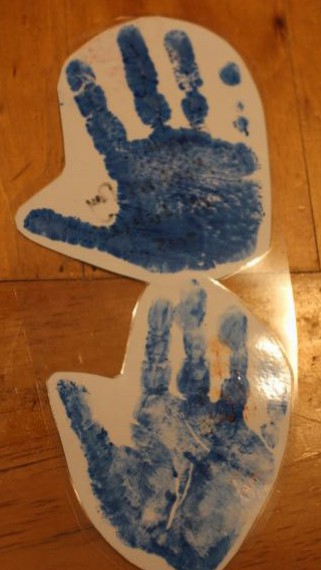
One of the boy’s bookmarks.

A hand-print bookmark in my latest read.