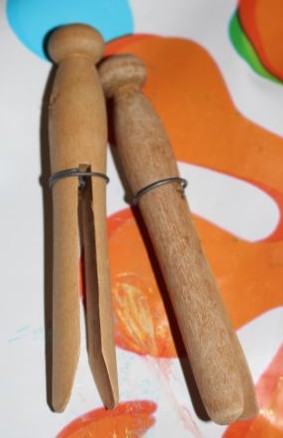
Wooden pegs.
A friend gave me an old tin full of wooden dolly pegs recently, which are just perfect for making little dolls.
L and A each took a peg, and then went through our fabric scrap bag to find something to make some clothes. A made her doll a dress by wrapping a strip of floral fabric around her peg. I helped her tie a thin ribbon around the doll’s waist. L used two strips of fabric to make a shirt and some shorts.

A’s lovely hair.
They used some craft doll’s hair to give their dolls lovely flowing locks. I had to help A gets her hair glued down so that it only covered the back of the head. L also had a bit of trouble getting the hair onto her doll, as once it hit the glue, it stuck to her fingers as well.

L drawing on a face.
A added some pipe cleaner arms to her doll, and L made shoes out of pipe cleaners for her doll. L decided her doll did not require arms. They both used markers to draw on a face, but A’s went wrong, and she ended up colouring the whole of her doll’s face in black. So we added some tiny googly eyes on, which make the doll look a bit scary, but A was very happy with it.
L also added some details to her doll’s outfit using the markers. She said this doll would be the perfect size to use as a worry doll. L sometimes likes to use a worry doll to help keep herself calm when she knows she will be in a stressful situation, such as going to the dentist or having a vaccination.
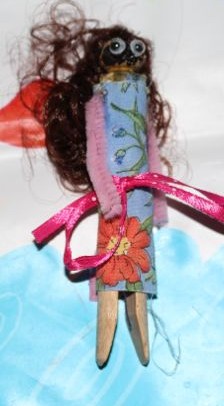
A’s doll.
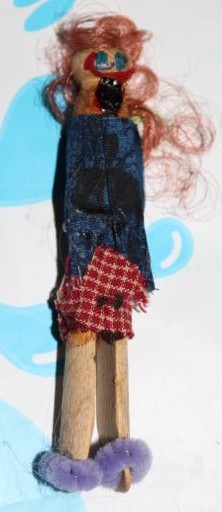
L’s doll.