We sometimes get parcels or items that have bubble wrap protecting their contents. If I can grab it before the kids pop all the bubbles, I usually collect the bubble wrap to be re-used when we post something. In my pile of bubble wrap, I discovered three different sizes of bubbles which was perfect for doing some bubble wrap prints.

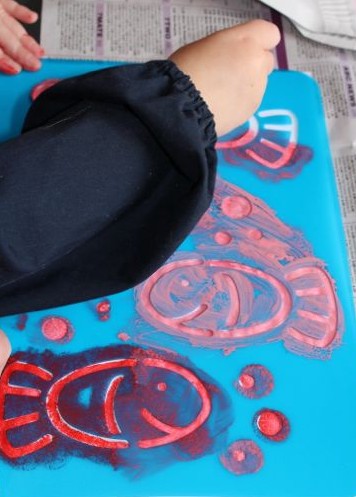
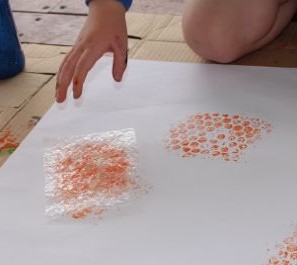
Adding paint to the bubble wrap (and hands).
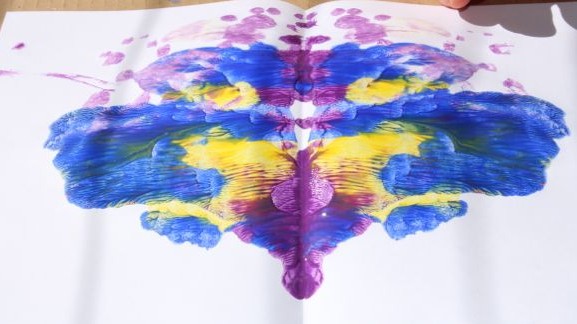
First we tried using a paintbrush to apply the paint directly to the bubble wrap, and then placing the painted bubble wrap onto the paper, but there was just too much paint, so we weren’t able to discern the bubble pattern. It worked much better when we added paint to some kitchen sponges and then pressed the bubble wrap against the sponge to get a little bit of paint. Then L and A pressed the bubble wrap against the paper, and lifted it up to reveal the bubble wrap print left behind.
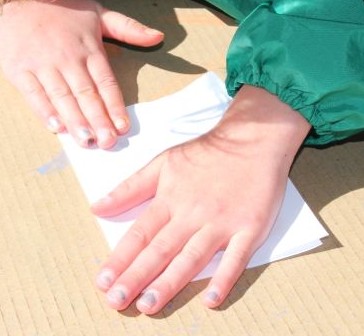
Pressing the bubble wrap to the paper.

Using the large bubble wrap.
The medium sized bubble wrap (orange) worked the best of the three sizes. We used different colours for each size too, adding further variety to our prints. L favoured the large bubble wrap, while A liked using the medium bubble wrap best.