When I was in school, we did an experiment with milk and food colouring that was really cool. I couldn’t remember exactly what went into the milk, so I had a look about the internet, and found the experiment I was thinking of over at DLTK’s Crafts for Kids, and they even had a video showing how it’s done!

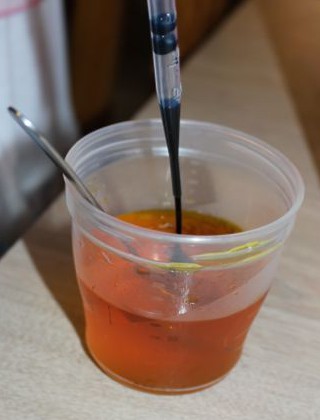
Food colouring and milk in the tin.
This experiment is really easy, yet so amazing! We placed a shallow layer of milk into a cake tin. We only had light milk, so that’s what we used, and it worked just fine. A used a pipette to place some red, yellow and blue food colouring at roughly evenly spaced intervals around the edge of the tin. Once the food colouring was in, I placed a squirt of dish washing liquid into the centre of the tin, and we watched eagerly to see what would happen.

A few moments after the dish washing liquid was added.
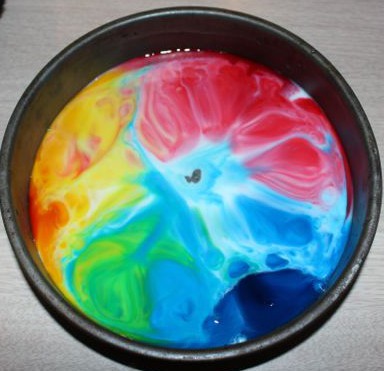
The dish washing liquid doesn’t mix with the milk, so it spreads out across the surface of the milk. The food colouring gets caught in the movement of the dishwashing liquid, and causes the colours to move and mix. We got a rainbow! The reaction can continue for a while, making new colours and awesome patterns. There’s no need to mix or move it for the colour mixing to continue. After about ten minutes, A wobbled the tin a little to see what would happen. It made the colours mix even more.

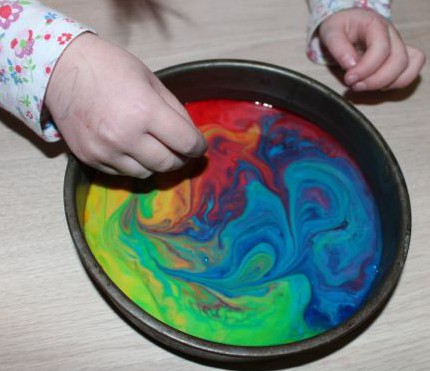
After a few minutes.

After about 10 minutes.
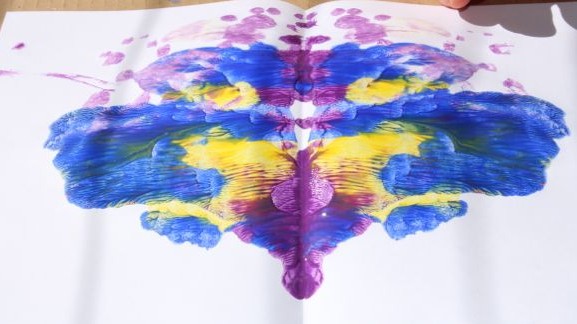
A thought this experiment was so incredible, she asked to repeat it once L and Big L were home. L put a lot of dish washing liquid into the milk, and the reaction happened much more quickly than our earlier attempt. As the colours mixed, Baby T was completely mesmerised by the movement of the colours. This time, after the colour mixing had begun, we let the kids have a toothpick to drag through the colours to make even more interesting patterns. They enjoyed doing this, and kept doing it until the colours had mixed so much it was a murky brown colour. Science is pretty cool 🙂
A few minutes into the second experiment. The spot in the middle is the dish washing liquid.
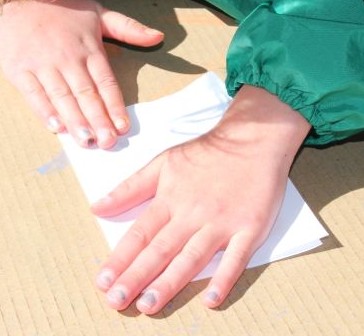
Using a toothpick to make new patterns.