 Paper weaving is a simple activity that kids love. It can be done with just two contrasting pieces of paper. A chose a sheet of purple paper for her base, and then some green, light blue and dark blue paper for her weaving strips.

The cut base, with the edge forming the frame.
I folded the sheet of purple paper in half (short ends together), and then cut in from the folded side, leaving a couple of centimetres at the end and edges to form a frame around the edge. Each cut was about two centimetres apart, but there’s no need to be exact.
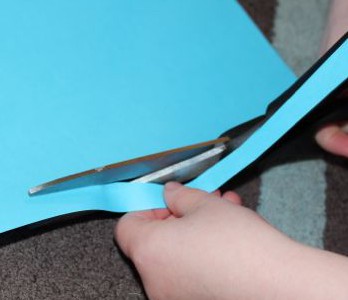
Cutting a strip of paper.
A cut some strips of coloured paper to weave through the base sheet. She made some thin and some fat. I think having uneven strips makes the finished artwork more interesting than even strips.
A started weaving strips through the cuts of the base sheet. She practiced over, under, over, under… until her strip was all the way across the base. Once she had a strip weaved through, she pushed it up against the edge of the last one, and did another one. It was a little difficult to get the last strip in, as there wasn’t much space left, so I helped her finish it off.

Weaving paper strips.
A added a dab of glue under the end of each strip to hold it in place. The Clag glue made the colour in the paper run a little, so we could see where the glue was even once it had dried, so next time we will use a glue stick!

Putting on some glue.
