L’s frame.

A’s frame.
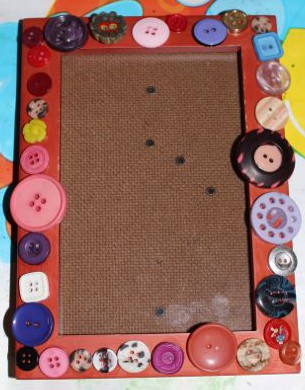
It’s nice to have photos displayed around our home, but most of our frames are a little boring. I picked up some plain wooden photo frames in Bunnings that we could decorate any way we pleased. We made them into shell frames.

Painting the frame white.
First we gave the frames an undercoat of white acrylic paint. Both L and A got white paint everywhere, so I was glad we had the muck mat down. Painting the frames wasn’t vital, but I thought it would look better than the plain wood.

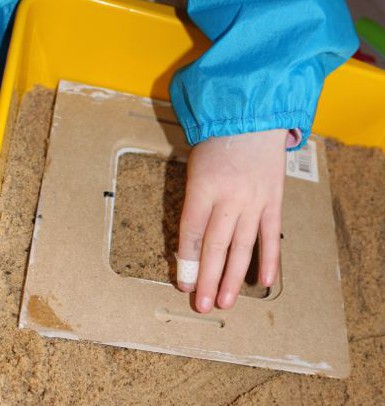
Pressing the gluey frame into the sand.
Once the paint was dry, the kids painted on a thick layer of PVC glue all over the front of the frame. I had placed some clean sand (sandpit sand from Bunnings) into a tray big enough for the frames to be placed face-down into the sand. The kids took turns to put their glue-covered frames into the sand. Just pressing the frame down into the sand was quite effective at getting the sand to stick to the glue. There was the occasional patch that didn’t have sand, but the kids just added a bit more glue and then sprinkled sand onto these places, and pressed the sand down.

Adding glue to a shell.
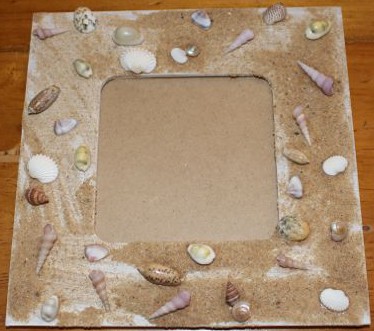
We left the sandy frames to dry for long time (due to damp weather), and then we shook off any excess sand that wasn’t stuck down. Now we used PVC glue to add some small sea shells to the frames. A put all of her shells together in one corner. She used so much glue to place her shells, it took several days to dry completely. L placed just a few shells down two sides, while I added shells randomly all over the frame I decorated.

Sticking shells down.
These frames look very impressive, and they were fun to make. They will look even better once we get photos into them!

My shell frame.