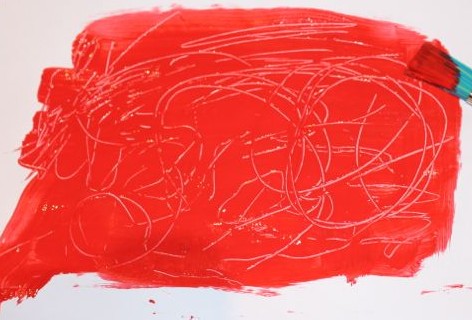
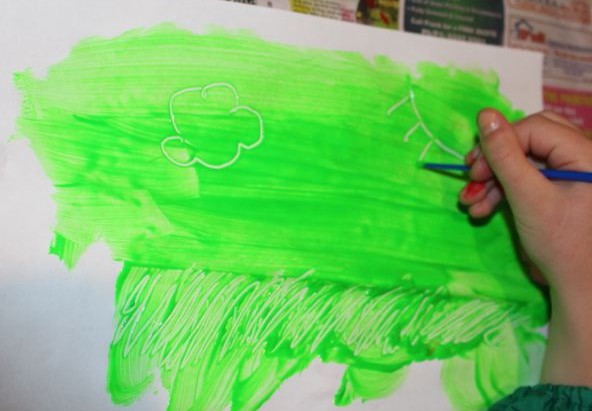
We like to experiment with different types of painting. Today we tried using paint bellows and a screen with a toothbrush to create some rainbow paintings.

Paint bellows.
We used canvases for this, and as it had the potential to be quite messy, we decided to paint outside with art smocks on. This was a very good choice, given how much paint the kids managed to get on themselves despite the smocks!

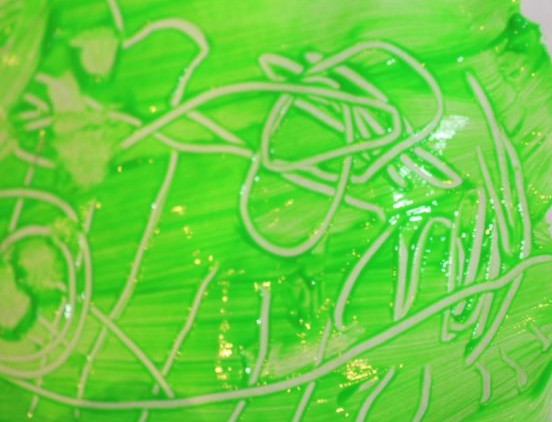
Using the paint bellows.
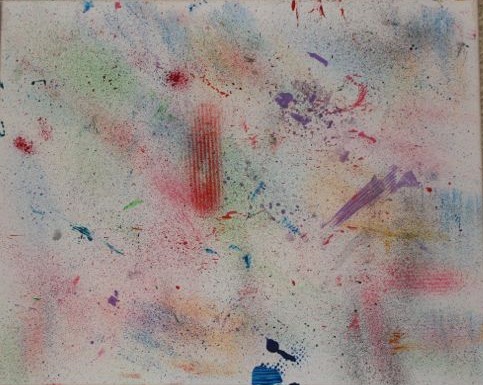
A used the paint bellows on her canvas. We only have three, so she used three colours at a time, and then I washed them out, and she used three different colours. She had a little trouble drawing the paint into the bellows, but she really enjoyed blowing the paint out onto the canvas. It made lots of sprays of colours with some larger blobs of paint. She continued using different colours until she had a nice rainbow of colour right across the canvas.
A’s paint bellows canvas.

Close up of the bellows painting.
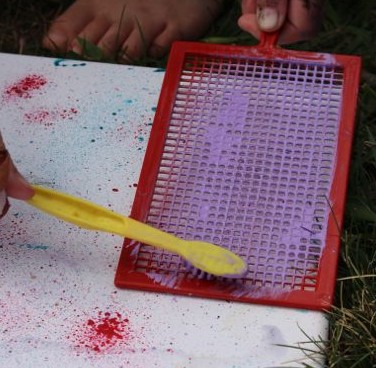
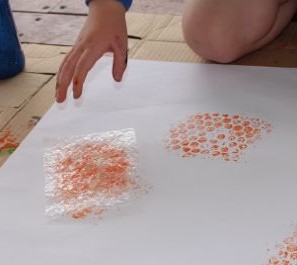
Using the screen and toothbrush.
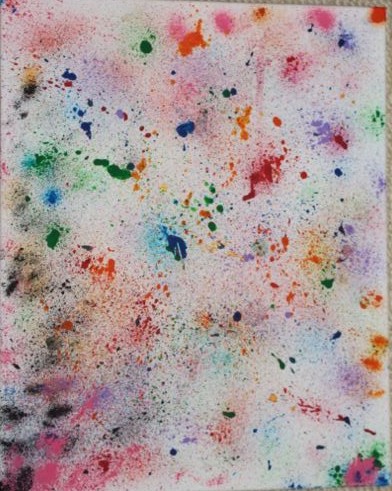
L used the screen and toothbrush on her canvas to create a sprinkle painting. She used one colour at a time because the screen was very small. She put some paint onto the brush and rubbed it across the screen, whilst holding the screen fairly close to the canvas, but not touching it. This produced a fine mist of paint directed onto the canvas. She washed and dried the screen and brush between colours, and continued using paint until her canvas was covered by rainbow mist.
L’s sprinkle painting.
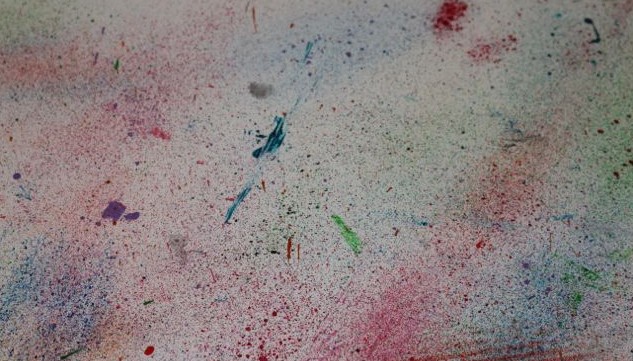
Close-up of the sprinkle painting.
The screen and toothbrush produced a much finer droplet pattern than the paint bellows, but both methods created pleasing paintings.