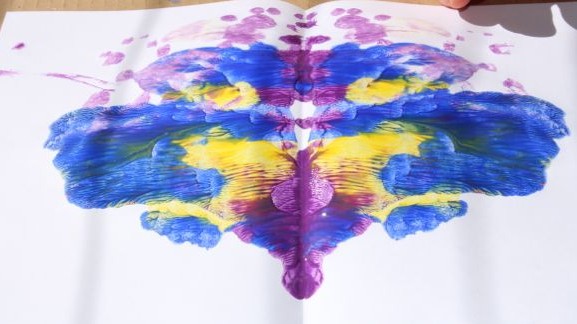
These sort of paintings probably have a real name, but I’ve always thought of them as squishy or butterfly paintings due to the way the paint is squished between the paper, and that the final outcome often looks butterfly-ish.

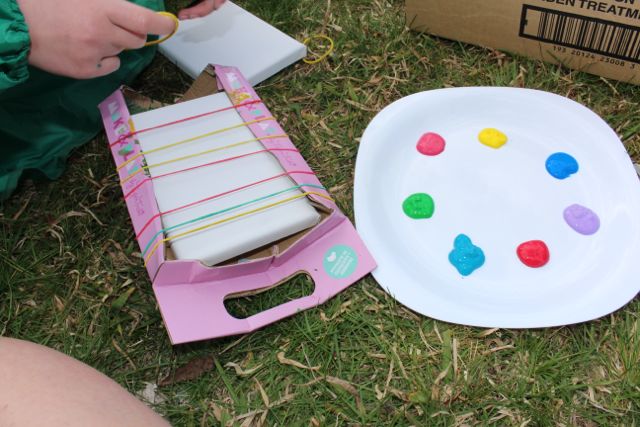
Blobbing the paint onto the paper.
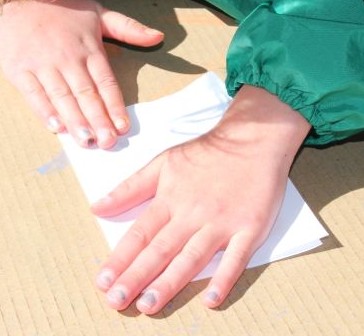
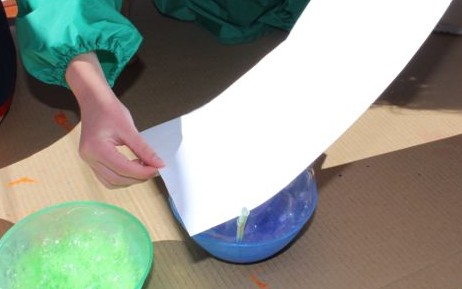
Squishing the folded paper together to spread and mix the paint.
We like doing these simple paintings. The kids like the way the paint squishes and mixes to make pretty patterns. I pre-folded the paper to make it easier for the kids to see where to put the paint. They blobbed paint onto the paper using paint brushes and then re-folded the paper and pressed down on it to spread the paint. It works best if the paint is near the fold of the paper in blobs of different colours, and don’t let it dry before folding. Pressing the paper away from the fold towards the edge of the paper will spread the paint further, and change the shape of the painting. Open the paper, and there is a pretty painting inside!