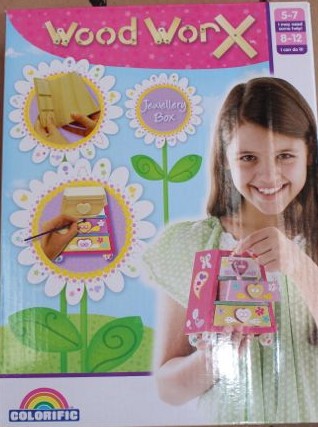
A’s jewellery box kit.
All our friends and family know how much we love doing craft, so the kids are often given craft kits as presents. This year for their birthdays the kids were both given a kit for making a jewellery box. L’s kit contained the box, along with some gel pens and stickers for decorating it. A’s kit was much more complicated, and involved actually building the box prior to painting and decorating it with glitter glue, rhinestones and stickers.
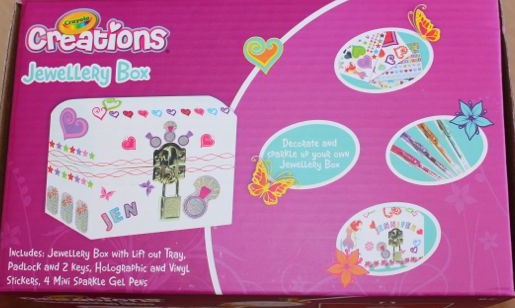
L’s jewellery box kit.
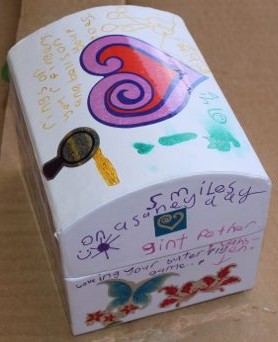
L’s finished box.
L got to work on hers, adding some stickers, and drawing on it. She decided that she would give the finished box to me, as she already has a lovely jewellery box, so she used alphabet stickers to put my name on it. She wrote some things on it like ‘I love you’ and ‘smiles on a rainy day’. She finished hers quite quickly.
There was no way A would have been able to glue her box together. It had almost thirty pieces, and it was a bit fiddly to get it together. The kit came with glue, but it wasn’t very good, and there wasn’t nearly enough of it, so I used PVA instead. I eventually finished gluing it (with much glue all over me too), and then we had to let it dry. A was quite impatient for it to dry. While we waited we checked out the paint pots that had come with the kit. The paint had dried out a lot, but I managed to revive it by adding some water to it. It was still a bit lumpy, but it was good enough to use. A got to painting the outside in different colours, and then painted the drawers as well. She did most of the painting, just asking me to smooth out the edges for her, and she seemed happy with the result.
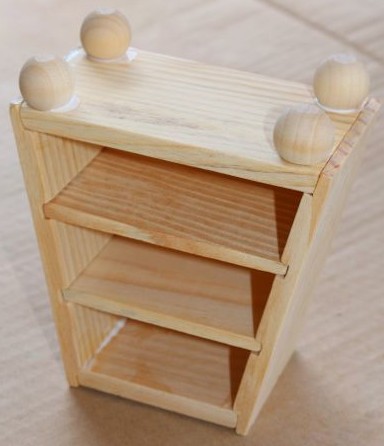
Drying….
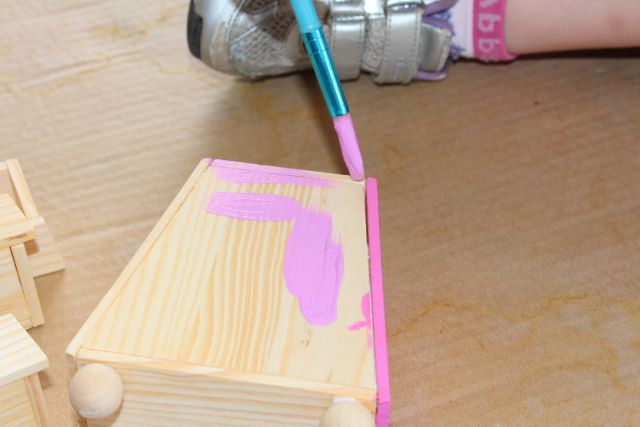
Painting.
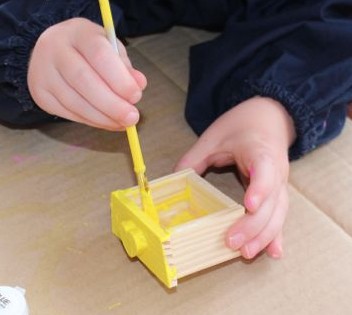
Painting.
Once the paint dried, A glued on some rhinestones to the drawer handles, and then put stickers on it. Lastly she added some glitter glue… and by some, I really mean a lot, all in one big blob on the top. We managed to spread it out, but it still took quite a while to dry. She was happy though. Now she is going to keep some of her play jewellery in it.

The glitter glue blob.

Adding stickers.

A’s finished box.