Shapes cut out of the dough.
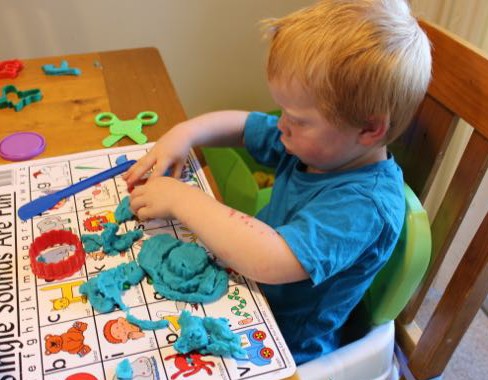
My kids all love playing with playdough, it is fun and great for fine motor skills and creativity. The toddlers have even mostly stopped trying to eat it now! I prefer to make my own playdough as it is easy to make and cheaper than the store-bought products. I almost always have all the ingredients in the pantry too, so I can make it whenever we like.
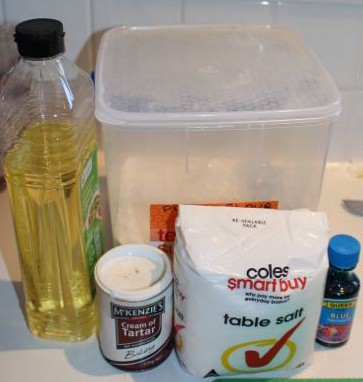
Ingredients.
I’ve always felt that the playdough recipe on the side of the cream of tartar tin makes the best playdough. It needs to be cooked, but it is smooth, soft and long lasting every time. We added blue food colouring for the colour and vanilla essence to make it smell nice. A helped me to stir it in the saucepan until it began to clump together, then we turned it out onto a cutting board and kneaded it for a couple of minutes to make sure it was nice and smooth.
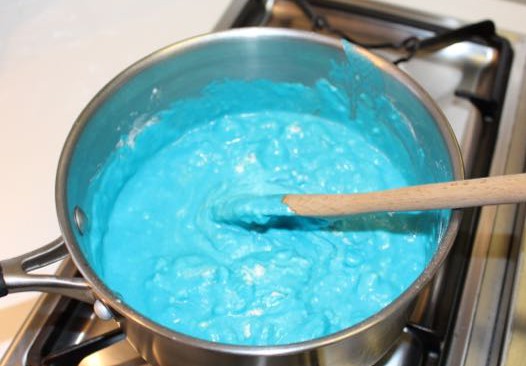
Mixing all the ingredients in a saucepan.

Fresh blob of dough.
Once the playdough was ready, the lids sat up at the table to use it. They moulded it with their hands, cut out shapes with cookie cutters, and rolled it into balls and snakes. T2 enjoyed just squishing it between his fingers, while L made people models. A and T1 made lots and lots of cut-outs. They also used some plastic scissors to cut the dough, rollings pins to flatten it, and plastic rollers to make patterns on the dough. Fun was had by all!
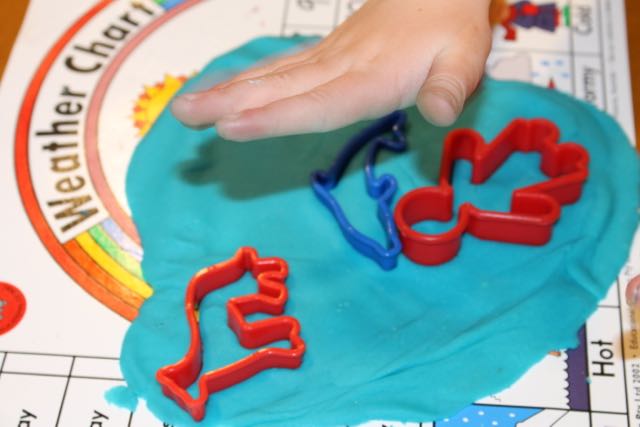
Making cut-outs.

Squishing the dough.

Using a roller in the dough.
Once we were finished, I stored the playdough in an airtight container in the pantry for next time.