Making play trees is quite easy using some simple materials, such as cardboard rolls, tissue paper and streamers. Using cardboard rolls of different length or width can make an even more interesting forest of play trees.

We made four different trees to play animals and dinosaurs with. A chose to make our play trees green because “trees are meant to be green mummy!”, but I think we could have made trees in other colours to play with. I like the idea of a magical forest of pink and purple trees to play with our fairies and unicorns!
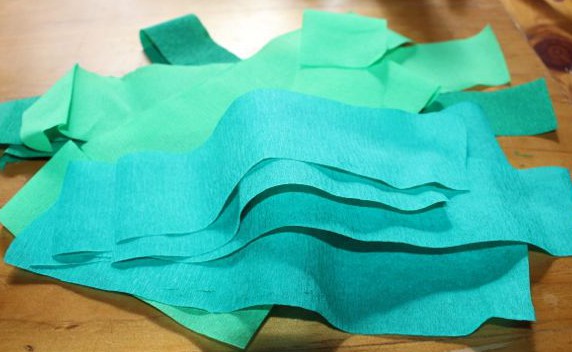
Strips of streamers.
The first tree uses green streamers as the leaves. We had streamers in a few shades of green, so we used strips of each on our tree, but one colour would have been fine also.

The strips taped together.
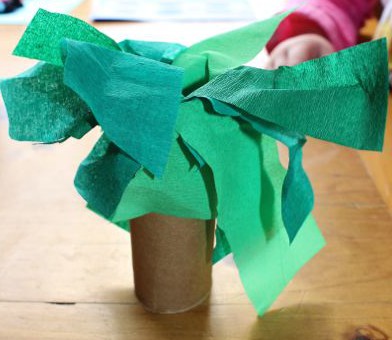
We cut the streamers into strips, and laid them in a pile. Then A twisted the end of the pile together and used sticky tape to secure it. She placed the bundle of streamers into one end of a cardboard roll and taped it down. She fluffed out the streamers in all directions to create the top of the tree. A has been referring to this tree as her “jungle tree”.


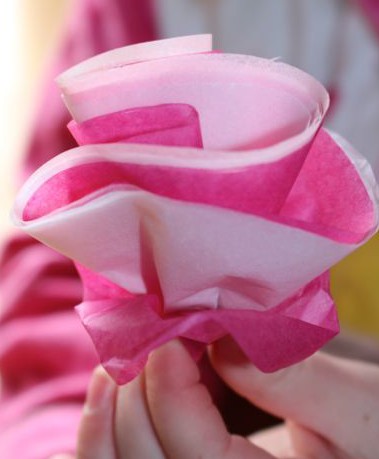
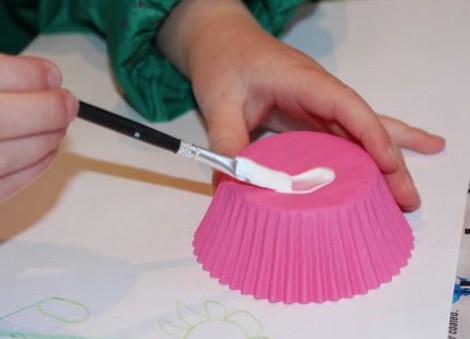
Taping on the tissue paper circle.

Adding more layers of tissue paper.
The second tree used tissue paper circles for the foliage. A placed a cardboard roll onto the centre of a circle of tissue paper and taped it down. Then she turned it up the right way and used a dot of glue in the centre of the tissue paper circle to attach another circle to the first, and then a third one on top of that. We used four or five pieces of tissue paper, but adding more would have made a puffier tree. Once the glue had dried, we were able to shape the tissue paper to create layers of foliage.
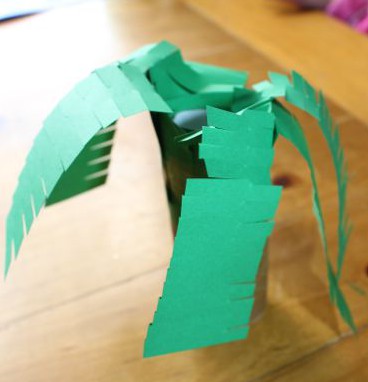

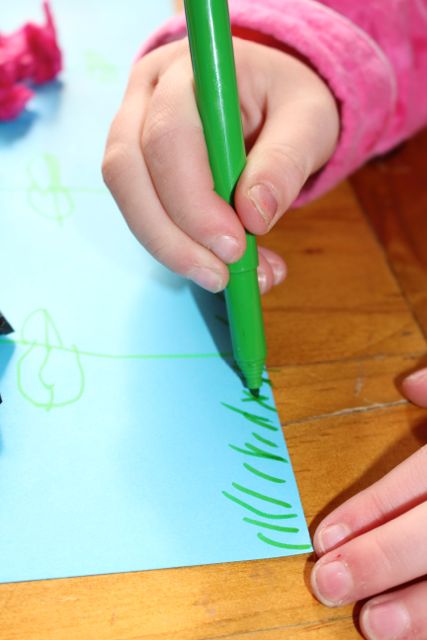
A cut strip of paper.
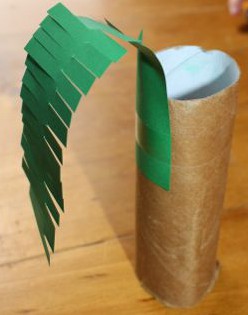
The first leaf attached.
The next tree has foliage made from sheets of green paper. We cut the paper into strips, and then placed small cuts into both sides of these strips to create leaves that A thought look like palm leaves. The key is not to cut right through the strip, though A had a little trouble with this and we ended up with a few short leaves! We left a section at one end of each leaf uncut, where we could attach each leaf to a cardboard roll. A taped the leaves to the outside of the roll, and then let the leaves flop outwards and down. This was her favourite tree.
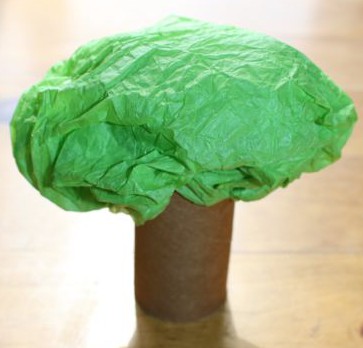

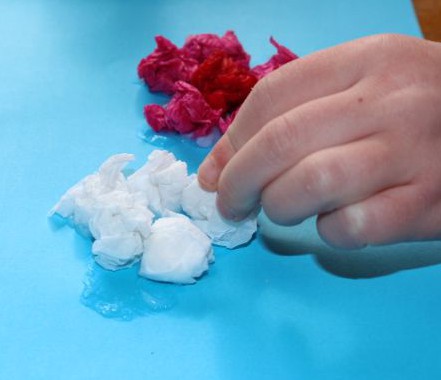
Putting the tissue paper into the cardboard roll.
The last tree was the simplest of all. A loosely rolled one end of a sheet of tissue paper and inserted it into a cardboard roll. She used a piece of tape to secure it, and then scrunched and shaped the tissue paper into a ball shape to create the tree’s leaves. She added a few pieces of tape to keep the tissue paper attached to the cardboard roll.
A was very happy with her cardboard roll trees, and used them to create fun play scenes with her animal and dinosaur figurines.
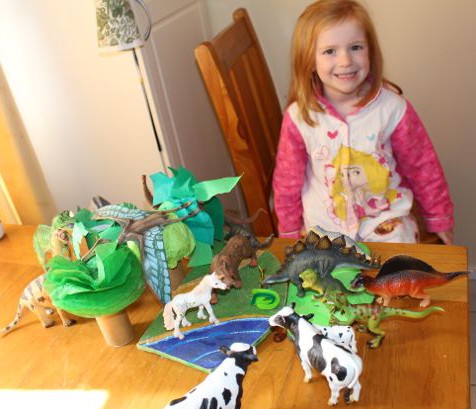
A very happy girl with her new trees and her animals.