Category Archives: Art

Easel Painting

Standard

Painting, painting, painting, we love it!

A new Lincraft store has opened nearby, so the kids and I went to check it out last week. We bought a number of things, including some new poster paints. L picked out some fluoro paints, and A chose some glitter paints. We put our new paints to good use on our easel, using a variety of brushes (different sizes and shapes). A mostly likes to just slap the paint onto the paper, making streaks, dots, and swirls. L prefers to paint a picture. Either way, easel painting is fun 🙂

IMG_3372IMG_3369


The finished paintings will go into our present box to be used as wrapping paper.

Sharing the easel.

Sharing the easel.


Marshmallow Sculptures

Standard
Marshmallow and straw building.

Marshmallow and straw building.

We practiced our architectural skills using marshmallows, plastic straws and toothpicks. It was lots of fun, and the kids loved eating the marshmallows once they were finished 🙂

Marshmallow and toothpick house.

Marshmallow and toothpick house.

L discovered that the toothpicks worked better than the straws, as they were shorter and stronger. She also found that using triangles as her base shape created a stronger structure that could be built up much taller than those made with squares.

After the tower building was complete, both L and A made some original sculptures using the marshmallows.  I particularly liked L’s ‘Cat doing splits’.

Making crazy sculptures.

Making crazy sculptures.

Spiky echidna.

Spiky echidna.

Cat doing splits.

Cat doing splits.

Squishy Press Painting

Standard

IMG_2907These sort of paintings probably have a real name, but I’ve always thought of them as squishy or butterfly paintings due to the way the paint is squished between the paper, and that the final outcome often looks butterfly-ish.

Blobbing the paint onto the paper.

Blobbing the paint onto the paper.

Squishing the folded paper together to spread and mix the paint.

Squishing the folded paper together to spread and mix the paint.


We like doing these simple paintings. The kids like the way the paint squishes and mixes to make pretty patterns. I pre-folded the paper to make it easier for the kids to see where to put the paint. They blobbed paint onto the paper using paint brushes and then re-folded the paper and pressed down on it to spread the paint. It works best if the paint is near the fold of the paper in blobs of different colours, and don’t let it dry before folding. Pressing the paper away from the fold towards the edge of the paper will spread the paint further, and change the shape of the painting. Open the paper, and there is a pretty painting inside!

IMG_2915


Bubble Prints

Standard

IMG_2902

IMG_2900

Blowing bubbles.

These pictures are fun to make. I mixed some paint with water to make it thinner, and then added a little bit of dish washing liquid to each colour and mixed it all up. A used a straw to blow into the mixture to produce lots of bubbles. L refused to blow through the straw, as she was worried that she would accidentally suck it up into her mouth. That was okay, she still used some paper to make bubble prints after A or I made the bubbles.

The kids carefully placed their sheets of paper over the bowls full of bubbles, transferring the paint onto the paper to make a bubble print.

IMG_2903

Transferring the bubble pattern to paper.

It can become a bit messy when the bubbles pop, as little droplets of paint get sprayed out. When L and A put their heads close to the bubbles they ended up with the droplets on their faces, and in their hair. It was plenty of fun, but the kids needed a bath after we were finished 🙂

IMG_2905

A bubble print.

Four Easy Spelling Activities

Standard

We try to do lots of different spelling activities with L to keep it interesting and fun. Here are four quick and easy activities that we have done this weekend.

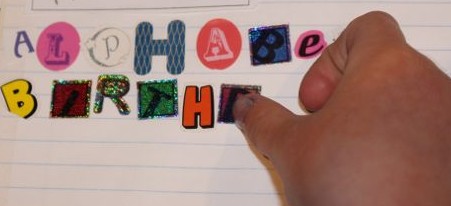
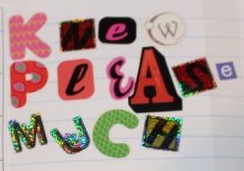
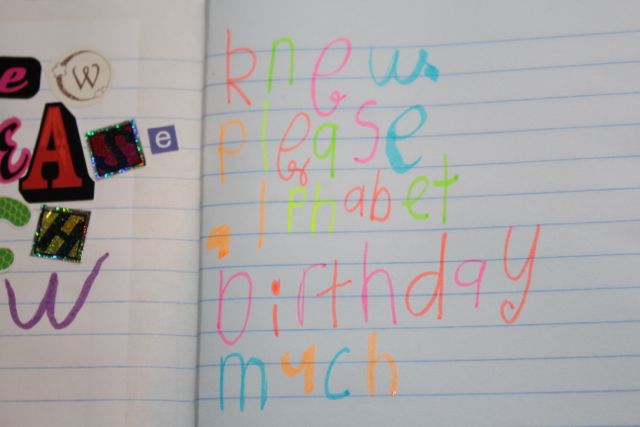
1) Sticker words. Grab some alphabet stickers and get spelling. We have lots of different sets of stickers so each letter can be different. Some alphabet stickers only have one of each letter though, so I needed to look for sticker pages with extras of each of the common letters, such as ‘e’ and ‘t’. It would be great to find a sticker sheet with just lots of vowels. L likes this activity and it is very quick and easy.

IMG_2252IMG_2253


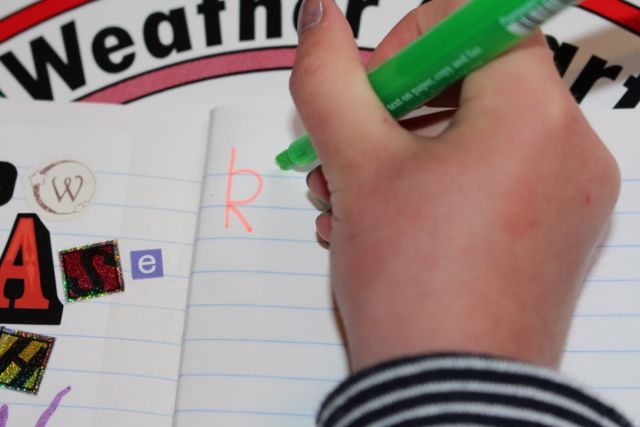
2) Highlighter words. Never underestimate how much kids like to write with highlighters. L used a pack of six different coloured highlighters to make her words bright and colourful.

IMG_2273IMG_2276


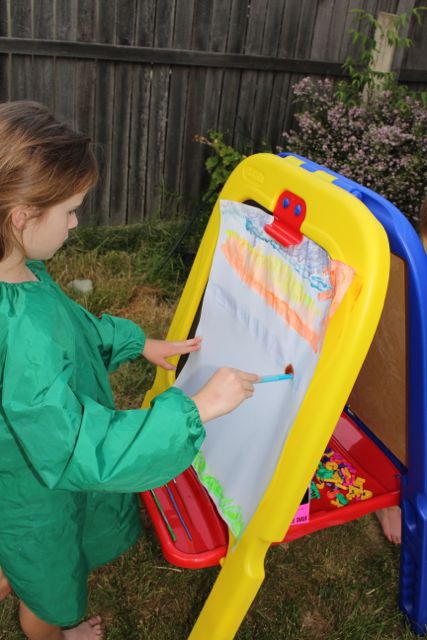
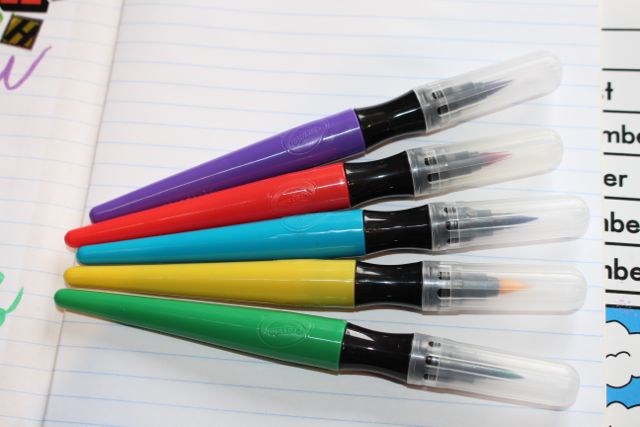
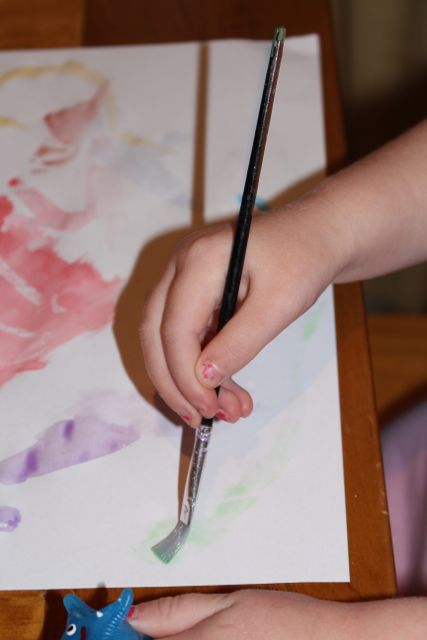
3) Paint Pens. L found these drip-free paint pens by Crayola in Officeworks. The paint is contained in the barrel of the pen, and is applied by the brush tip, just like writing with a pencil. No mess, and easy to use.

IMG_2271IMG_2272


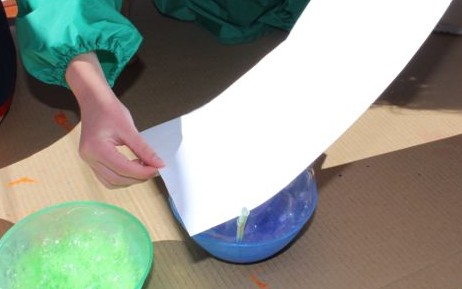
4) Glitter Glue. This was the messiest activity, mostly because the glitter glue takes ages to dry, and the kids kept touching it to see if it was still wet. L liked using the glitter glue tubes, writing her words much as she would with a pen. She put the glue on pretty thickly, and being a cool day, it took a very long time to dry. If I owned a hair dryer I think I would have tried using it to speed up the drying time.

IMG_2278

Candlestick Painting

Standard
Writing with the candle.

Writing with the candle.

We don’t let the kids play with fire, but we do let them use unlit candles to draw with! Just the plain old white ones that I keep in the drawer for electrical outages are like using a fat crayon to draw with. They can draw their picture or write a message on white paper with the candle, and it’s difficult to see, but when they paint over the wax with water-colours, the picture comes to life. It’s fun to watch the picture or words emerge, and then when the paint dries, we have a great picture. IMG_1869IMG_1871


L also used this method to practice her spelling words last week.

Spelling words.

Spelling words.

Paper Towel Colouring

Standard

IMG_2232

Coloured water ready.

Coloured water ready.

Dropping pink water onto the paper towel.

Dropping pink water onto the paper towel.

We ran out of paper to paint on this week, so we tried painting some paper towel with water coloured with food colouring. We used eye droppers (bought at the chemist) to drop the coloured water onto the paper towel. It was fun to watch the colour spread out as it was soaked up by the paper towel.


Dipping the paper towel in the water.

Dipping the paper towel in the water.

We also folded the paper towel up and carefully dipped the corners into the coloured water. Once each corner was done, we unfolded the paper towel to reveal the neat patterns it had formed.

The dipped paper towel folded out.

The dipped paper towel folded out.

Alphabet Stamping

Standard

Last year one of L’s teacher’s leant her a set of alphabet stamps and an ink pad. She had a great time with it, stamping out her name, and the names of everyone in our family, her spelling words, and the alphabet just for fun. So, she was given her very own alphabet stamping set for Christmas. L uses this set regularly to practice her spelling words. She likes to use all four ink colours in each word if she can.

IMG_2011 IMG_2019


Yarn Painting

Standard

Once we’d finished doing our rubberband splat paintings we had some leftover paint on our tray. I didn’t want to waste it, so we decided to try doing some painting with lengths of yarn.

Using one colour at a time.

Using one colour at a time.

Adding colour.

Adding colour.

More colour.

More colour.


We put each piece of yarn into a single colour and covered the yarn with paint. Then one at a time, the kids dropped the yarn onto the paper in random patterns. They used all the different colours we had out to make some lovely rainbow paintings. It worked much better if there was more paint on the yarn so that it left thicker marks. The different colours were overlaid as the kids added more paint to their paintings. Once we’d done a couple of practice ones on paper, we used more of the mini canvases to make a final painting.

Finished mini-canvases.

Finished mini-canvases.

These canvases will be added to the father’s day presents the kids have made for their Dad.

Rubberband Splat Painting

Standard

We are trying out some new ways to paint. I remembered seeing this technique at L’s playschool once, and wanted to try it at home.

IMG_1659We took a little box of thick cardboard and placed some thin rubber bands around the box. We practiced with paper first, and then used some mini canvases I’d picked up from the dollar shop for the final painting. IMG_1660

We put the paper/canvas in the box underneath the rubber bands, then painted the rubber bands one at a time and flicked them so that the paint splattered onto the paper/canvas. It was great fun, though we did get paint all over our hands, and some even splattered up onto A’s face and hair. I’m very happy with the results. IMG_1666

The kids are adding these to their parcels to give their father for father’s day this weekend. Hopefully he likes them!