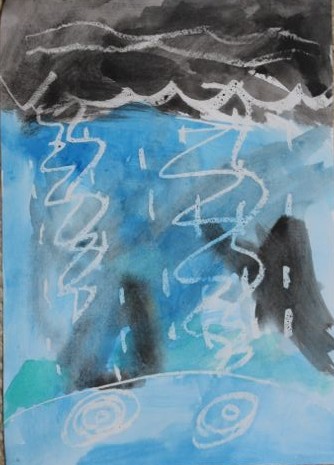
A spotty calico bag.
We have re-usable bags of all shapes, sizes, and colours. Some of my favourite bags are the calico ones, they are lightweight and scrunch up small enough to carry in my bag. They are great for shopping and make perfect library bags, but they can be a bit boring to look at, so we took fabric paint to some new calico bags to make them unique and appealing.

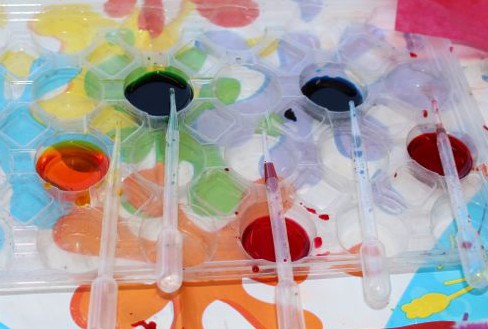
The tin of fabric paint.
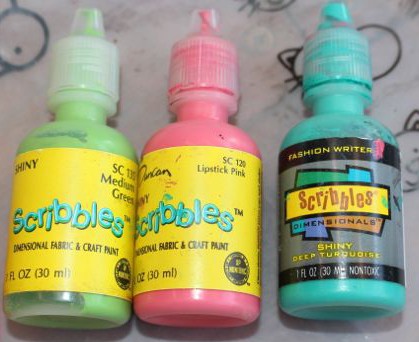
Squeezy bottles of paint.
A while ago my mother had given me a tin of old fabric paint tubes. She wasn’t sure if they were any good, but thought I might like to try them out. As we went through the tin we found only a couple of the tubes were dried out completely, but almost all of the nozzles were clogged. For these tubes, I cut the end off them to access the paint. There were also some 3D fabric paints in squeezy bottles that were still fine to use too.

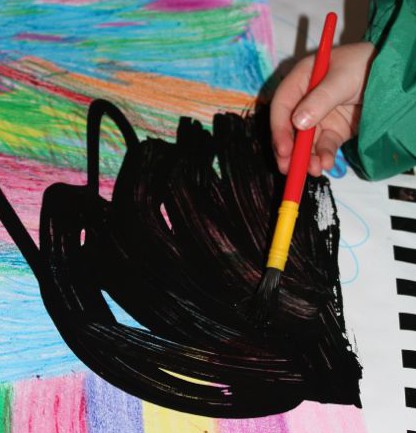
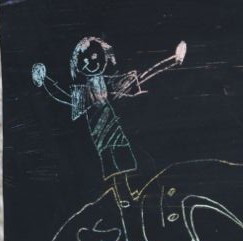
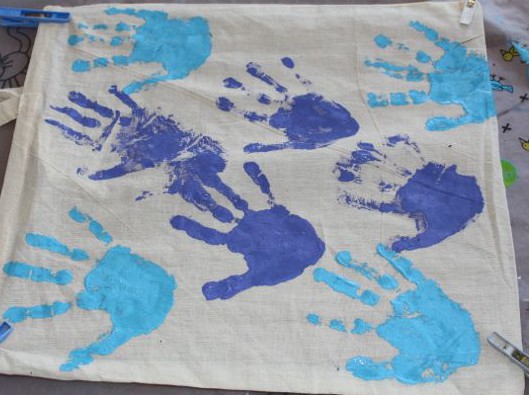
Making hand prints.
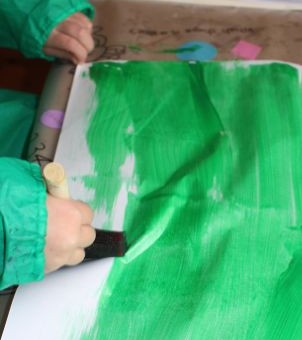
We set out our calico bags with a piece of cardboard inside to prevent the paint from seeping through to the other side, and pegged the bag taunt to make it easier to paint. The kids did hand prints, used stampers, paint brushes, and squeezed the 3D paint directly onto the bags to make each one special. They had a ball. And when all the bags were finished, we waited until then were touch dry, and turned them over and did the other side.

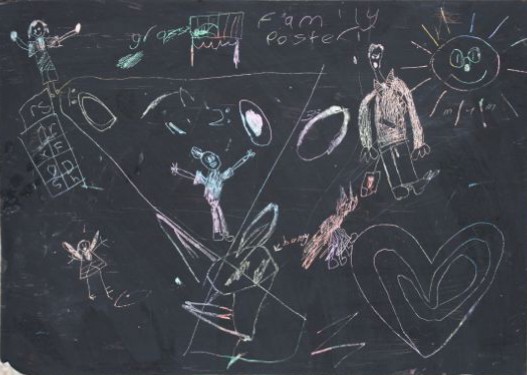
Stamping.

Squeezing on 3D paint.

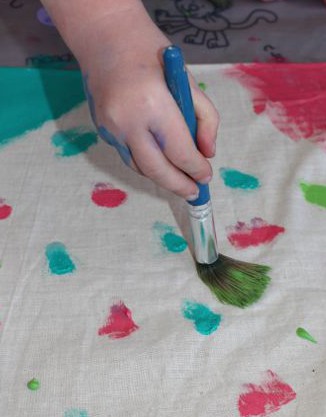
Brushing on paint.
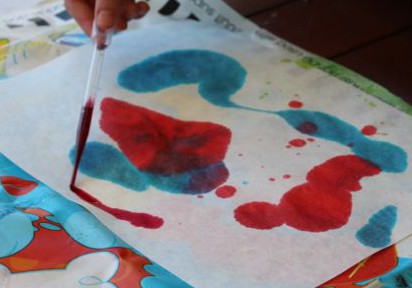
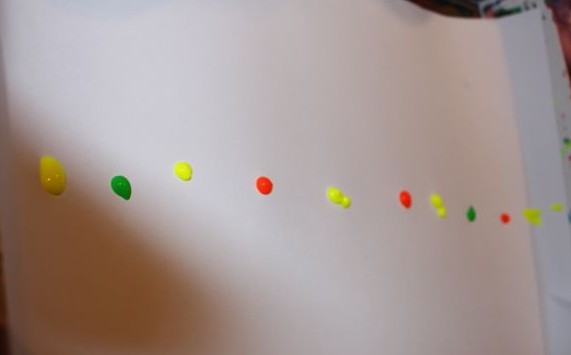
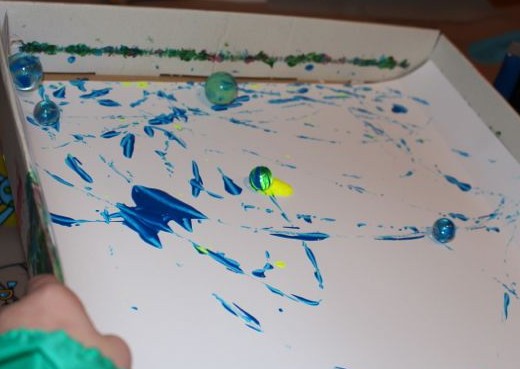
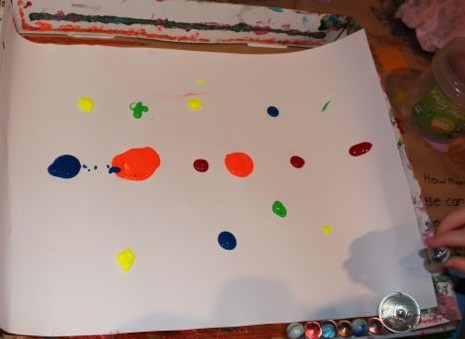
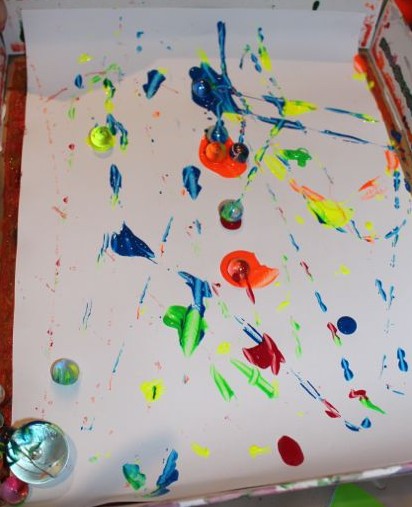
Splotching paint on.

Spreading the paint.
By the time we were finished, we were all covered in paint, but we had had fun. Some of the paint didn’t come off as easily as others, and I needed to use some mineral turpentine to remove it from our hands and brushes. The kids thought it was super disgusting! Next time we buy fabric paint I will be checking to make sure it will wash off with soapy water.
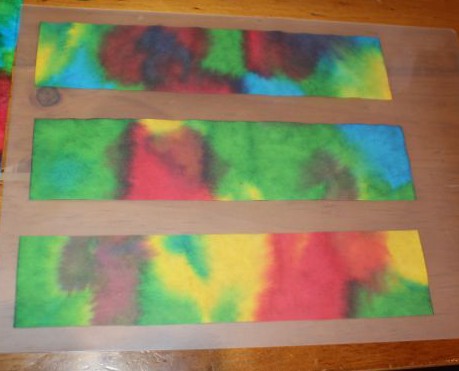
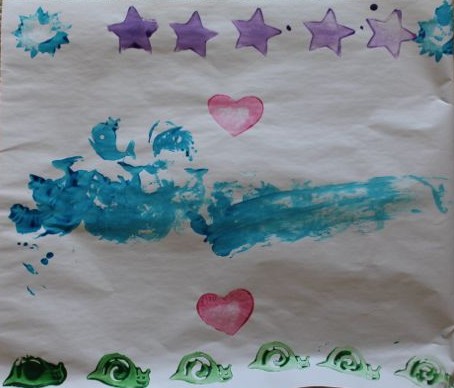
Once fully dry, I heat set the paint with the iron. I used a tea towel over the design whilst ironing to protect the design, and prevent any stray bits of paint adhering to my iron. The finished bags look great, and are much more fun than the plain ones!
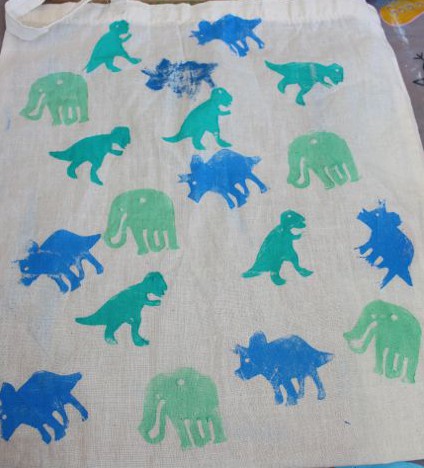
Dinosaur stamped bag.
Hand print bag.