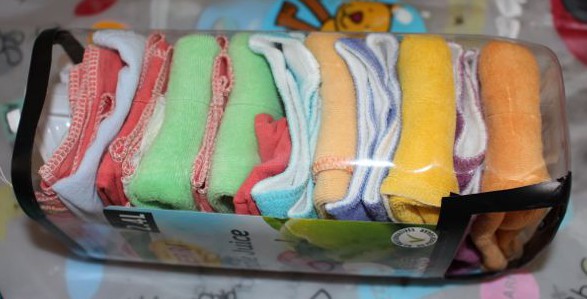
With three kids, one of which is in cloth nappies, we have a lot of laundry to do pretty much every day. We try to hang our washing out on the line as much as possible, but when it is cold and wet, we sometimes have to resort to using the dryer. Some time ago I purchased some blue plastic dryer balls. These spiky balls are supposed to reduce drying time in the dryer, as well as reduce static. I think they work, but they clunk in the dryer, and they can be quite loud.
I have seen woolen dryer balls that are also supposed to reduce dryer time and static, but I never got around to purchasing any. When I discovered that these woolen dryer balls were really just big balls of wool that had been felted, I knew I had to try to make my own.

The wool.
I bought some 100% wool yarn from Lincraft, making sure it was not machine washable (it won’t felt if it is designed to be washed in the washing machine!) Then I proceeded to make my ball. I started off by winding the wool around two of my fingers a dozen or so times, removing it from fingers, and wrapping more wool around this, perpendicular to the first strands. I continued wrapping the wool around and around, forming a small ball. The blue plastic balls we have are about the size of a baseball or tennis ball, so I kept wrapping the wool around until my ball was about this size. Using a big tapestry needle, I darned the end of the wool under a few layers of wool, and then poked the needle through the ball to the opposite side, pulling it through, and clipping off any remaining wool close to the ball.

Some of the woolen balls before felting.

Some of the dryer balls in old socks.
Felting wool requires water and heat, which is why accidentally placing a damp or wet woollen jumper in the dryer can shrink it and ruin it, as the fibres become felted together. To felt the balls, I placed them into some old odd socks I had lying around, one at a time. I placed hairbands around the sock to close it so that the woolen ball couldn’t come out in the wash. I threw them in the washing machine with some towels and did a hot wash, then they went into the dryer on the hot setting with the towels. This needs to be repeated a few times, until the strands of wool can’t be separated from one another on the outside of the ball. I just waited until I needed to wash towels or sheets and put them through the dryer until the balls were felted enough. I think my first lot of balls went through this process five times before I was happy with them.

This ball has been through the felting process twice, and still needs some more work.
Each load of washing that goes into the dryer needs around four to six balls to effectively reduce the drying time, more balls are better, especially if you have a large capacity dryer with full loads. I found that I could make three dryer balls from two balls of the Cosy Wool from Lincraft, which were 8 ply 100g balls. So four balls of this wool was enough to give me six dryer balls for my dryer.

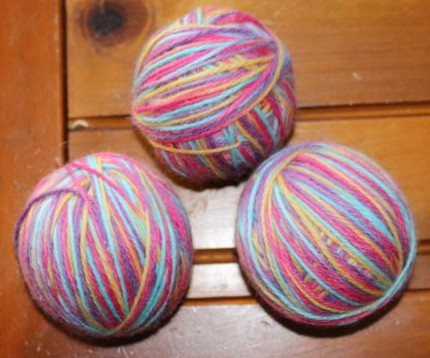
My first lot of finished dryer balls.
When it rained last week, I was able to try out my new dryer balls. I was very happy that the clothes didn’t take as long to dry as previously and the woolen balls didn’t clatter about in the dryer like the plastic ones. They will help me reduce our electricity consumption, save me time, and they look pretty! My cat thinks they make good toys to chase down the hall too 🙂
I’m so happy with my new woollen dryer balls, I think we will make some more sets as Christmas presents for some of our family members.