Tag Archives: kids art

Painting Pillow Cases

Standard

IMG_8816

3D glitter fabric paints.

3D glitter fabric paints.

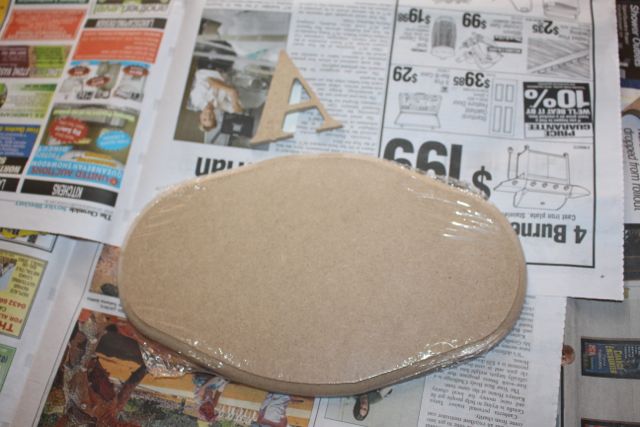
3D fabric paint with glitter, oh we had to try that! It came in a pack of six colours with easy to use nozzle applicators. I bought some cheap white pillow cases for the kids to paint on, and I placed some thick cardboard into the pillow case to prevent the paint from running through to the other side. I used pegs around the edges to keep the pillow case flat while the kids were painting.

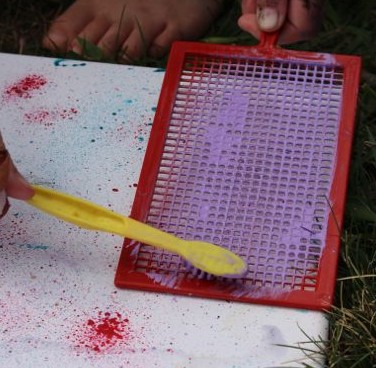
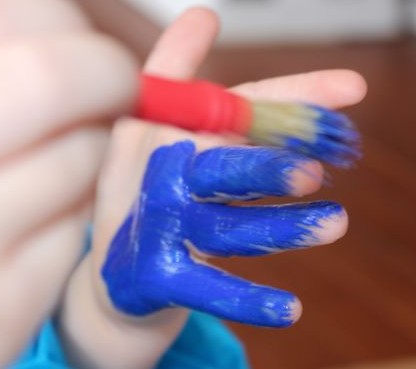
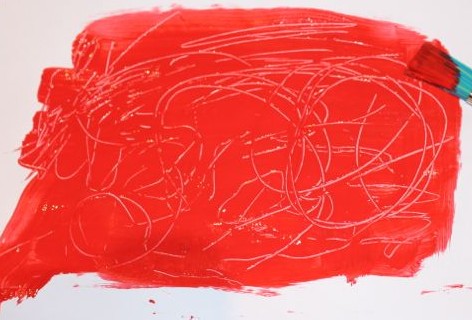
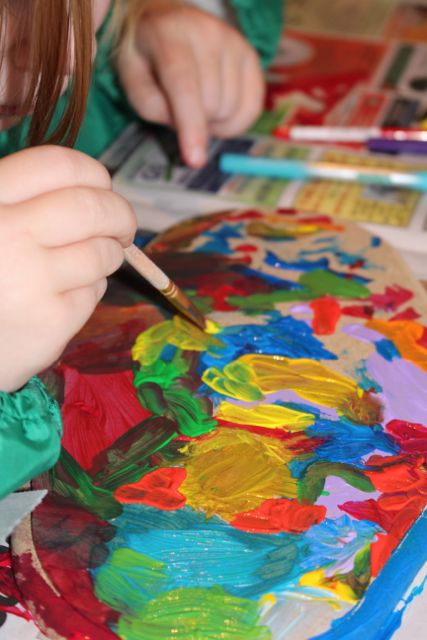
The tubes only needed light pressure to squeeze the paint out, but A was a little heavy-handed at times, and her paint went on very thickly. She didn’t like the look of this, so she took a paintbrush, and spread the paint out over the pillow case. This made a glitter rainbow that she was very pleased with. She asked me to squeeze more paint out in lines all over the pillow case, and she used the paintbrush to mix it. She had lots of fun doing this, though it meant that the 3D look of the paint was lost.
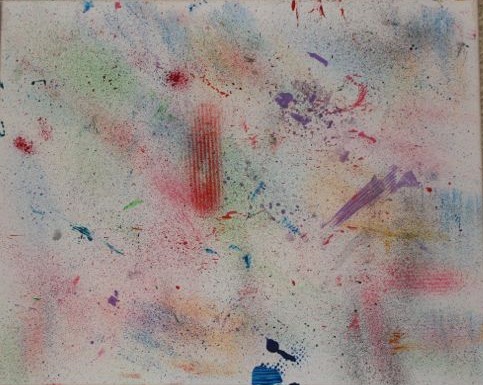
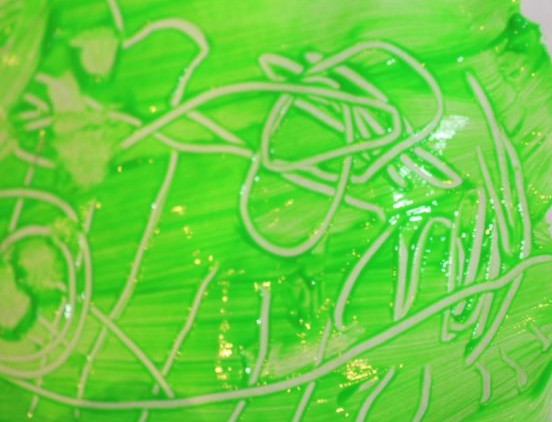
IMG_8808

Almost finished.

IMG_8803

Spreading the paint.

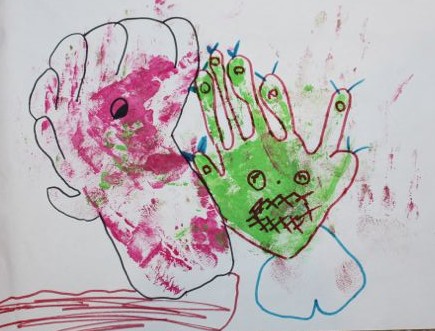
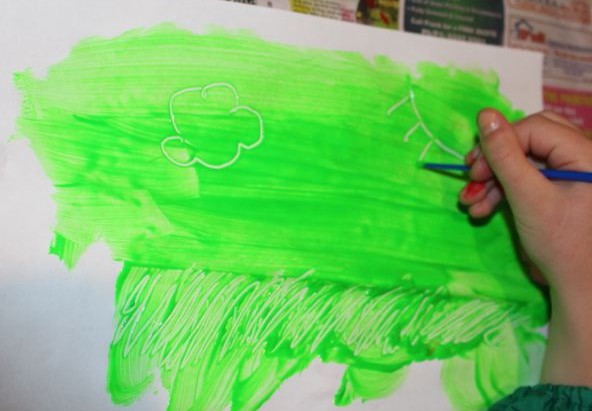
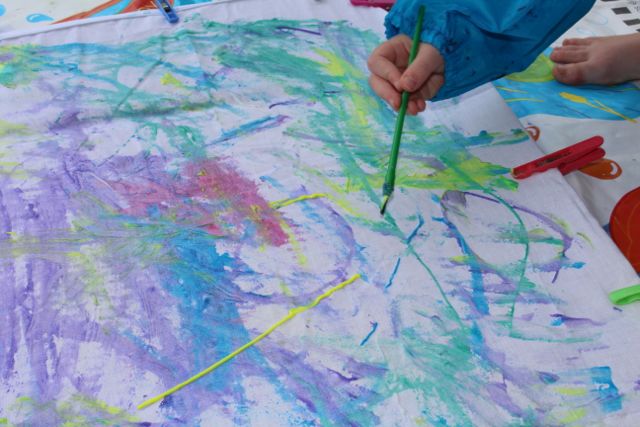
L preferred to paint a picture on her pillow case. She drew mountains and hills, the sun, grass and herself standing next to her trampoline. She was much better able to control the flow of paint than A, and she even mixed some of the colours to create new colours.

L painting her picture.

L painting her picture.

Once they were done painting we left the pillow cases to dry. We could have painted on the other side after a few hours, but we chose not to. We followed the instructions on the paint pack, leaving them to dry for a couple of days prior to washing them. Once they were washed and dried, the kids put them on their pillows. Due to the 3D nature of the paint, it is raised a little and the kids said it feels funny to sleep on. This is why I asked them not to paint on both sides. They can have the painted side on display during the day, but at night, they just flip the pillow over and sleep on the smooth, unpainted side. They are both happy with this.

IMG_8815

Monster Paintings

Standard

The hand-print monsters worked so well, I thought we would have a go at painting monsters. And if it involves paint, A is always keen!

A's monster.

A’s monster.

A started by painting a monster with lots of legs and arms, and then she told me she was going to paint a mermaid monster, but then she changed her mind, and painted a pink, blue, green and purple blob. When it was dry, she turned this blob into a monster using markers, paper cut-out teeth and eyes. She even added a heart on the monster’s chest. She also used markers on her first painting to add details such as eyelashes, pupils and a tongue.

A's monster.

A’s blob monster.

We made some squish paintings to use for creating more paint monsters using markers after they were dry.

L made a magical cat monster with blue and yellow magic all around it, and a large green tail. There was a monster with one eye in its bottom, and lots and lots of brains all over its body. According to L, this monster also has the ability to shoot brains from its sides to defeat its enemies. Her third monster was a hypnotising monster, with swirls for eyes and nose and green spiky horns and swirly arms.  If you look at this monster for too long you would come under it’s control, and you would have to do anything that it wanted you to. L has a very good imagination!

L's magical cat monster.

L’s magical cat monster.

L's brain monster.

L’s brain monster.

L's flying monster.

L’s hypnotising monster.

Paint Bellows and Sprinkle Painting

Standard

We like to experiment with different types of painting. Today we tried using paint bellows and a screen with a toothbrush to create some rainbow paintings.

Paint bellows.

Paint bellows.

We used canvases for this, and as it had the potential to be quite messy, we decided to paint outside with art smocks on. This was a very good choice, given how much paint the kids managed to get on themselves despite the smocks!

Using the paint bellows.

Using the paint bellows.

A used the paint bellows on her canvas. We only have three, so she used three colours at a time, and then I washed them out, and she used three different colours. She had a little trouble drawing the paint into the bellows, but she really enjoyed blowing the paint out onto the canvas. It made lots of sprays of colours with some larger blobs of paint. She continued using different colours until she had a nice rainbow of colour right across the canvas.

A's paint bellows canvas.

A’s paint bellows canvas.

Close up of the bellows painting.

Close up of the bellows painting.

Using the screen and toothbrush.

Using the screen and toothbrush.

L used the screen and toothbrush on her canvas to create a sprinkle painting. She used one colour at a time because the screen was very small. She put some paint onto the brush and rubbed it across the screen, whilst holding the screen fairly close to the canvas, but not touching it. This produced a fine mist of paint directed onto the canvas. She washed and dried the screen and brush between colours, and continued using paint until her canvas was covered by rainbow mist.

L's sprinkle painting.

L’s sprinkle painting.

Close-up of the sprinkle painting.

Close-up of the sprinkle painting.

The screen and toothbrush produced a much finer droplet pattern than the paint bellows, but both methods created pleasing paintings.

Hand-print Monsters

Standard
Two hand print monsters.

Two hand print monsters.

Paint hand prints.

Paint hand prints.


A was more than happy to paint her hands to make hand prints for this activity! She made some paint hand prints on some white paper, and we put these aside to dry. She also added some fingerprints to one of the paintings. Another of her hand print paintings was pretty messy, as she placed her palm on the paper over and over again, but it was still useful for making monsters out of.

Painting her hand for the prints.

Painting her hand for the prints.

Creating a blue hand print.

Creating a blue hand print.


Once the paint had dried, we used markers to create monsters from the hand prints. A used one of her paintings with the hand prints upside down, using the fingers for monster legs. She gave each leg some claws, and each monster a head and spikes. These are very happy monsters.

L didn’t do the painting with us, but A let L use the messy hand print painting to make a monster out of too. L enjoyed drawing her monsters. Her green monster has eyes on each one of it’s spiked tentacles, and a really big bottom, while its pink friend is a one-eyed blob monster.

L's monster drawing using A's messy hand print painting.

L’s monster drawing using A’s messy hand print painting.

Two hand print monster with fingerprint eyes.

Two hand print monster with fingerprint eyes.


Golf Ball Painting

Standard

IMG_7646Last week we bought some storage products that came packed in cardboard trays. We put these cardboard trays to good use for painting with golf balls.

One ball at a time.

One ball at a time.

No one in our family plays golf, but sometimes while we are out walking we find a golf ball on the oval, or near the path. The kids love picking them up and bringing them home. We used four of these golf balls to do some interesting paintings in the cardboard trays.

Adding another colour.

Adding another colour.

I put some paint onto sponges and the kids rolled the golf balls in one colour, placed it in the tray with their paper, and moved the box about to make the ball roll around. This allowed the paint to be transferred to the paper in tracks. When the paint wasn’t too thick we could even see the pattern of the golf ball on the paper.


IMG_7640

Interesting patterns.

L started with just one golf ball in the tray at a time, while A put paint on three golf balls, and put them all in together. They shook the trays, and moved them side to side to make the balls move about. A also used her hands to push the balls around.

Pushing the balls around.

Pushing the balls around.


They both made some really great patterns.

IMG_7643IMG_7648

Sponge Painting

Standard

IMG_4866Using sponges can be a fun way to paint. We had a set of synthetic sea sponges I’d picked up from somewhere (probably Bunnings, I’ve been spending a lot of time there lately), and we set to work with some poster paints. I placed some paint onto a plastic tray so that L and A could dip the sponges into the paint easily. This, in theory, should have worked nicely, except both L and A pushed the sponges down until the sponges had absorbed all of the paint from the tray. This was way too much paint, so when they first put the sponge on the paper, it just left a big blob instead of the sponge texture I’d been aiming for.

L making prints.

L making prints.


A squashing the sponge down.

A squashing the sponge down.


It was very hard to convince A to press the sponge to the paper more gently. She just wanted to squish all the paint out of the sponge in one go. And when my attention was diverted by L asking me a question, A used that opportunity to paint her palm with the sponge and do some hand prints too. By the end of the activity, L was managing to get some nice textured prints from the sponge. On one of L’s paintings, she used one colour to make lots of prints across the paper, and then, when that was dry, she used a different colour over the top. This gave a nice layered and multi-coloured effect. Most of the paintings ended up with lots of sponge prints all over them in all of the colours we had out. This is definitely an activity that we will be doing again.

Using the sponge to make multi-layered art.

Using the sponge to make layered art.

Some of the finished sponge paintings.

One of the finished sponge paintings.

Painting Paper Doilies

Standard

IMG_4807I hadn’t seen paper doilies around for some time, so upon spying a packet of them in Wheel & Barrow, I bought some, thinking they would come in handy for our arts and crafts.

Dropping colours onto the doily.

Dropping colours onto the doily.

Paper doilies are quite thin, and readily suck up liquid, so we used food colouring in water as our paint. We had some green, pink, yellow and blue coloured water, and when they mixed it made some interesting colours and patterns.

Tipping the doily to spread the colour.

Tipping the doily to spread the colour.

moving the colour about.

moving the colour about.


We used a different paint brush for each colour, dropping the coloured water onto the doilies and then picking them up to make the colours run across the doily. After placing some drops of coloured water on the doily, we found that turning the doily around slowly like a steering wheel made some good patterns. A found it easiest to put some coloured water on, and then pick the doily up from one side and let that colour run off, and then put more drops on and pick up a different side so that that colour ran in a different direction.

Painting the doily.

Painting the doily.

Both kids also used the paint brushes to apply the colour directly to the doilies, painting the edges, and giving some of the doilies faces.


The doilies dried quickly and we placed them up on some of our windows. I like the way they have brightened up those spaces.

Displayed on the window.

Displayed on the window.

Bubble Wrap Prints

Standard

IMG_4865We sometimes get parcels or items that have bubble wrap protecting their contents. If I can grab it before the kids pop all the bubbles, I usually collect the bubble wrap to be re-used when we post something. In my pile of bubble wrap, I discovered three different sizes of bubbles which was perfect for doing some bubble wrap prints.

Adding paint to the bubble wrap (and hands).

Adding paint to the bubble wrap (and hands).

First we tried using a paintbrush to apply the paint directly to the bubble wrap, and then placing the painted bubble wrap onto the paper, but there was just too much paint, so we weren’t able to discern the bubble pattern. It worked much better when we added paint to some kitchen sponges and then pressed the bubble wrap against the sponge to get a little bit of paint. Then L and A pressed the bubble wrap against the paper, and lifted it up to reveal the bubble wrap print left behind.


Pressing the bubble wrap to the paper.

Pressing the bubble wrap to the paper.

Using the large bubble wrap.

Using the large bubble wrap.


The medium sized bubble wrap (orange) worked the best of the three sizes. We used different colours for each size too, adding further variety to our prints. L favoured the large bubble wrap, while A liked using the medium bubble wrap best.

IMG_4793IMG_4867

Scratch Painting

Standard

IMG_3724This is a simple painting activity that can be done with just one colour. First the kids spread some paint across a white piece of paper. The paint needs to be thick enough to make marks in, but not so thick that the paper will take days to dry! Once the paint is spread across the paper with a fat brush, the kids then used the end of a thin brush to draw a picture in the paint. The end of the paint brush scrapes away the paint, leaving a lighter section behind it.

Spreading the paint.

Spreading the paint.

L scratching out her picture.

L scratching out her picture.


On A’s second painting, she used a fatter paintbrush to draw her picture (well swirls and squiggles anyway).

Done with a thicker paintbrush.

Done with a thicker paintbrush.

L also used this activity to practice her spelling words. It took a while for the paint to dry as L put it on a bit thick, but once it was dry, we stuck the page in her spelling journal so she could show her teacher.

Scratching out her spelling words.

Scratching out her spelling words.

Spelling words.

Spelling words.

Name Plate

Standard

A, Baby T and I had a little trip to Bunnings to get a couple of things….. when I left Bunnings, my couple of things had turned into about a dozen things, and we’d spent an hour just wandering about. Some of our extra purchases included a wooden board, wooden letters and a packet of rhinestones to make a name plate for A’s door.

The base board and one of the letters before painting.

The base board and one of the letters before painting.

I laid some newspaper on the table to protect it, and I pulled out the box of paints. When I asked A what colour she wanted to paint the base board, she answered “All of them!” So all of them it was…. a little of each in random patches to cover the entire board. She seemed to really enjoy this painting, making it a rainbow, and mixing the colours.

Painting the base board.

Painting the base board.

When it came to painting the letters, I suggested she paint each of them a single colour to help them stand out against the colourful background. She chose the colour for each letter, and painted the tops of them, but needed some help getting the paint all around the edges. She put several coats of the paint on the letters to make the colours bolder.

One of the letters painted.

One of the letters painted.

Once all the paint was dry, we had to glue the letters to the base board. A wanted them fairly straight across the board. She used a paintbrush to add glue to the back of each letter, and I placed them carefully in a line on the baseboard. Then she decorated the letters with some rhinestones, and she was finished.

Placing the rhinestones.

Placing the rhinestones.

Gluing the rhinestones down.

Gluing the rhinestones down.


Ready to hang on her door.

Ready to hang on her door.