A, Baby T and I had a little trip to Bunnings to get a couple of things….. when I left Bunnings, my couple of things had turned into about a dozen things, and we’d spent an hour just wandering about. Some of our extra purchases included a wooden board, wooden letters and a packet of rhinestones to make a name plate for A’s door.
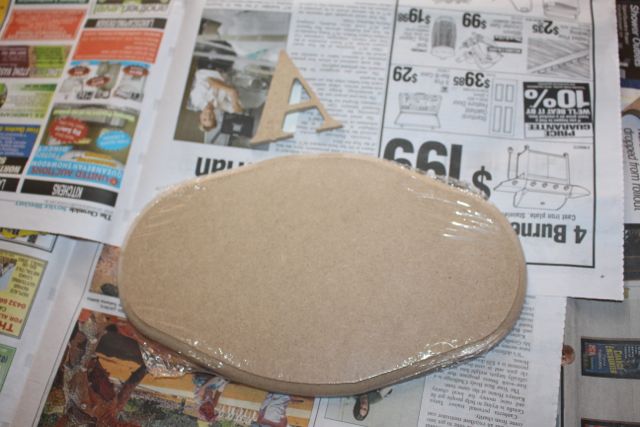
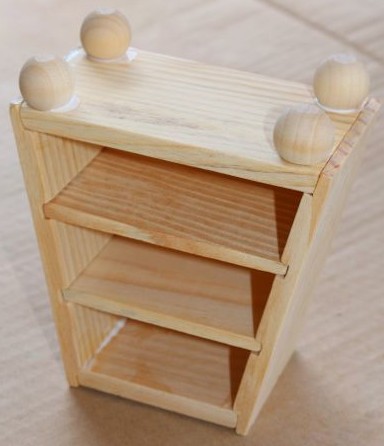
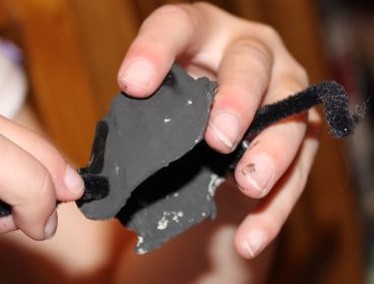
The base board and one of the letters before painting.
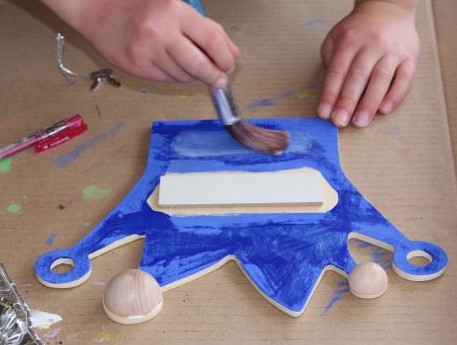
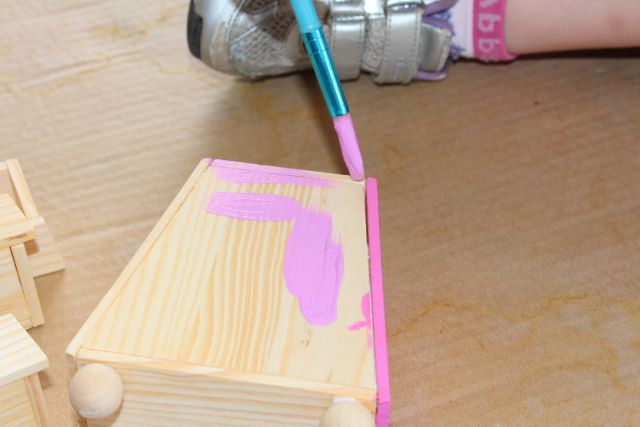
I laid some newspaper on the table to protect it, and I pulled out the box of paints. When I asked A what colour she wanted to paint the base board, she answered “All of them!” So all of them it was…. a little of each in random patches to cover the entire board. She seemed to really enjoy this painting, making it a rainbow, and mixing the colours.
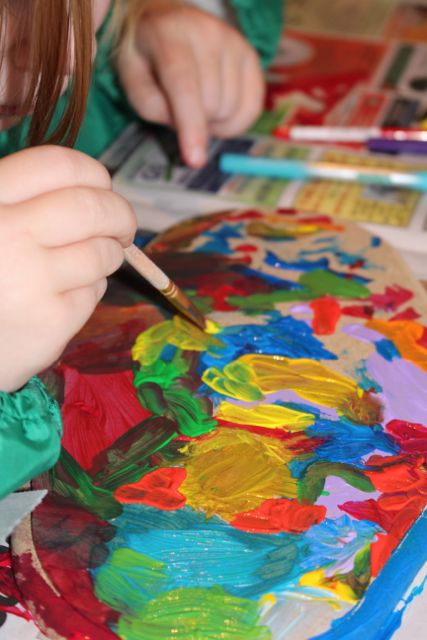
Painting the base board.
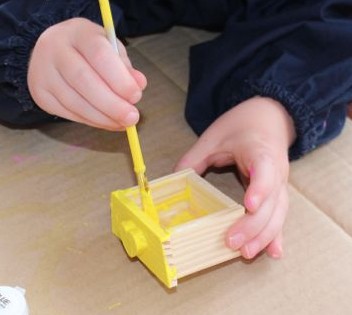
When it came to painting the letters, I suggested she paint each of them a single colour to help them stand out against the colourful background. She chose the colour for each letter, and painted the tops of them, but needed some help getting the paint all around the edges. She put several coats of the paint on the letters to make the colours bolder.
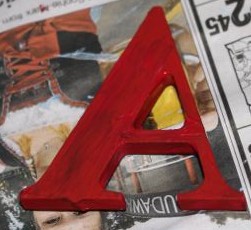
One of the letters painted.
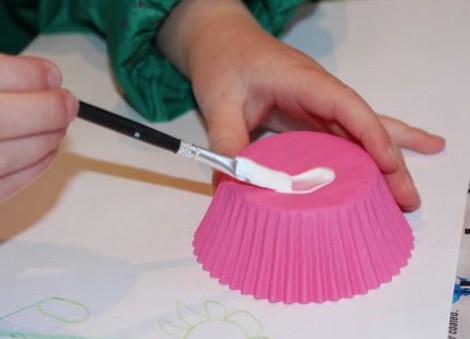
Once all the paint was dry, we had to glue the letters to the base board. A wanted them fairly straight across the board. She used a paintbrush to add glue to the back of each letter, and I placed them carefully in a line on the baseboard. Then she decorated the letters with some rhinestones, and she was finished.

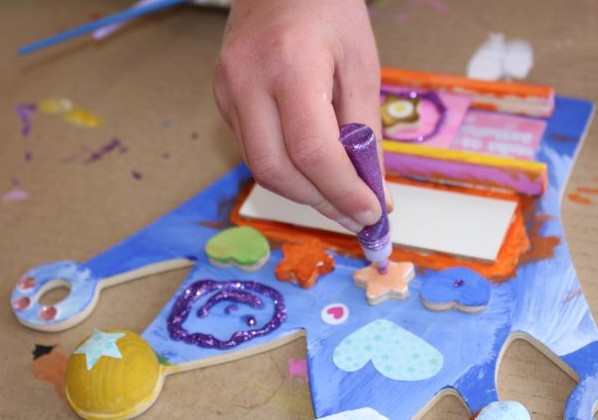
Placing the rhinestones.

Gluing the rhinestones down.
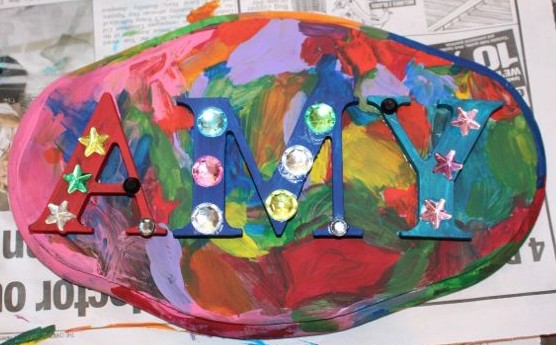
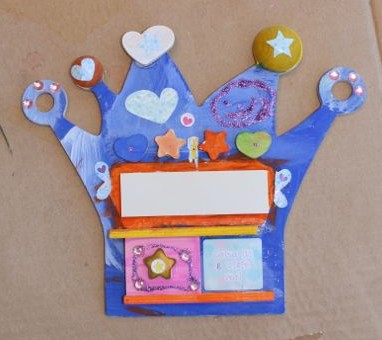
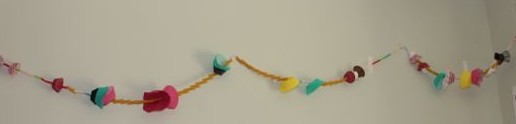
Ready to hang on her door.