Scratch art seems to be very popular with the kids at the moment, and I’ve been asked on numerous occasions to buy some of the scratch art card. I remember making our own scratch art paper when I was in primary school, so I thought the kids might like to try this at home.

A colouring in her paper.

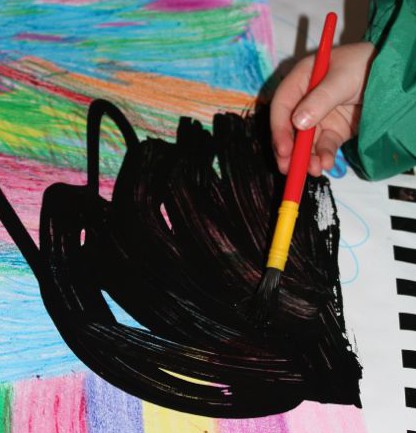
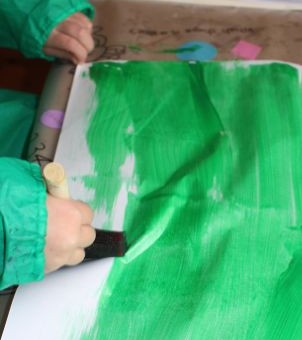
A adding black paint.
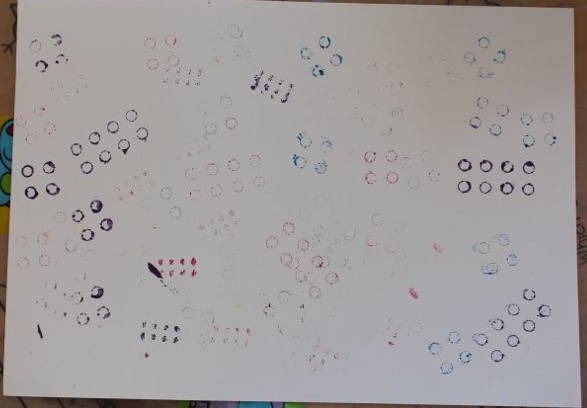
We coloured in some sheets of paper using crayons, so that the whole page was covered in crayon. We used a rainbow of colours in no particular pattern. A just scribbled all over her piece of paper until it was mostly covered, and then I helped her fill in the edges. Once the colouring in was done, we used thick black paint to cover the paper, covering up the crayon rainbows. We left it to dry.
There was a shaft of sun coming in our lounge room window, so we positioned the paper on the floor in the sun to help them dry a little more quickly. There were still a few wet patches, when ,unfortunately, our cat came inside. I didn’t expect him to decide, not only to walk through the wet paint, but to lay down for a snooze in the sun, right on top of one the black pieces of paper! I have never been so pleased to own a mostly black cat before. When I shooed him off, he trod a bit of paint along the floor, which I had to clean up, but he took care of the rest himself (no need for a bath, luckily!) And what have I learnt from this? Well, for starters, I’ll make sure I shut the cat outside next time we decide to paint on the floor 🙂

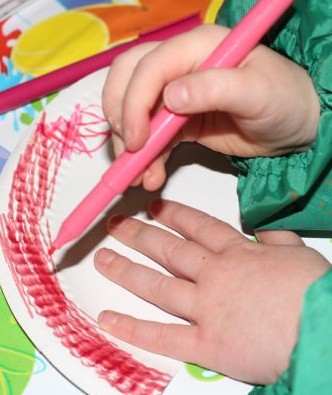
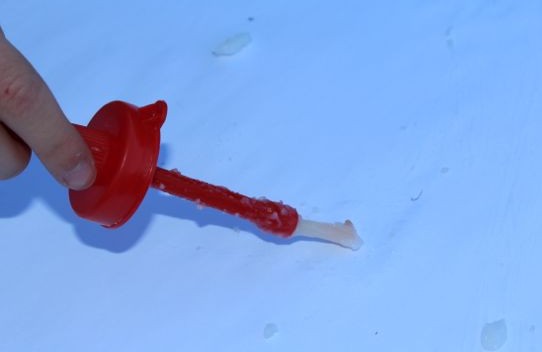
L using a toothpick to scratch out her picture.
So eventually, the paint was completely dry, and L and A were able to set about scratching the black paint off to reveal the crayon beneath. They tried a few different items to scratch the paint with, including the end of a spoon, a matchstick, and some toothpicks. They both agreed that the toothpicks worked the best.
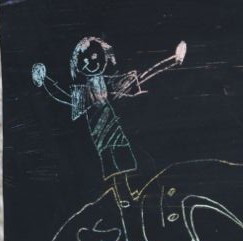
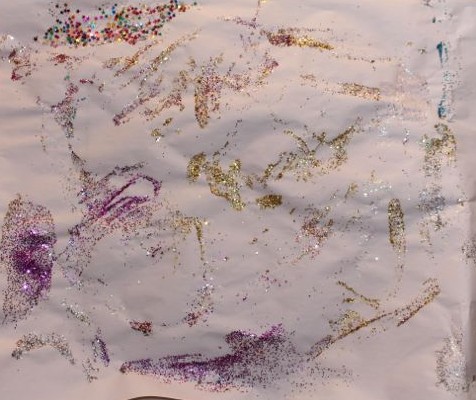
A made a lot of squiggles all over her piece of paper. After all the scribbling, A did draw herself in the corner, which I thought was quite nice.

A drew herself.
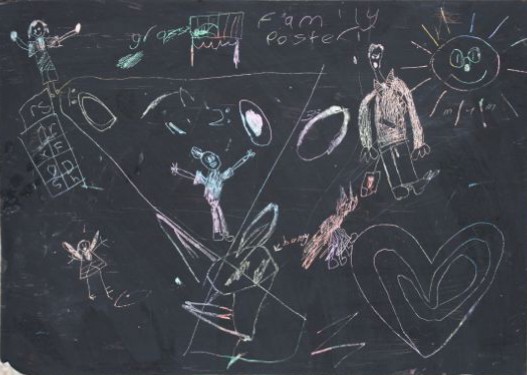
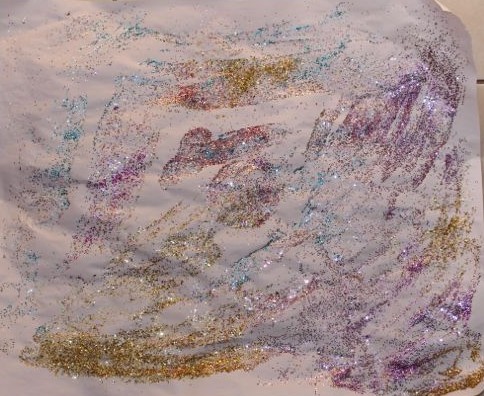
L drew all of the members in our family, and called her picture “Family Poster”. She drew A wearing fairy wings, and Big L wearing a tie. A has fairy wings on a couple of times a week, but I can’t remember the last time Big L wore a tie! She put glasses on the sun, and Baby T is in his cot.
The brightness of the crayons were a bit dulled when the paint was scratched off, so we might need to put the crayon on thicker next time. We could also try using oil pastels instead of crayons to see if that works.

L drew herself too.
I really like these pictures. The kids had fun making the scratch art paper, and then using it to scratch out their pictures. This is something that was fun, and we will do again (though hopefully without the help of our cat).