I went looking for some plain, smooth baubles to decorate before Christmas. This task was actually harder than I had anticipated, so many of the baubles were already covered in glitter or patterns. I finally found a pack of gold baubles in Target. They were nice and large, which was good for the kids to decorate. I bought a pack of Christmas glitter glue, which included gold, green and red. These little bottles had fine tips and were easy to control.
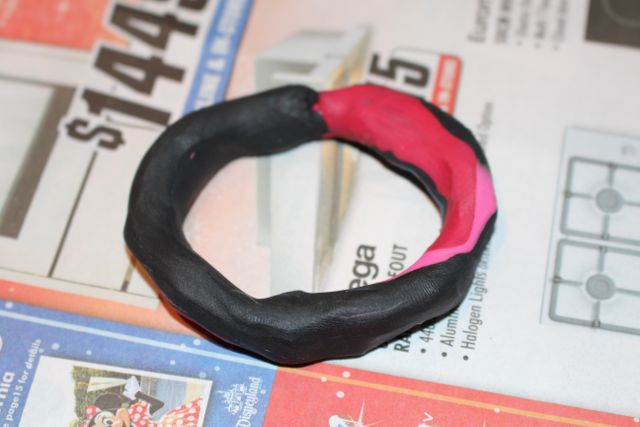
Plasticine ring.
I made little rings out of plasticine to place the bauble in so that it wouldn’t roll away while we painted them with the glitter glue. This was very effective, but when I asked the kids if they wanted to paint another bauble, they both told me they just wanted to play with the left-over plasticine!

A bauble sitting in its plasticine ring.
The kids each decorated a couple of baubles each, making dots, swirls, stripes, stars, trees and writing their names. A used a bit too much glitter glue on one of hers, while painting a Christmas tree. The glitter glue ran, making the tree appear as if it had melted.
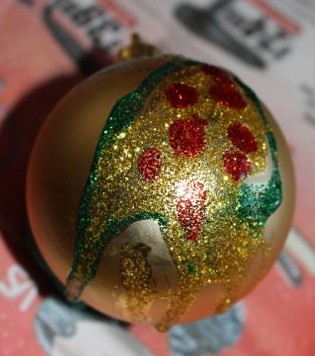
The melted Christmas tree.

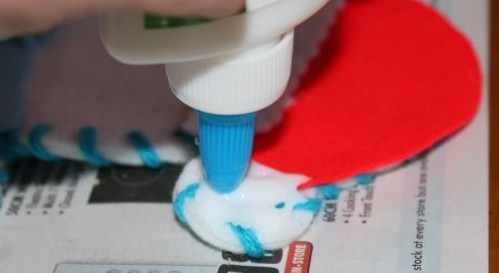
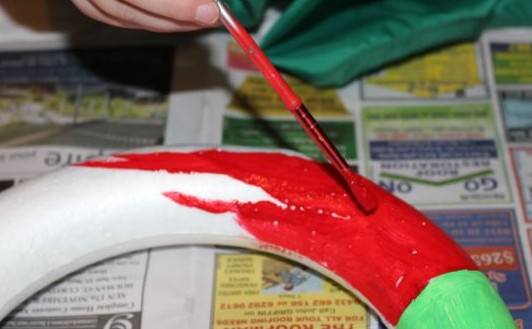
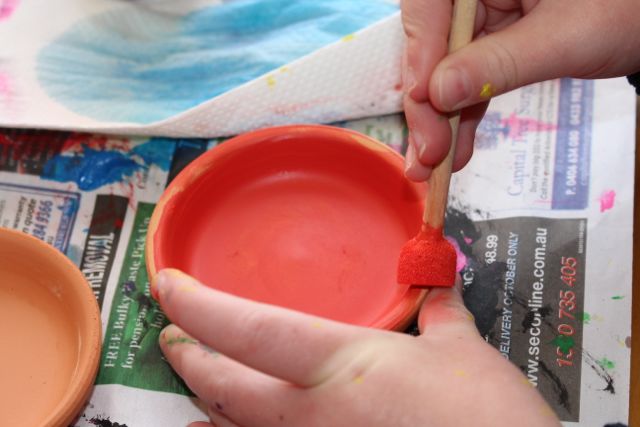
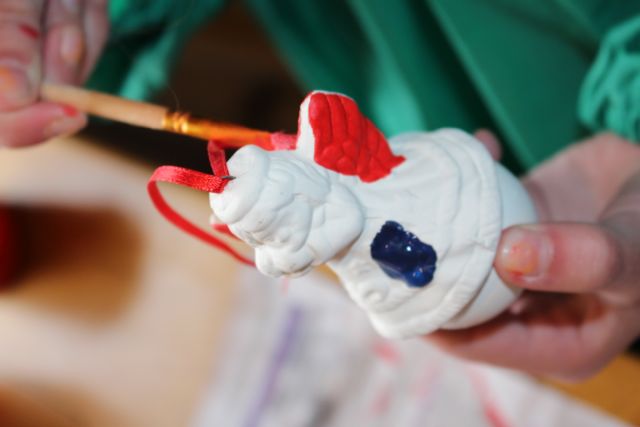
Painting a bauble.
I used the glitter glue to write each child’s name and the year on a bauble. Once these were dry, I turned them over and drew a star on one, and trees on the other two. The kids liked having a bauble that was made just for them. I also dotted one bauble all over with random spots of the three colours. L liked this one, and had a go at making one the same, though some of her dots were bigger, and ran a little.

Name and year on a bauble.

A spotty bauble.

The kids proudly hung up all of the glitter glue baubles on the tree once they were dry.