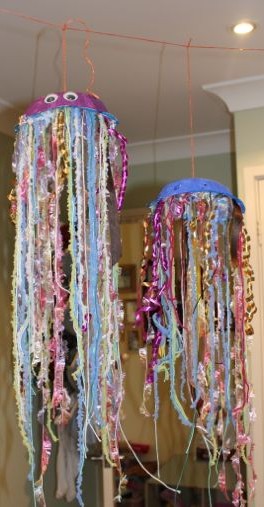
Both L and A have been fascinated by the ocean and its inhabitants for a while now. They want to read books on ocean creatures, watch ocean documentaries, do sea creature craft, and watch The Little Mermaid and Finding Nemo over and over and over… They also want some pet fish, but we just don’t have a good place where we could keep a fish tank at the moment, not with Baby T learning to climb on everything and pull things over. We improvised instead, and made some little aquariums using paper plates to hang in their rooms.

L’s aquarium.

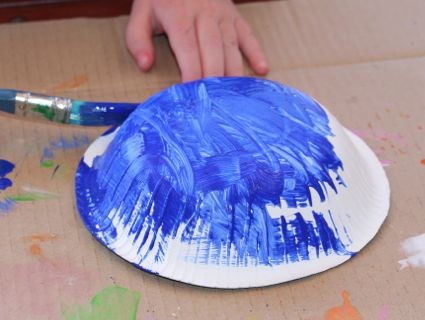
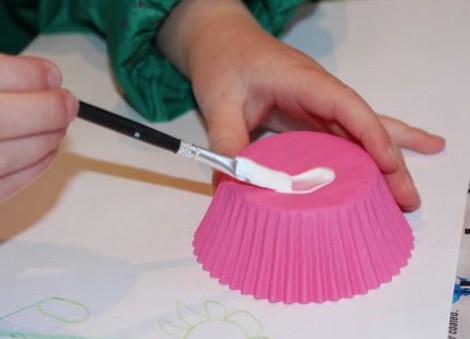
Painting the plate blue.
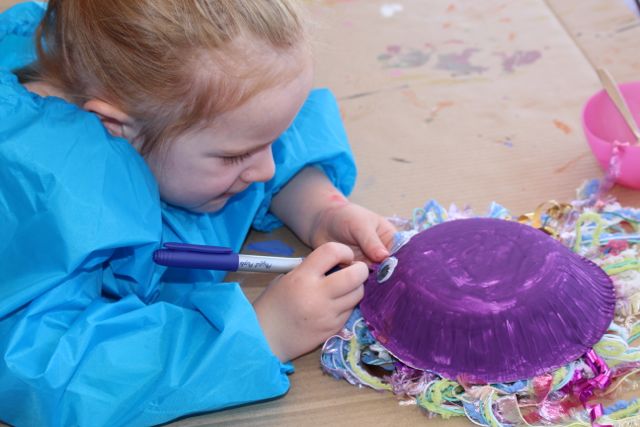
First, the kids painted one of the plates blue to represent the water in their aquariums. This was fairly quick, but of course, we had to wait until they were dry. While that happened, the kids started colouring in their sea creatures with markers. L only coloured in a few of her creatures, as she only wanted to make one aquarium, but as A wanted to make two, she coloured all of hers in. I found the undersea creatures to colour in on the Crayola site. There are lots of colouring pages available to print there.
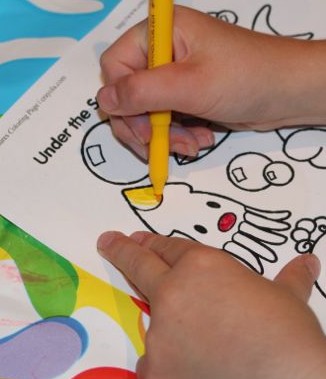
Colouring in.

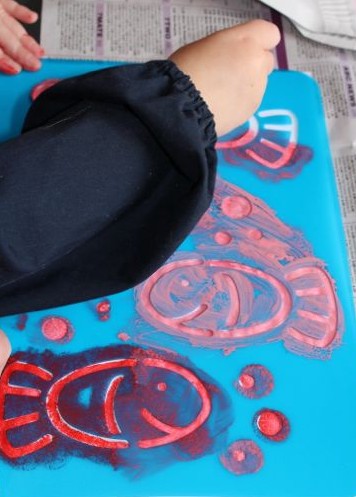
L cutting out her fish.
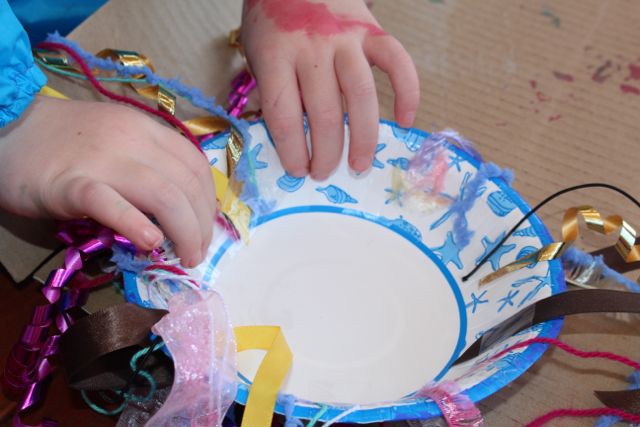
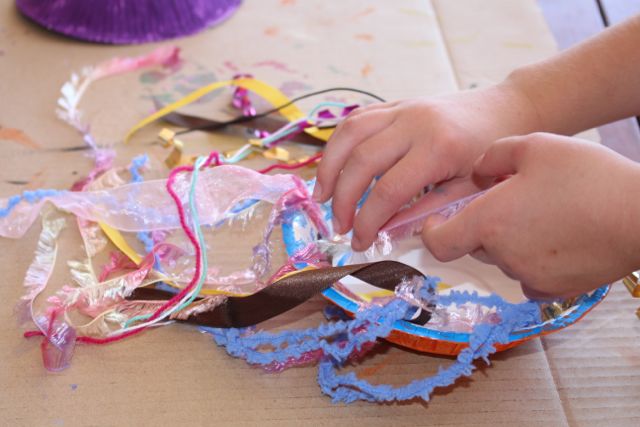
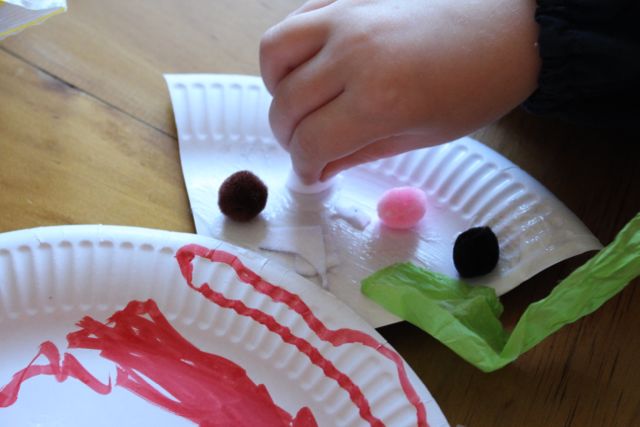
L only needed a little bit of help cutting her sea creatures out, but A asked me to do hers after she almost cut off the fish’s head. We used crepe paper to make sea weed, I just cut a few different green shades and some brown into strips. The kids glued some seaweed on, and then added their sea creatures. They both added some more strips of seaweed after this, making some of the animals appear to be hiding in the sea weed. This was their idea, and I love it.
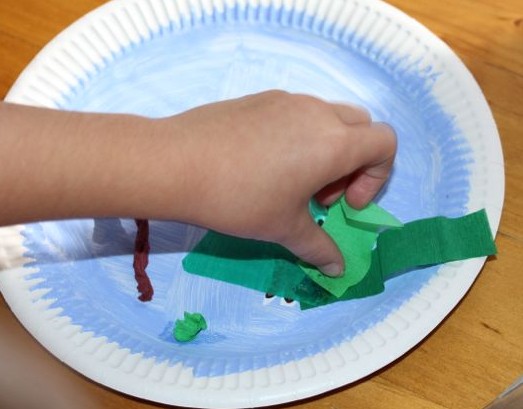
Adding sea weed.

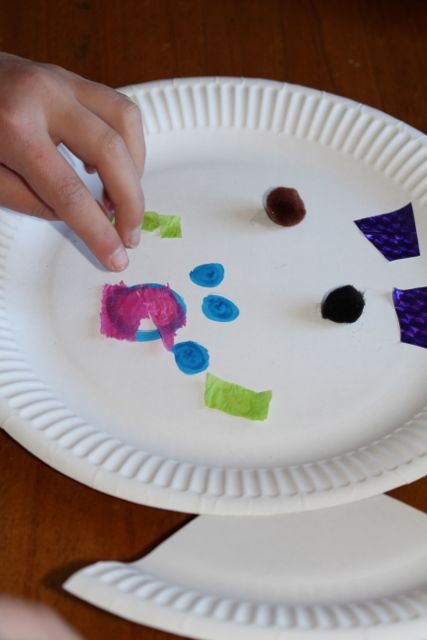
Gluing on sea creatures.
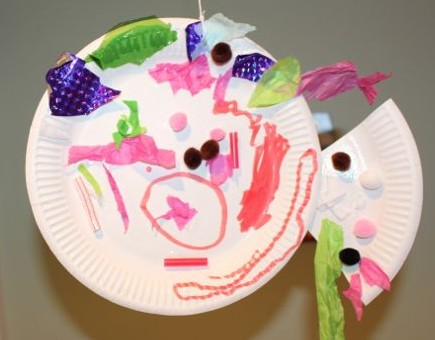
I made the lids for the aquariums using a second paper plate. I cut the centre out, leaving just the ridged bit around the edge. Then I taped some plastic cling wrap over the plate, creating a clear cover for the aquarium. We stuck the two paper plates together at the edges using tape, added some string to the top of each aquarium and hung them up.

A’s aquariums.