L’s finished pots.

The pot decoration kits we bought from Bunnings.
I went to Bunnings looking for some terracotta pots for the kids to paint and decorate. There were lots of pots in all different sizes and shapes. And then we came across some kids craft packs to decorate three terracotta pots, including paint and rhinestones. That seemed like a very easy option, so we bought two kits.
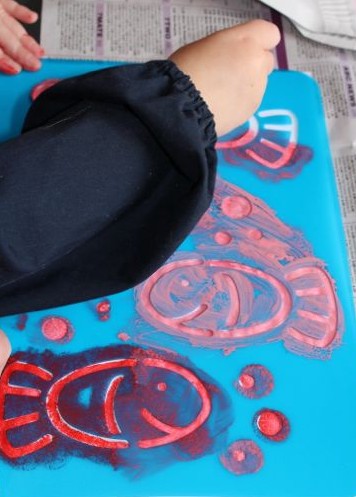
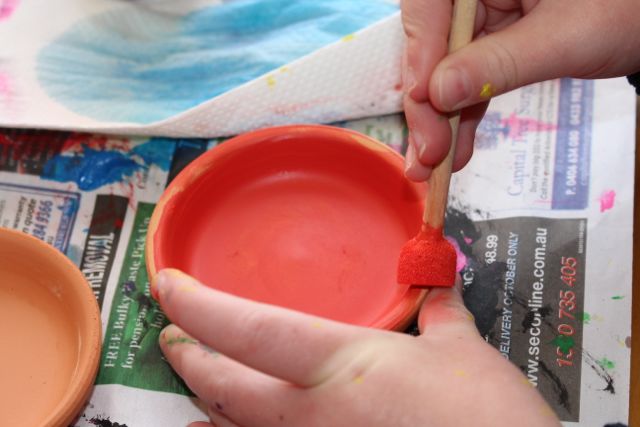
The pots were only little, but perfect for L and A to decorate. We turned A’s pots upside down to make it easier for her to paint. She also painted the bottom of each pot. There was only one small brush with each kit, so we got out enough brushes to have one for each colour. That way we didn’t have to keep washing the brush all the time (it also meant we didn’t need a cup of water on the table that A could somehow manage to knock over…) A did some lovely painting on the outside of each pot, covering the entire surface. She used some sponge brushes to paint the little saucers for each pot, making smiley faces on them. L chose not to cover the whole of the pots in paint, instead she painted pictures, swirls and letters.

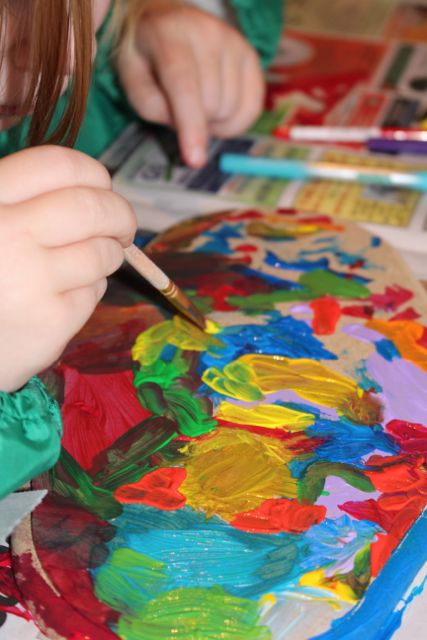
A painting her first pot.
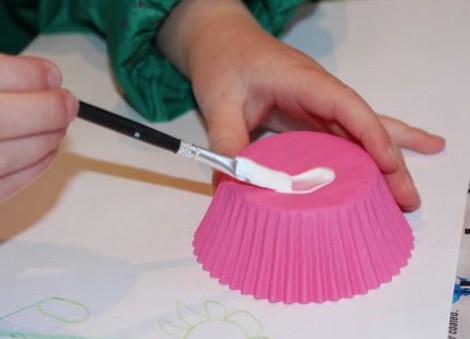
Painting the saucer.

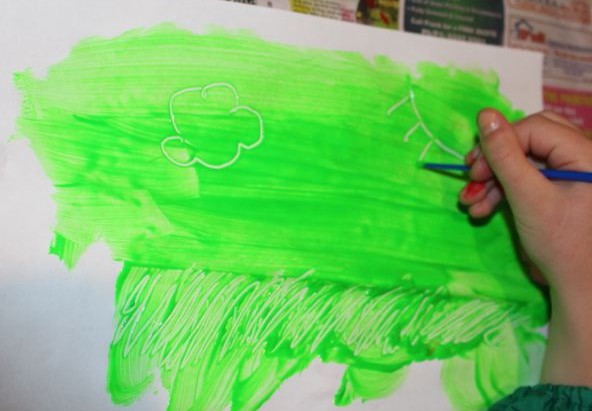
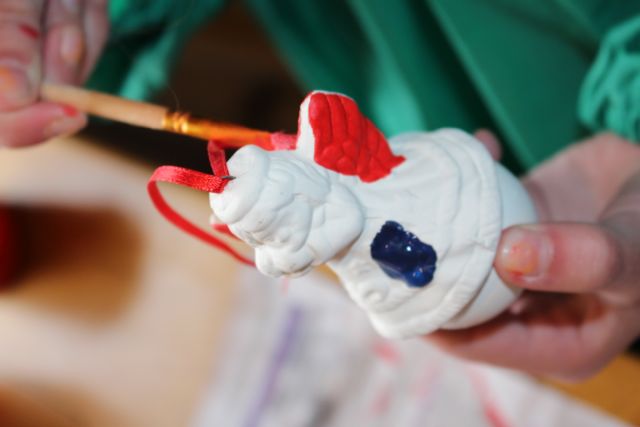
L painting a Christmas tree on one of her pots.
Once the paint was completely dry (which didn’t take very long at all), the kids got to add the rhinestones. Oh, how they love to decorate with rhinestones! We used PVA glue to attach the rhinestones. There was a mix of shapes, sizes and colours, and they used a variety on each pot.

Adding rhinestones.

More rhinestones.
Each kit came with some foam flower press outs to make up too. These could be used as a decoration in the pots if desired, but the kids wanted to put real plants into their pots, so the fake flowers were put aside to complete later to add to the vase they made a few weeks ago.
L and A want to give their finished pots (with little plant) to their teachers for Christmas this year, as an alternative to the traditional coffee cup or box of chocolates. The kids had a great time decorating them, and we hope their teachers will like them!

A’s finished pots.