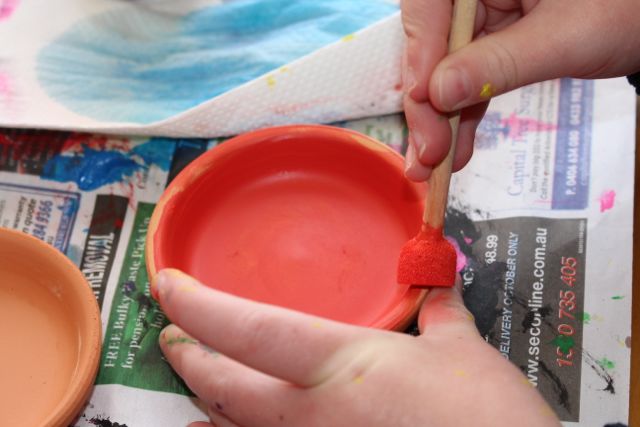
The other evening I went through all of our drawing implements and sorted them out. We have them stored in a five drawer storage unit, a drawer for pencils, one for markers, one for crayons, one with stickers, and one with lead pencils, pens, erasers, and pencil sharpeners. I threw out any markers and pens that didn’t work. I sharpened all of the lead and coloured pencils, throwing away ones that kept breaking. I waded through the stickers, throwing out sticker sheets that actually had no stickers left on them, and rescuing some sticker sheets that had fallen down the back of the other drawers. Then I got to the crayon drawer…. there were dozens of crayons jammed in this drawer, so many that it was very difficult to shut the drawer. I took them all out and sorted the broken from the unbroken. I collected all of the broken pieces together and put them into a pencil case to deal with later. 
Later came around when I decided to try and melt some of the crayons together to make a bigger usable crayon. I wasn’t sure what would happen, so I put a random selection of crayon pieces into a muffin case, and microwaved it. My microwave wasn’t particularly happy about this, and turned itself off near the end. Since I previously blew up a microwave by accidentally microwaving a pop-stick, and I didn’t want a repeat of that, I immediately removed the crayons. Luckily the microwave is just fine, it was just protesting, and given the smell the crayons gave off, I can’t blame it. However, the crayons did melt, and mixed all together, ending up brown. That was fine though, as at least I knew they could be melted.
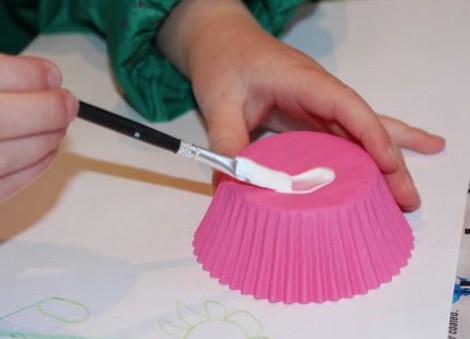
I thought my other option would be to heat them in the oven, but with the hot weather I wasn’t keen to put the oven on. I had a bit of a Eureka moment then, when I realised that I could use the hot weather to my advantage. Nature could melt the crayons for me! So after I removed all of the paper coverings (sliced down the side with a small blade and peeled the paper off), I sorted all the crayon pieces out into piles of different colours, placing them into muffin cases in the muffin trays. I sat the muffin trays outside in the sun this morning.
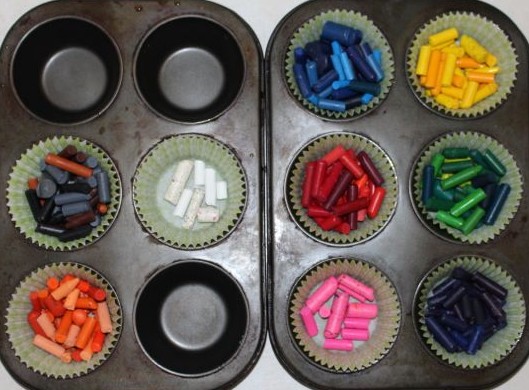
Separated into like colours.
After about an hour and a half I went out to see how the crayons were going in the sun. They were melting quite well, and the trays were very hot. After about three hours the crayon pieces were pretty much all melted, and I gave them a bit of a stir to mix it together. There were a few pieces in some of them that didn’t melt, but I think they were all pieces that came out of the Crayola Twistables Crayons. I guess this sort of crayon isn’t the same as the others.

After about an hour and a half in the sun.

After about three hours in the sun.
I brought the muffin trays into the shade using my oven mitt, and once they were a little cooler, I removed the muffin cases full of melted crayon and brought them inside. I sat them on the bench to cool and harden. Once they were completely cooled, I removed them from the muffin cases. Now I have some nice chunky crayons that Baby T can use for his first drawing attempts, instead of the mostly unused broken pieces I had before.

My new chunky crayons.
Next time I have a bunch of broken crayons, I think I will melt them and then pour them into some of our metal cookie cutter shapes to cool. We have some dinosaur shapes that would make great crayon shapes.