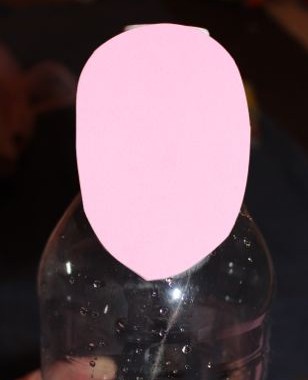
A is crazy for dolls of all sizes and shapes. She does a lot of pretend play with them, in particular she likes to give them baths…. which are not always so pretend. She carries them around, takes them on outings, and to bed. A asked if we could make some dolls for craft, so we gave it a go. I remembered using a soft drink bottle to make a doll when I was a child, so we started with making a bottle doll.
The doll’s head.
We had an empty mineral water bottle that we washed out, and removed the label from. I cut out an oval of pink foam for the doll’s face, and A glued it to the top of the bottle. A decorated her doll’s face, giving her googly eyes, and using a marker to make a mouth and a nose.
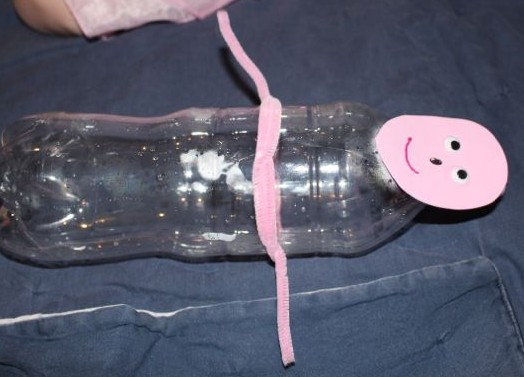 I twisted two pink pipe cleaners today to make one long one, and I helped A to wrap this around the bottle to make some arms.
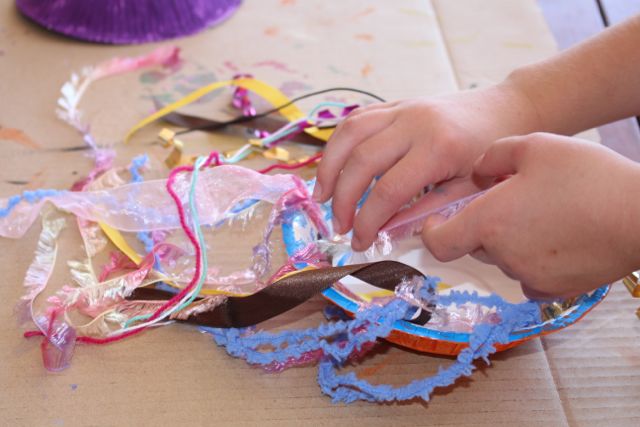
Then A got down to the very serious business of dressing her doll. She decided her doll should be wearing a shirt and a skirt. She chose to make the skirt from red tissue paper and blue honeycomb mesh, and the shirt from gold honeycomb mesh and pink crepe paper. I helped her to poke the doll’s arms through the mesh and crepe paper of her shirt. I held the shirt and skirt shut at the back while A taped them together. She is getting much better at removing tape from the dispenser without sticking it to itself now.

Adding hair.
Once she was dressed, it was time to “make her pretty” according to A. She didn’t like the bald look her doll was sporting, so she added some curly doll’s hair to the top of the bottle and around her face.
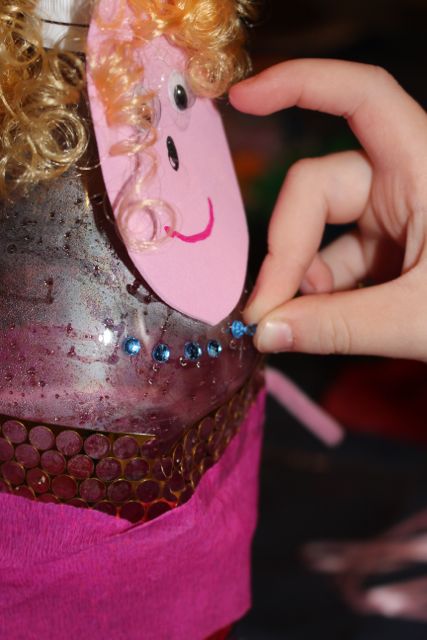
Placing her necklace.
A also used some stick-on gems to giver her doll a necklace, some earrings and a little watch. She found a thin pink ribbon in the craft box and asked me to make her a bow to place in the doll’s hair too.
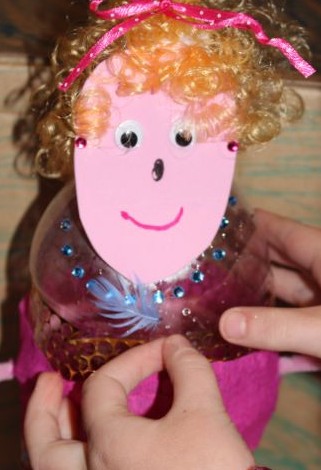
Adding the final touches.
As a final decoration, A placed a small blue feather as a pendant on the doll’s necklace.
A made a bed for her new bottle doll beside her own bed that evening, so she would be comfy and warm, and ready to play first thing in the morning.