I have made this cat and mouse cake a few times for the kids’ birthdays. It is quite easy and has been a big hit at birthday parties. I normally make butter or vanilla cakes, but A begged for chocolate cake, so I used some White Wings mixes to make the cakes.

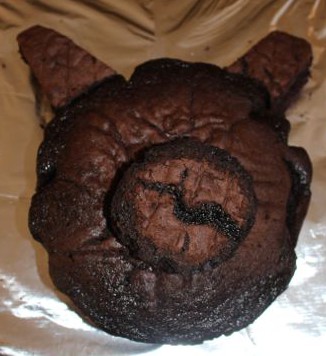
Prior to icing.
The cat’s head is make with a round cake base, with another cake cut up to make the nose and ears. The mice are decorated cupcakes. I just cut a rough circle section for the nose, and then I sliced the piece of cake so that it was about half the depth. I attached it to the round cake using some white buttercream (vienna cream or frosting). I also used some buttercream to attach the triangular ears to the top of the round cake. I don’t worry too much about how the cake looks at this point because I know I will make it look nice with the frosting!
There are lots of recipes around for buttercream, but I used one I found on taste.com.au, it was light and fluffy and very tasty.

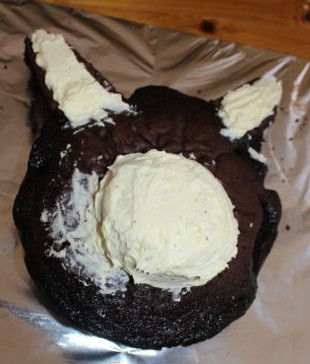
After applying white buttercream.

After applying grey buttercream.
A asked for her cat to be grey and white, which is pretty easy. A little bit of black liquid food colouring added to the plain frosting gives a nice grey. As I was also icing the cupcakes in white and grey, I made up a triple batch of buttercream, and divided into two bowls, keeping one white and making the other grey. A double batch probably would have done it, but I’d rather have extra ready to go if needed, especially if I am using coloured buttercream, it’s so hard to get the colour to match if I have to make more.
I roughly added the white buttercream over the nose and to make the inside of the ears. Then I did the rest of the head in grey neatly, butting it up to where the white should end, and covering any excess white frosting along the way. To give the buttercream a bit more texture, I used the flat side of a butter knife’s blade to slap against the buttercream, causing little peaks to form. I did this all over the grey areas, while keeping the white fairly smooth. The kids thought it looked more like fur that way.

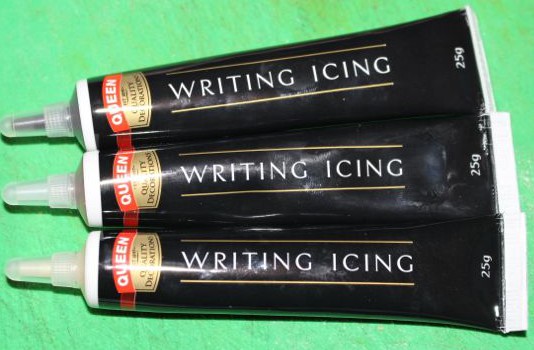
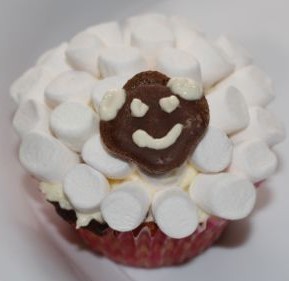
 In the end, I decided that I wanted the white to extend a bit further down to encompass the mouth more, so I added some more white buttercream from the nose down. This gave me more room to apply the mouth and nose. The nose and tongue are half a pink marshmallow each, while the eyes are smarties. A chose the pink ones, though I suggested blue or green! The rest of the facial features are drawn on with writing icing. These little tubes are very handy and easy to use.
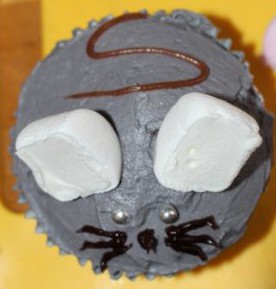
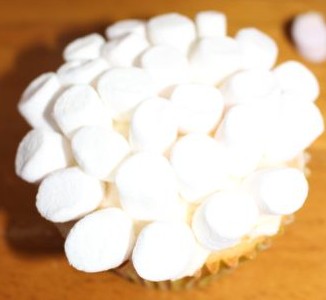
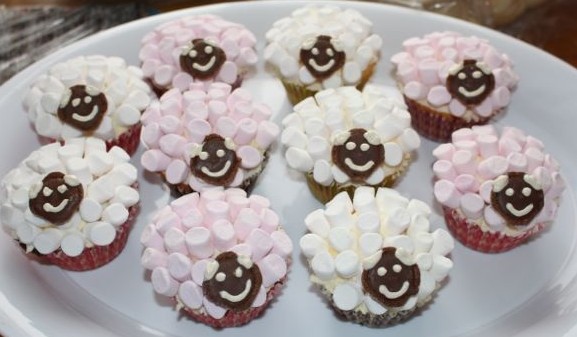
 To make the cute little mice cupcakes, I iced half the batch with grey buttercream and half with white buttercream. The ears are made from pink or white marshmallows cut in half. Each half is placed on top of the cupcake so that the sticky cut edge is facing forwards. The eyes are shiny cachous and the whiskers, nose and tails are added using the writing icing. I had thought about using liquorice strips for the tails, but I am the only one in my family that likes liquorice, so it seemed like a bit of a waste.

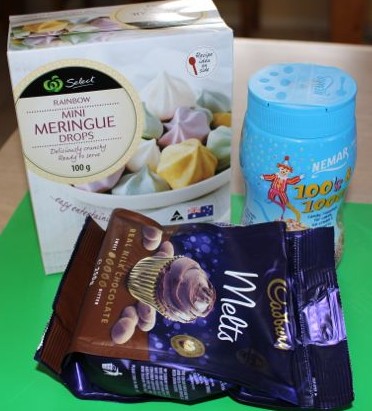
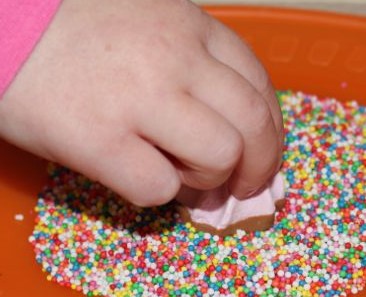
Shiny cachou lollies.
The cat’s head was placed in the centre of the pre-prepared board (a piece of plywood covered in foil), and the mice cupcakes were arranged on either side. I only used eight of the mice on the board. The extras did not go to waste though, the kids finished them off quite quickly.
Unfortunately, before the cake could be unveiled at the party, Baby T leant across it and smooshed a couple of the mice and the cat’s nose. The kids didn’t care, they still gobbled it up!