I really love my laminator, it is so useful! Apart from preserving the children’s awards and other valuable mementos, it makes creating unique and durable bookmarks a breeze.

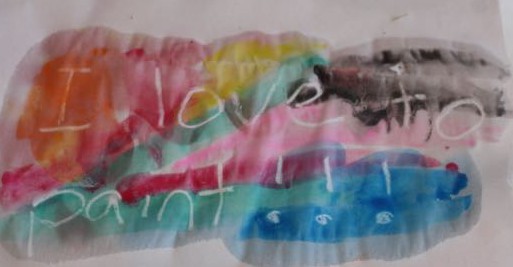
For these fantastic rainbow bookmarks, we used colour diffusing paper (I bought it from Modern Teaching Aids). This sort of paper sucks up the colour and spreads it and mixes it, creating unusual and interesting patterns. Paper towel and coffee filters also provide a similar effect. This paper works well with water colour paints. Using felt tip markers (textas) to draw on the paper, and then using a spray bottle to wet the paper will also cause the colour to spread and mix. But for bright, vibrant colours, we always come back to using a few drops of food colouring in a small amount of water.
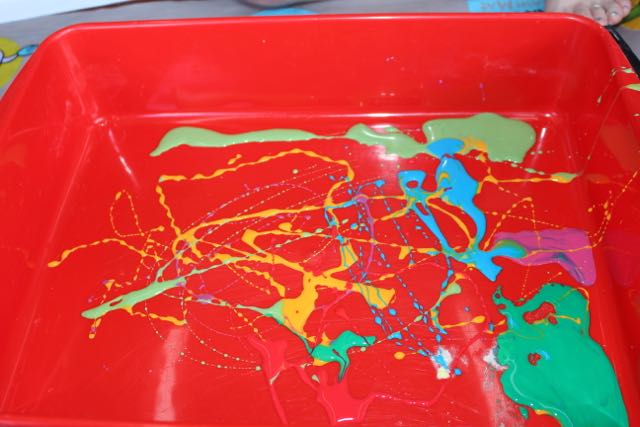
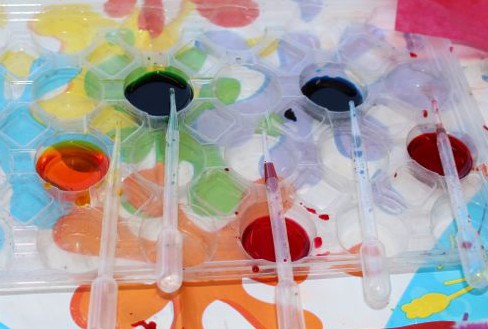
The kids used pipettes to place the coloured water onto the paper. They did big squirts and little drops, lines and puddles, using a range of colours. They enjoyed watching the colour spread out, and making new colours by overlapping the food colouring. They filled up each page with brilliant colour, and in A’s case, so much colour that some of the paper was actually dripping when I laid it out to dry!

A tray of food colouring and pipettes.

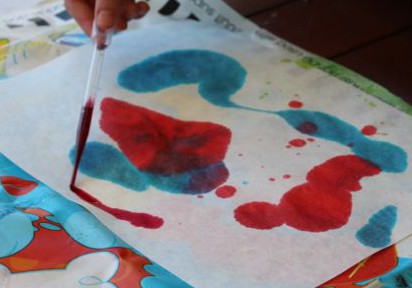
Big spots.

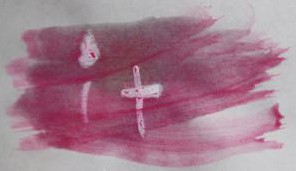
And little dots. The blue and red puddle is mixing to give purple.

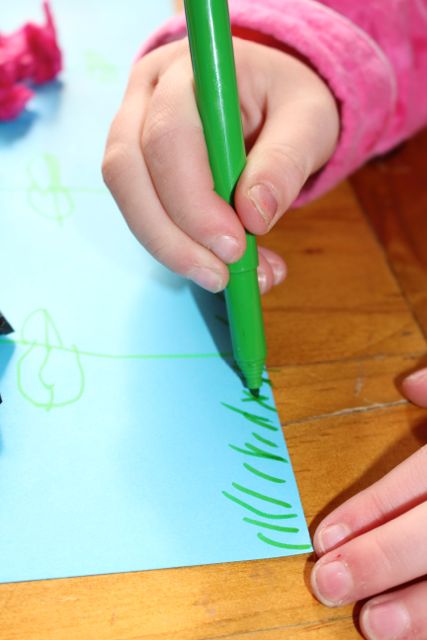
Making lines.
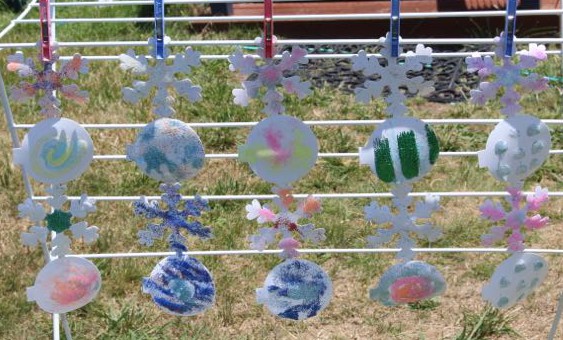
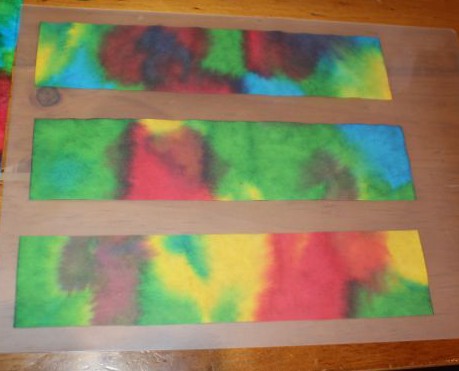
I laid each of the wet pages out on a piece of scrap cardboard to dry flat.
Once these pages are dry, we can use them as beautiful and unique papers for any of our paper crafts.

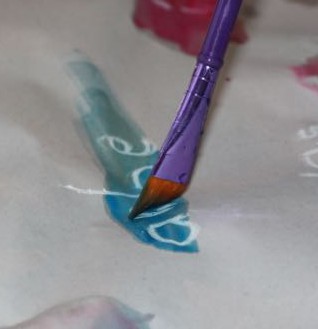
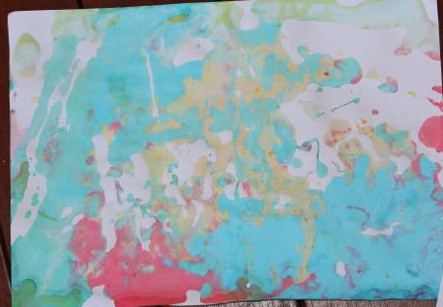
Still wet paper.

Still wet. The pattern from the much mat can be seen through it.
A chose one sheet of paper to use for our bookmarks. The page was 30cm long, so I cut out six bookmarks, each 5cm across, by the width of the paper. I drew a faint pencil line on the back of the paper using a ruler to keep it straight, and then cut them apart. We fit three of these paper strips into an A4 laminating pocket, leaving plenty of room between the strips to make sure the plastic was properly sealed around the paper. L helped me position the laminating pocket and feed it into the laminator. It only takes a few moments for the laminating to finish, and then a few more to cool down.

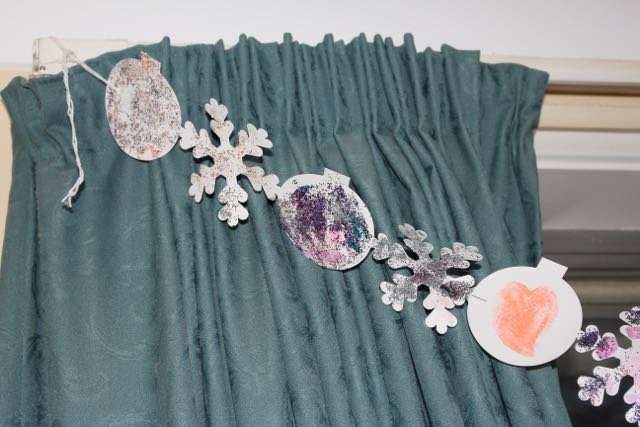
The same page, dry and ready to use.
I carefully cut the new bookmarks apart from each other, leaving a border of plastic seal around each one. I rounded the corners of each bookmark to remove the sharp point. L punched a hole in the top of each bookmark, and chose a ribbon to thread through the top. Once the ribbons were tied, the bookmarks were finished and ready to be used.

The paper cut into strips.

In the laminating pocket ready to be laminated.

Finished bookmarks.