I gathered lots of yellow things from about our house and popped them into one of our sensory tubs yesterday. I was surprised by the amount of yellow things we just had lying about. There was a plate, bowl, spoon and fork, as well as some yellow lids, a silicone chocolate mould, felt shapes, plastic frogs, wooden pegs, a pom pom and pipe cleaner. And of course, the yellow sensory tub wouldn’t have been complete without a banana and a lemon.

Putting yellow things into the bowl.
Baby T went straight for the banana (he loves them) and tried to take a bite right through the skin. He was very happy when L peeled it for him, it quickly disappeared and he wasn’t interested in the skin. Then he took everything else out of the tub to look at it carefully. He put everything into the bowl and gave it a mix with the spoon. He tried to spear the pom pom with the fork, and he enjoyed banging the pegs against the plasticware.
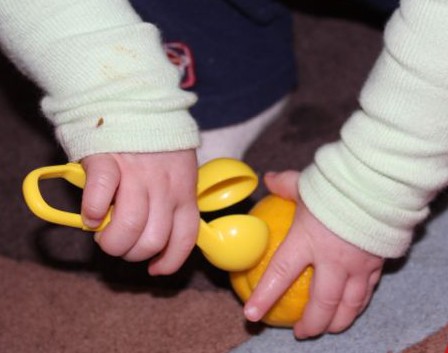
Trying to pick up the lemon with the tweezers.
We spoke a lot about the colour yellow, and the textures and shapes of the different items as Baby T explored the tub. L and A tickled him with the pipe cleaner, and pretended to make the frogs jump onto his head. Baby T really liked the lemon and the big plastic tweezer scoop, and spent a lot of time playing with these items. He tried to pick the lemon up with the tweezers many times, but it was far to big. He also took a bite out of the lemon… He wasn’t impressed with the taste, but he still wouldn’t let the lemon go.
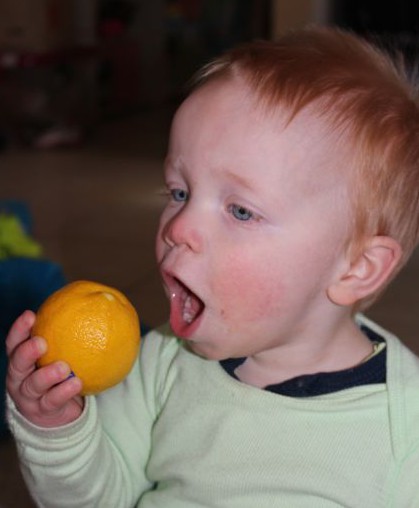
Going for a big bite.