Author Archives: TodayWeDid

Unknown's avatar

About TodayWeDid

I spend my time sharing my love of reading, arts and crafts with my four children. I also review children's and YA books.

Leaf Rubbings

Standard

IMG_3545
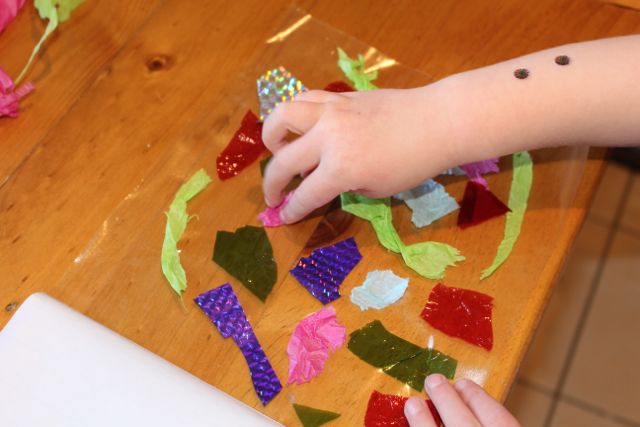
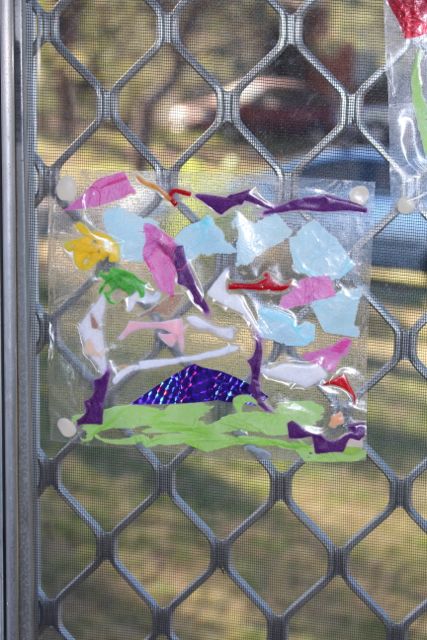
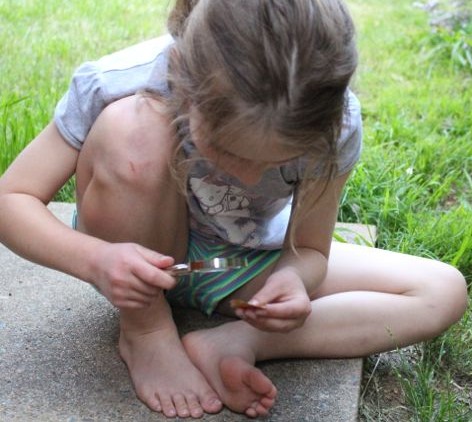
A, Baby T and I were out walking yesterday and A began to collect some leaves. She mostly picked up gum leaves, but she also picked up some maple leaves, silky oak leaves and some other small leaves from a few bushes. It was a motley collection, but perfect for trying some leaf rubbings.

IMG_3537

We sorted through the crayon tub to find some suitable crayons, and A delighted in pulling off the remaining paper covering these crayons (and then just throwing it on the floor like confetti!). We picked fat crayons so they were easier for A to hold. She placed the leaves on the table and covered them with white paper. I held the paper still while she wielded the crayon on its side, rubbing it over where the leaves were lying. She was amazed to see the shapes of the leaves emerging beneath the crayon. She kept calling them ‘leaf fossils’, I think because we did a rubbing of a dinosaur fossil on a recent trip to the museum.

IMG_3540

Celery Experiment

Standard

The kids don’t really like to eat celery (though I do), but they weren’t averse to using it for an experiment. What happens when we place celery tops into cups of coloured water?

At the start.

At the start.

We chose five food colours, red, pink, green, yellow and blue. We placed some of each colour into five separate plastic cups and then filled the cups up to about half way with water. Each cup got its own celery top. I asked the kids what they thought would happen if we left them like that, they both thought the celery would suck up the water. We also talked about what would happen to the colours, and would we see a difference between the colours. I was predicting that blue and red would produce the most dramatic change, and L predicted that yellow and green wouldn’t do anything.

We left the celery for about an hour. By this time, we could see some colour rising up the stalks, and travelling through the leaves. The pink and blue ones had the most obvious change in colour.

Pink, blue and red (l-r) after an hour.

Pink, blue and red (l-r) after an hour.

After an hour.

After an hour.


After about 24 hours, much more of the colour had been transferred from the cups into the leaves, producing a mottled effect on the leaves. We could also see the colour in the stalks. The red, pink and blue showed a major change in the colour, while the yellow and green ones were much harder to see. Looking closely at the green one, we could see the colour where some of the leaves were a little damaged, and around the edges of the leaves. The yellow one’s leaves appeared somewhat brighter than before the experiment, and we could see the yellow around the top of the stalk, but compared to the other colours, it was very difficult to see what had happened.

After 24 hours, the red, blue and pink (l-r) had a dramatic change.

After 24 hours, the red, blue and pink (l-r) had a dramatic change.

This little experiment demonstrates the way plants suck up water throughout their stem and leaf systems. It is another example of capillary action at work. L was quite interested in it, but A mostly just liked the pretty colours the celery had turned 🙂

Ella and Olivia Series by Yvette Poshoglian

Standard

We’ve been reading some of the books from the Ella and Olivia chapter book series. They have simple storylines, with large text and black and white illustrations, making them a great start to reading chapter books for lower primary school children. I’ve read these books to my pre-schooler and she loved them, wants me to keep reading so she can find out what happens. I don’t mind reading them to her either, which is something I can’t say about every book she picks out! When she is ready for chapter books, I would be happy for her to read these books on her own. I think she particularly related to Ella and Olivia because she saw herself as being like Olivia, with an older sister that she idolises, and a baby brother who drools a lot 🙂 These could be stories about her and her sister, so it’s easy for her to picture the story unfolding. We are going to see if there are some more Ella and Olivia books available from the library for us to read together.

Update August 2015: Now in kindergarten, my daughter still loves these books, but now she can read them herself. We have collected the entire set now, and each time a new one is released, she asks for it straight away. I will try to review the rest of the series in the coming months.

IMG_3536Ella and Olivia: Ballet Stars by Yvette Poshoglian and illustrated by Danielle McDonald, paperback, 63 pages, published by Scholastic Australia in 2012.

This is book number three in the series. Olivia wants to be just like her big sister, Ella. In Ballet Stars, Ella is taking ballet lessons, and Olivia wants to learn to dance too. Ella’s ballet school is putting on a production of Cinderella, and Ella wants to be the star and dance a solo. Olivia wants to be in the show as well. Ella practices and practices, teaching Olivia along the way, even if Olivia only has her swimmers and sandals to dance in instead of a leotard! Will the girls get want they want?


IMG_3644Ella and Olivia: The New Girl by Yvette Poshoglian and illustrated by Danielle McDonald, paperback, 63 pages, published by Scholastic Australia in 2012.

This is the fourth book in the series. In The New Girl, it is Olivia’s first day at big school, and Ella is starting year two. There is a new girl in her class, Millie, and she is a bit mean. She is rude to Ella, and Ella starts to dislike her. When Millie is mean to Olivia and won’t let her play with them, Ella stands up to Millie on Olivia’s behalf. Maybe Millie isn’t really mean, maybe she is just feeling lonely in unfamiliar surroundings. Will Ella give her a chance?


IMG_3580Ella and Olivia: Puppy Trouble by Yvette Poshoglian and illustrated by Danielle McDonald, paperback, 63 pages, published by Scholastic Australia in 2013.

This is book number five in the series. In Puppy Trouble, Ella and Olivia are finally allowed to have a puppy. They pick out a cute little fellow from the pet shop and take him home. They soon discover that there is much more to keeping a puppy than just playing with it all the time. This story gentle reminds readers that pet ownership comes with responsibility, including cleaning up after your pet, even when you just want to play with them.


IMG_3631Ella and Olivia: The Big Sleepover by Yvette Poshoglian and illustrated by Danielle McDonald, paperback, 63 pages, published by Scholastic Australia in 2013.

This is book number six in the series. In The Big Sleepover, Ella is allowed to have her very first sleepover with her best friend Zoe. Ella is very excited. When Zoe arrives for the sleepover, her dad suggests that Ella might like to come riding with Zoe the following day. The girls have fun, but when it’s time for bed they don’t want to go to sleep. A midnight snack, giggling and waking Olivia makes for a late night. And there are consequences come morning.


IMG_4950Ella and Olivia: Hair Disaster by Yvette Poshoglian and illustrated by Danielle McDonald, paperback, 63 pages, published by Scholastic Australia in 2015.

This is the fifteenth book in the series. Ella is preparing to play Sleeping Beauty in her ballet recital. She has been practicing with Olivia everyday. Ella and Olivia decide to try out some hair styles in the bathroom the day before the show. Olivia brushes Ella’s hair over and over, and then Olivia reaches for the scissors. What will Ella’s hair look like for the ballet concert?


Dinosaur Dig

Standard
Sporting some stylish eye protection.

Sporting some stylish eye protection.

Another of our purchases from Lincraft was a Dinosaur Dig Kit, including a sand block containing a dinosaur skeleton, some goggles, and some tools for excavating the bones. L loves dinosaurs, and she was super excited to get into a dig. Big L set her up at the table after A was in bed. He placed the block on a wooden board to minimise the mess. L donned the goggles, and got to work. She worked patiently and carefully, concentrating hard on her excavation. Using the mallet and peg, she dislodged some of the block to reveal a small section of bone. She was able to use the paintbrush to remove some of the dust from the protruding bones carefully.


Using the mallet.

Using the mallet.

The dig site shut when it was time for L to go to bed, and re-opened the following night. It took four or five nights for her to completely uncover the skeleton, which was in pieces.

Using the paintbrush to clean off the bones.

Using the paintbrush to clean off the bones.


She soaked the pieces in some water to loosen any sand that was left. She utilised a toothpick to clean out some of the grooves and holes on the skeleton. Once all the pieces were clean and dry, she assembled the skeleton to make her dinosaur.

Soaking the bones.

Soaking the bones.

Using a toothpick to scrape out some sand.

Using a toothpick to scrape out some sand.


L really enjoyed the whole process of the dinosaur dig, and she definitely wants to try another one.

A girl happy with her dino.

A girl happy with her dino.


Balloon Octopus

Standard
Sticking the tentacles on.

Sticking the tentacles on.

Making balloon octopuses (octopi?) is a quick and easy after school craft activity. All you need is some balloons, tape, crepe paper (or streamers or tissue paper) and permanent markers. I blew up a balloon for A, but L blew her own up, and tied it off. I added string to the knot so that the octopuses could be hung up.

Drawing a face onto her octopus.

Drawing a face onto her octopus.

They each cut up some crepe streamers into eight pieces for the tentacles (another opportunity to practice some counting!). Then they used tape to stick these on around the bottom of the balloon. A used the permanent markers to draw a face, including hair, ears and cheeks, while L covered her balloon in red spots, and told me it was a ‘red-ring octopus’. L also put some red spots on the tentacles. They had to be careful not to use too much pressure when drawing on the balloons so they didn’t pop. A glued a few pieces of pink tissue paper to the back of hers to make it pretty.

Once they were finished, I used blu-tack to stick the strings to the roof so that the tentacles hang down and swish in the breeze.

A smiley octopus.

A smiley octopus.

A spotty octopus hanging from the ceiling.

A spotty octopus hanging from the ceiling.

Flowers and Vase

Standard

Sometimes we pick flowers from the garden and bring them in to brighten up the dining room, but I always feel a little sad when they wilt and die. So we decided to make some flowers that wouldn’t die, along with a brightly coloured vase to put them in.

We used a tall, narrow cardboard box for the vase, as I just happened to have a very thick and sturdy box that was perfect for it. A clean tin would have worked equally as well. We started by ripping up some coloured paper into smallish pieces. Our paper was starry and we had the same starry print in four different colours, but any mix of colours or patterns could work. We used glue to paste the ripped up paper pieces on to the outside of the box, so that the surface was completely covered by overlapping the pieces in random order. We did this on each side of the box. L particularly liked ripping up the paper, and A was thrilled to use the glue.

Gluing paper pieces to the box.

Gluing paper pieces to the box.

Half-way through covering the box in paper, letting it dry.

Half-way through covering the box in paper, letting it dry.

I gave the kids two disposable plastic cups each and a pack of coloured permanent markers to make our flowers. I asked them to colour the cups in with whatever design they would like. Once they had finished their colouring, I cut the tops of the cups into strips, and bent them out to form the petals on our flowers. The edges of the cuts can be a bit sharp, so we had to be careful when handling the cups once I’d cut them. A coloured each of her petals in using all of the different coloured markers. Even though I put down newspaper to protect the paper, somehow L still managed to get blue permanent marker on the table… Big L poked a hole in the base of each cup, and I placed a green pipe cleaner through this hole, bending it down to form the flower stem, and then secured it with some tape on the base of the cup. This gave us four lovely flowers.

A colouring in her cups.

A colouring in her cups.

The cup cut to form petals.

The cup cut to form petals.

Finished vase with some of our flowers.

Finished vase with some of our flowers.

Our finished vase will live on our dining room table, and the kids are already planning to make some more flowers so we can change them over every now and again.

Contact Window Art

Standard
L's window art.

L’s window art.

We put some clear contact to a use other than covering books today. I cut some rectangles of clear contact and folded them in half, then peeled off the backing from one half, and placed it sticky side up on the table. L and A put little bits of tissue paper, felt scraps and cellophane onto the sticky contact. Once they had completed their collage picture, I carefully peeled the backing off the rest of the contact piece, folding it back onto the other half, enveloping the collage materials between the two halves of the contact. The collage items are held still between the layers of clear contact, and looks a bit like the picture has been laminated.

Placing different materials onto the contact.

Placing different materials onto the contact.

A adding more paper to her contact.

A adding more paper to her contact.

This was a sticky activity, and A kept getting stuck to the contact. L was much better at placing items on the contact without also getting her fingers stuck. It can be challenging to get the two sticky sides of the contact together smoothly and aligned, but it’s not essential for it to be perfect. I just trimmed the edges at the end so that there were no sticky bits left.

A used some blu-tack to stick the finished art to her window.

Art on the window.

Art on the window.

Some window art made with feathers.

Some window art made with feathers.

Sticky Mosaics Tiara

Standard

IMG_3451One of our purchases at the new Lincraft Store was a sticky mosaics kit to make a tiara. Sticky mosaics are a bit like paint by numbers, but using foam stickers instead of paint. Just peel the sticker off and place it on the corresponding number and you’re away. There is also a sticky mosaics range for younger kids, which uses shapes instead of numbers and the foam pieces are bigger. We’ve had a number of sticky mosaics and both L and A love them. They are easy and fun, and they help with number/shape recognition, using a key, and fine motor skills.

Placing the stickers onto the tiara.

Placing the stickers onto the tiara.

A chose this tiara as she loves playing princesses and wearing sparkly crowns. Though she has done several of the shape sticky mosaics, this was her first attempt at a number one. She did really well with it, and easily followed the numbers. She also managed the smaller pieces very well. She was very pleased with the finished product!

IMG_3460

Finished tiara.

There’s a Fly Guy in my Soup by Tedd Arnold

Standard

IMG_3405There’s a Fly Guy in my Soup by Tedd Arnold, hardback, 30 pages, published by Scholastic Inc. Cartwheel Books in 2012.

This simple book is part of the Fly Guy series, which follows the adventures of Buzz and his pet fly Fly Guy. In this story, Buzz and Fly Guy are on holidays, and Fly Guy finds himself in some trouble in the hotel restaurant when he mistakes a bowl of soup for a warm bath.

This book has easy to read text with very short chapters and colour illustrations. It could be considered an early or first chapter book and would be suitable for children in lower primary school to read themselves, but also suitable for reading to younger children. My preschooler thought it was quite funny and is interested in reading more Fly Guy stories.

Magnifying Glasses

Standard
Looking at the tree leaves.

Looking at the tree leaves.

Big L brought home a magnifying glass in a sample bag last week. He gave this to L and found our kids magnifying glass for A. The kids took them into the yard to explore. They looked at leaves, grass, bugs, feathers, flowers, the concrete path, pegs, and many other things, including their own hands and feet. This gave the kids a different perspective on the outside things that they see every day. They really enjoyed using the magnifying glasses, and have asked to explore with them again soon.

Investigating a leaf.

Investigating a leaf.

Investigating a curled up leaf.

Investigating some bark.