These cute little bunnies are made from toilet rolls, but any cardboard tubes could be used. We covered the rolls with white paper first. We glued the paper to the tubes, and folded the ends inside the tube for neatness.

Making bunny ears.

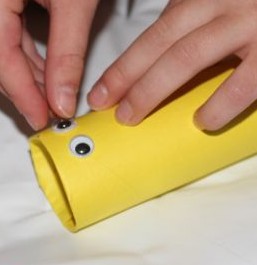
Drawing on details.
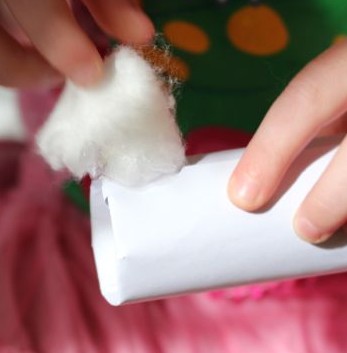
Adding a tail.
I cut out some pink cardboard for the inner sections of the white paper ears, and L glued the cardboard to the paper. The kids glued two ears into the top of their cardboard roll. Then they got busy gluing on googly eyes and using markers to add the facial features and arms. L also drew a little carrot in the hands of her bunny, which A promptly copied onto her bunny too. L drew her bunny’s feet on, but A wanted to use a white pipe cleaner as feet for her bunny. I cut two small lengths of pipe cleaner, and bent them around to form little feet, then A glued the end of them into the base of her roll.
To finish the bunnies off, the kids glued a cotton ball onto the back of the cardboard roll as a tail. While we had the cotton balls out, L had an idea for making baby bunnies. She made some ears out of paper and markers, and glued them to a cotton ball. Then she added some tiny googly eyes. She gave this baby bunny to A to play with. They called this one Baby Hopsity, and the bigger bunnies were Father and Mother Hopsity.

Baby Hopsity.