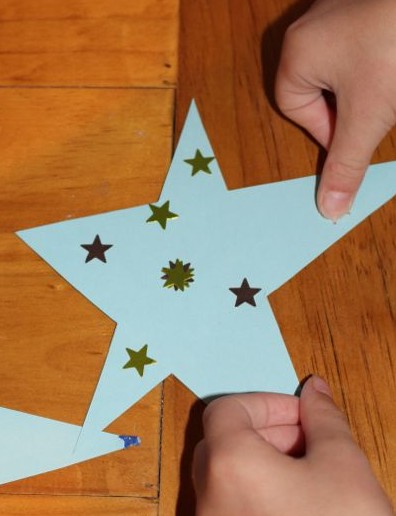
Books are one of my family’s greatest loves. We have them packed into shelves, stacked around on tables, chairs, and on any available flat surface, and A has been known to sleep with a book or two under her pillow. We buy more books every year and we frequent the public library, which allows us to borrow an unlimited amount of items and they’ve done away with over-due fees! So you can imagine how many books we read every year between us, and many of them are too long to be read in one sitting, however much we might want to read them to the end. I will use just about anything on hand as a bookmark, scraps of paper, lolly wrappers, hair clips, business cards, pencils…. and I’ve found L using another book as a bookmark a few times. This is not due to lack of ownership of proper bookmarks, but we just never seem to be able to find one when we need it, or they are already in a book (I’m particularly bad at having multiple books on the run at the same time). Big L often shakes his head when he sees me using some unusual object as a bookmark. We really needed a place that was dedicated to storing bookmarks, somewhere that we could find a bookmark when we needed one, and replace it there when we were finished, all ready for the next book.
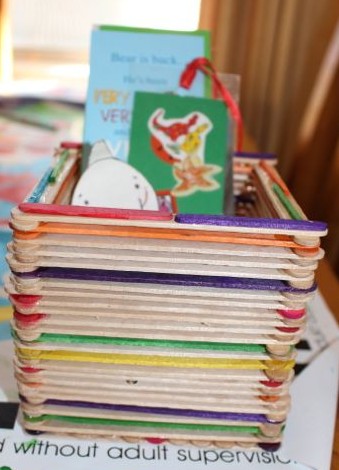
Bookmark holder full of bookmarks.
L built us a bookmark holder out of pop-sticks. She started with a base of pop-sticks, and then built it up from there. She used PVA glue to stick the pop-sticks together, working around in a square pattern. I helped a little with the glue and adding some of the pop-sticks, under L’s directions. When L was using the glue, she often added so much to the corners that it squished out the sides, so I don’t think it will ever come apart! L kept adding pop-sticks until the holder was a good height. To finish it off, she used some mini pop-sticks and match-sticks to decorate the top layer. I added a couple more pop-sticks to the bottom of the base to prevent any of the thin bookmarks slipping there the small gaps between the pop-sticks.
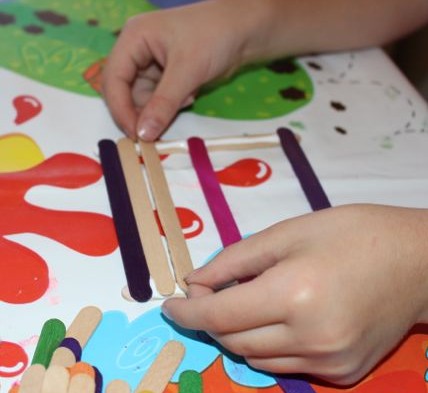
Creating a base.

Adding glue.
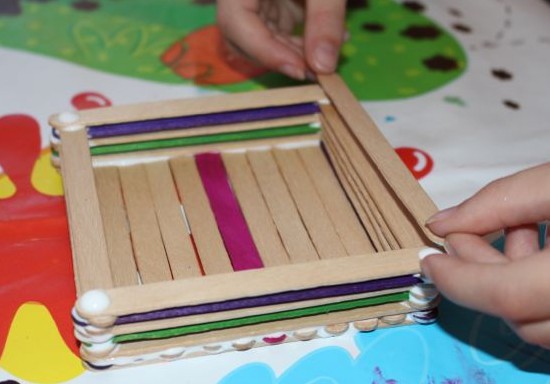
Building up the sides.

Drying.
It took a long time to dry, but it’s very solid! We have put as many bookmarks as we could find into the holder, and placed it on one of L’s shelves. Hopefully we will manage to keep putting our bookmarks back in between uses 🙂