When L was a preschooler her teacher noticed that while she was advanced in many areas, her fine motor skills could use some improvement. The school gave me some ideas for things to practice with her to improve her fine motor skills to help improve her writing. One of their suggestions was melty beads, which I found under the brand name Hama Beads in Lincraft. These are little plastic ring-like beads that are placed on a peg board in the desired design and then the top is ironed to melt the beads together (with baking paper between the beads and the iron face to prevent the beads melting onto the iron!). Then once the beads cool down, the design can be removed from the peg board and displayed or used in whatever way one wishes. These melty beads were a huge hit with L. We have done many designs over the past couple of years, and it never seems to lose its appeal. Now A is also very interested in making designs with the melty beads.

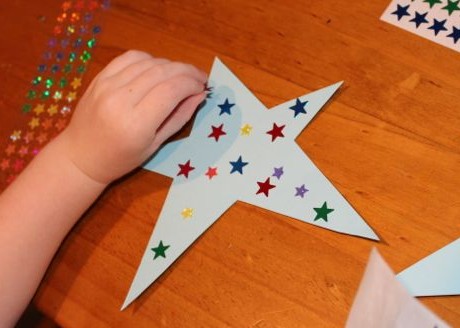
L adding beads to her star peg board.
Yesterday we used our melty beads to make some bag tags. A chose to make her bag tag in a heart shape, while L picked to use the star peg board. There are many different shaped peg boards available, and we only have a small selection. There are also lots of different coloured beads, which can be purchased as individual colours, or in various mixed packs. I have always bought sets of mixed beads for variety, and L and A mostly like to place the coloured beads randomly onto their chosen shape.

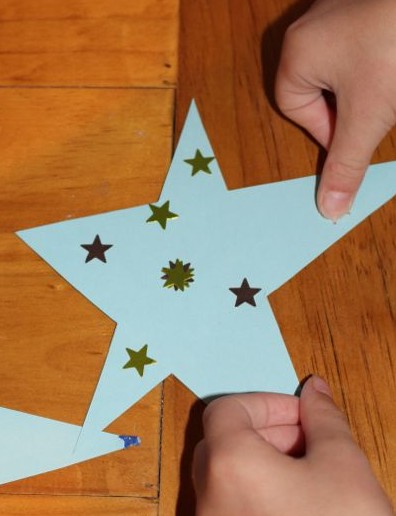
A placing beads on her peg board.
As predicted, A made her two hearts in a completely random way, though L made some patterns on her stars. I wielded the iron as it is too dangerous for the kids to touch.

A’s hearts.
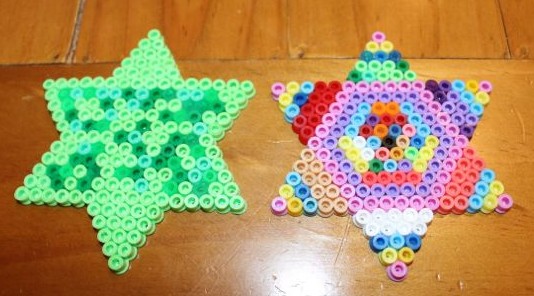
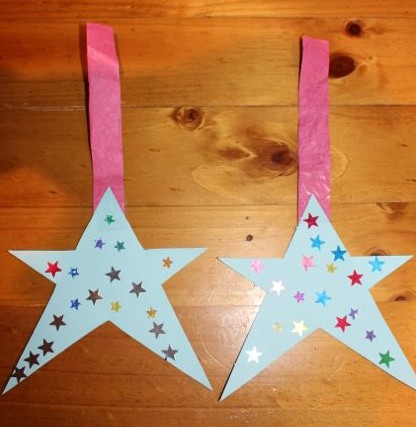
L’s stars.
I used a hot glue gun to attach a piece of ribbon to the back of one of the shapes to form a loop from which the tag could be hung. Continuing with the glue gun, I stuck the second shape back-to-back with the first shape, so that the ribbon was sandwiched between them. A’s two hearts went together nicely, and L asked to have her stars placed so that the points of one were between the points of the other. She thought this looked cool. The glue doesn’t take long to dry, so shortly after finishing the kids could attach their new tags to their bags.
We didn’t write their names on these tags, but they do help the kids to identify their own bag at school.

New bag tag hanging on A’s backpack.

L’s new bag tag hanging from the handle of her backpack.